Arrow BM Loop
Date: 08/01/2025
Partner: Kristi Henes
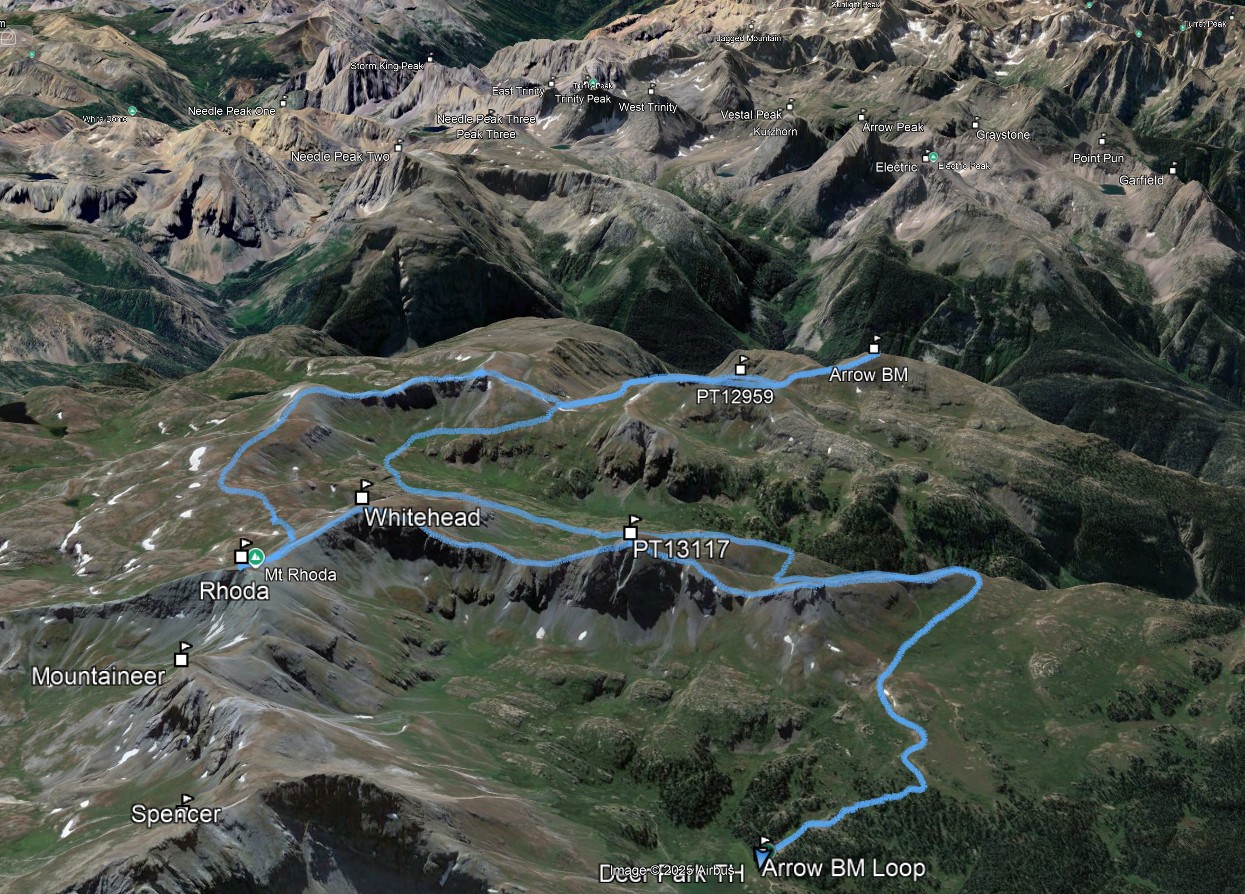
Trailhead: Whitehead Trail - Montana Mine - Deer Park CR33 (4x4)
Summits:
* PT12959
* Arrow Benchmark (UR)
* Rhoda (UR)
* Whitehead (UR)
* PT13117
Distance: 12.8m
Elevation Gain: 4000ft
Duration: 6.5hrs
GPX
Rhoda 14ers.com Page
Whitehead Peak 14ers.com Page
PT13117 14ers.com Page
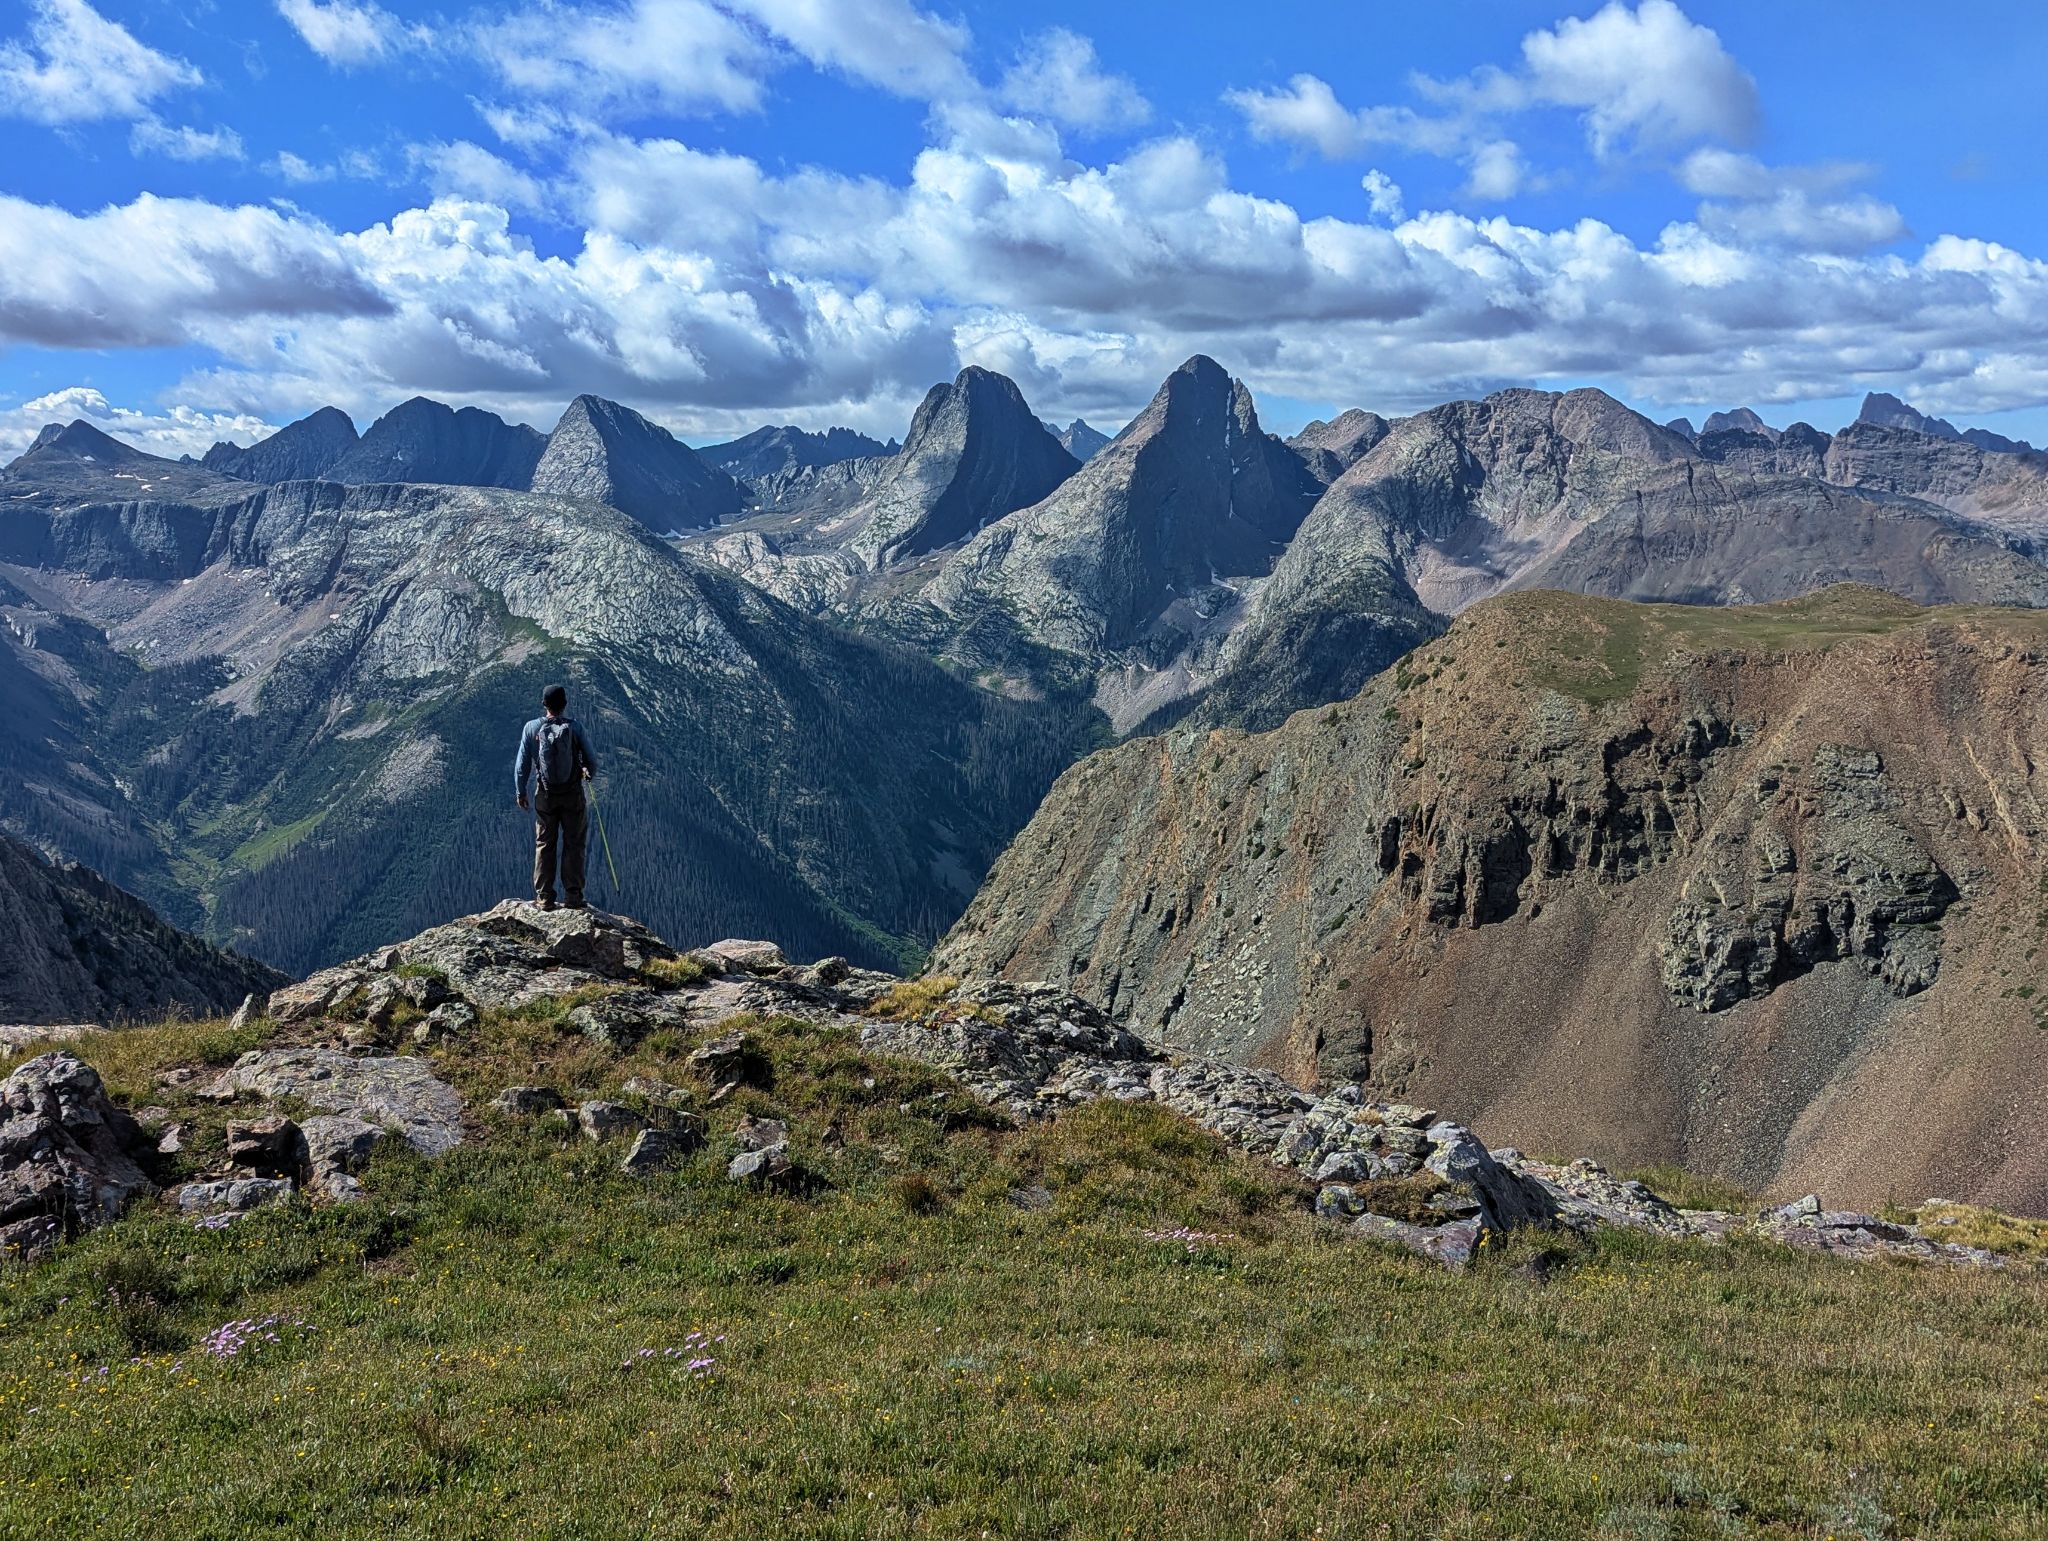
This gentle hike has the best Weminuche views without actually being in the Weminuche. I can't think of anything that rivals it.
The day can be made even gentler by skipping Rhoda, Whitehead, PT13117 and the optional ridge we traversed.
I would say this loop is even more scenic that the highly regarded Deer Park 13er loop.
The only downside is that a 4x4 is required to reach the trailhead.
![Arrow bm loop 01]()
12.8m - 4000ft - 6.5hrs
![Arrow bm loop 02]()
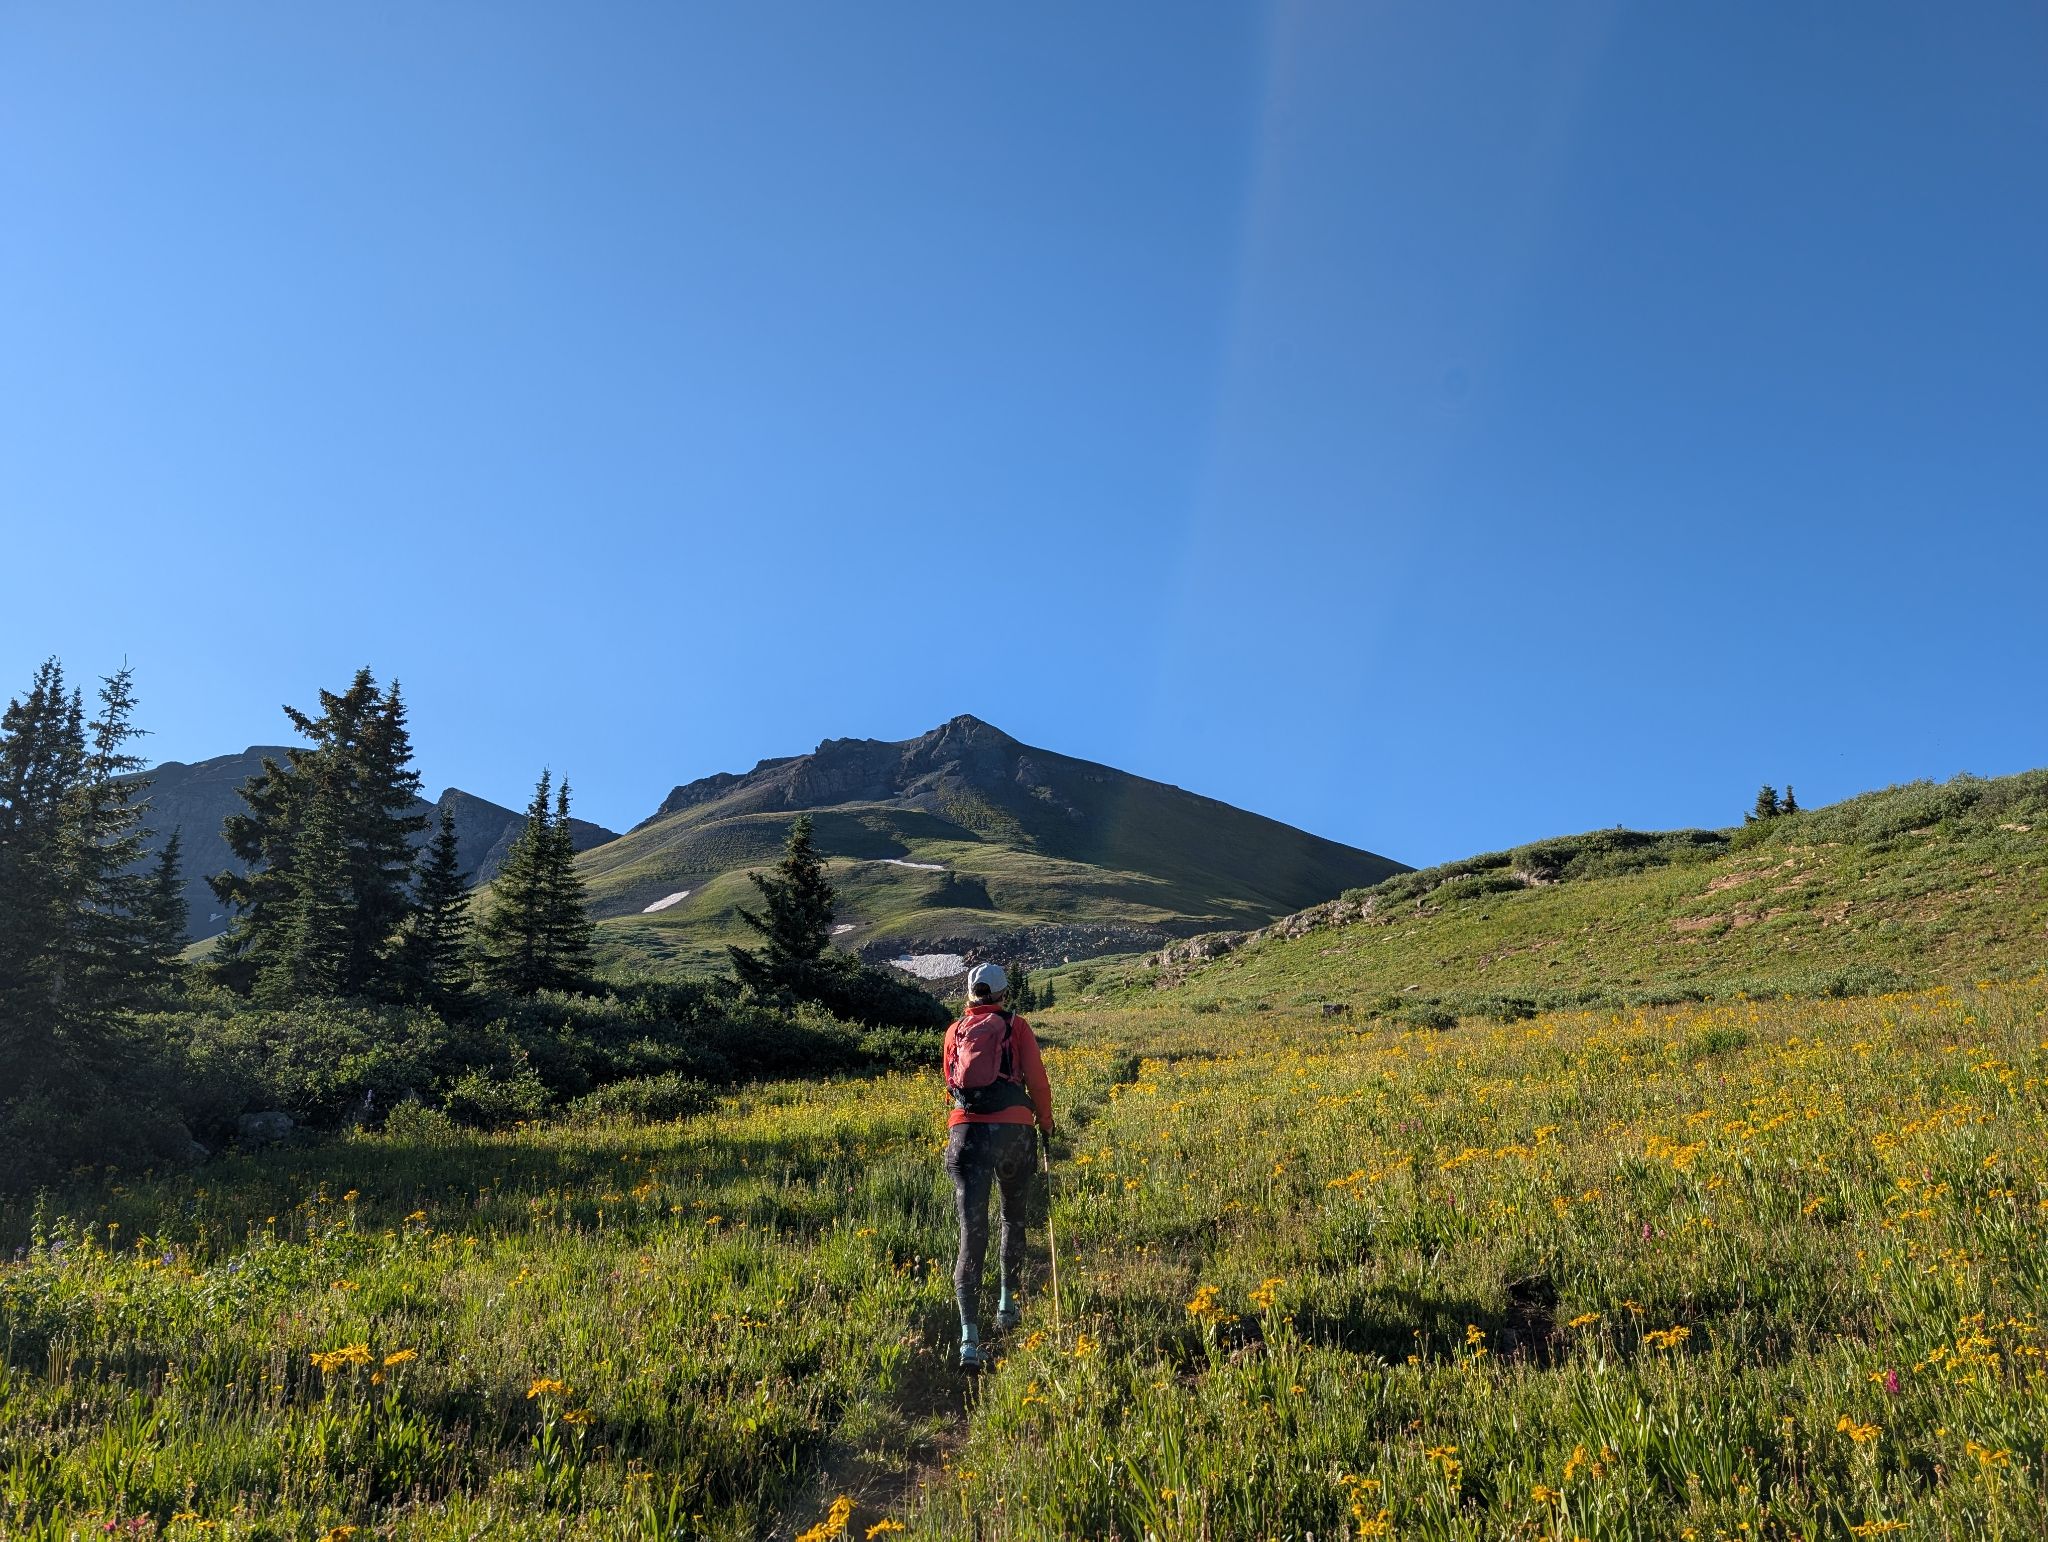
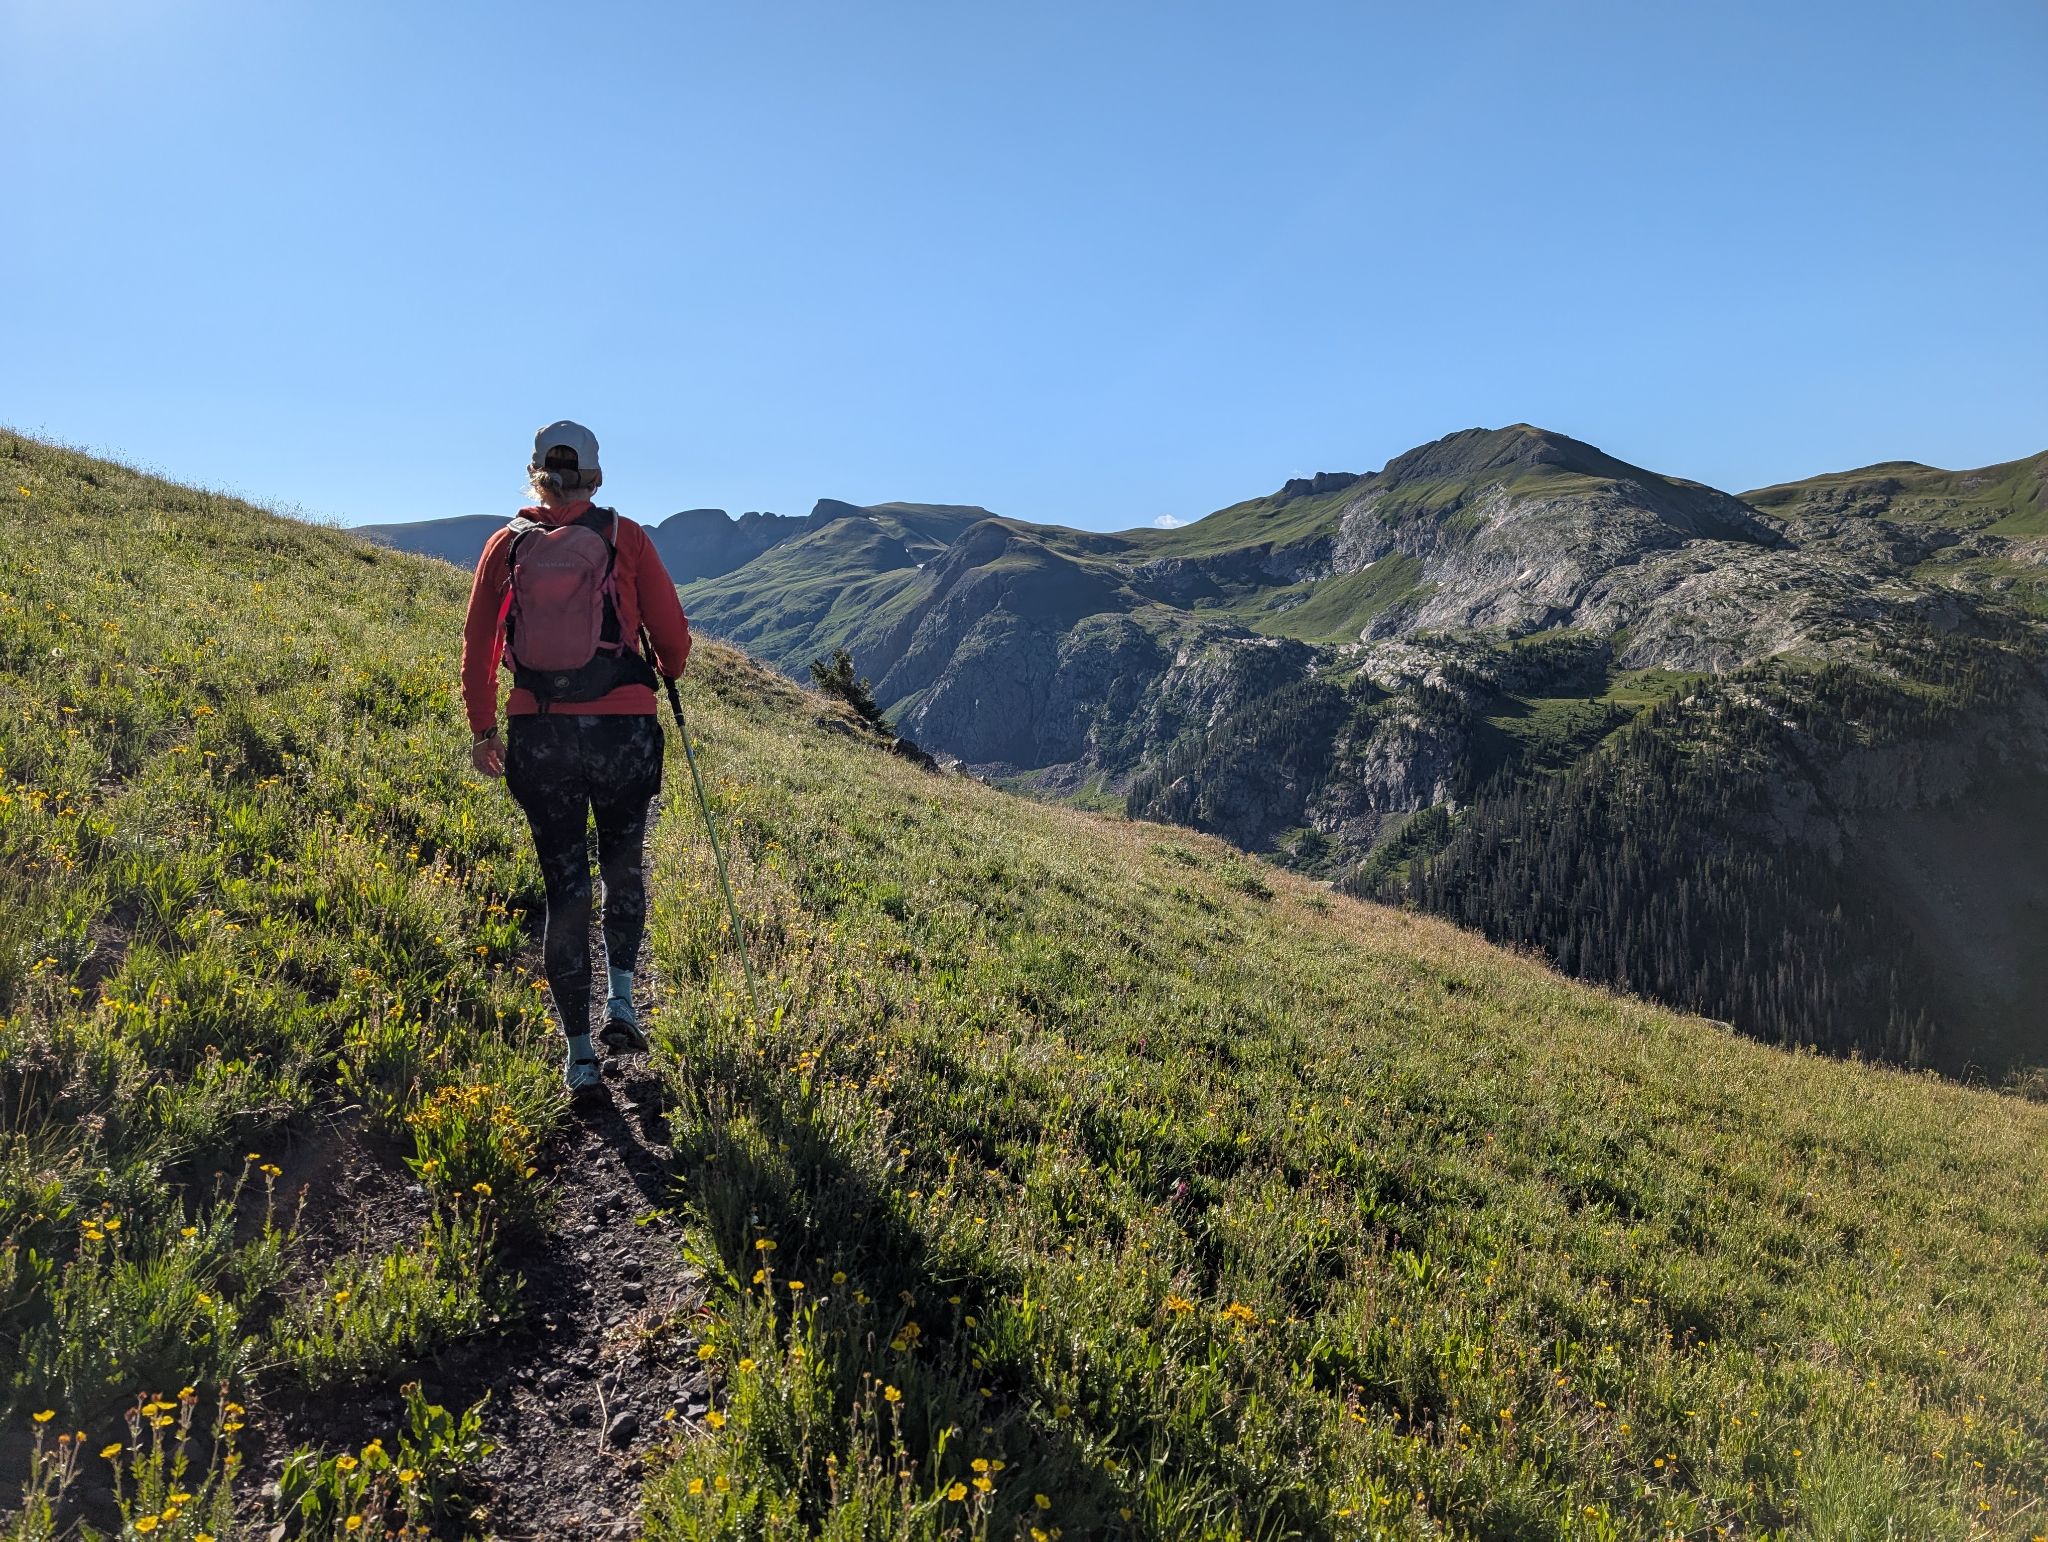
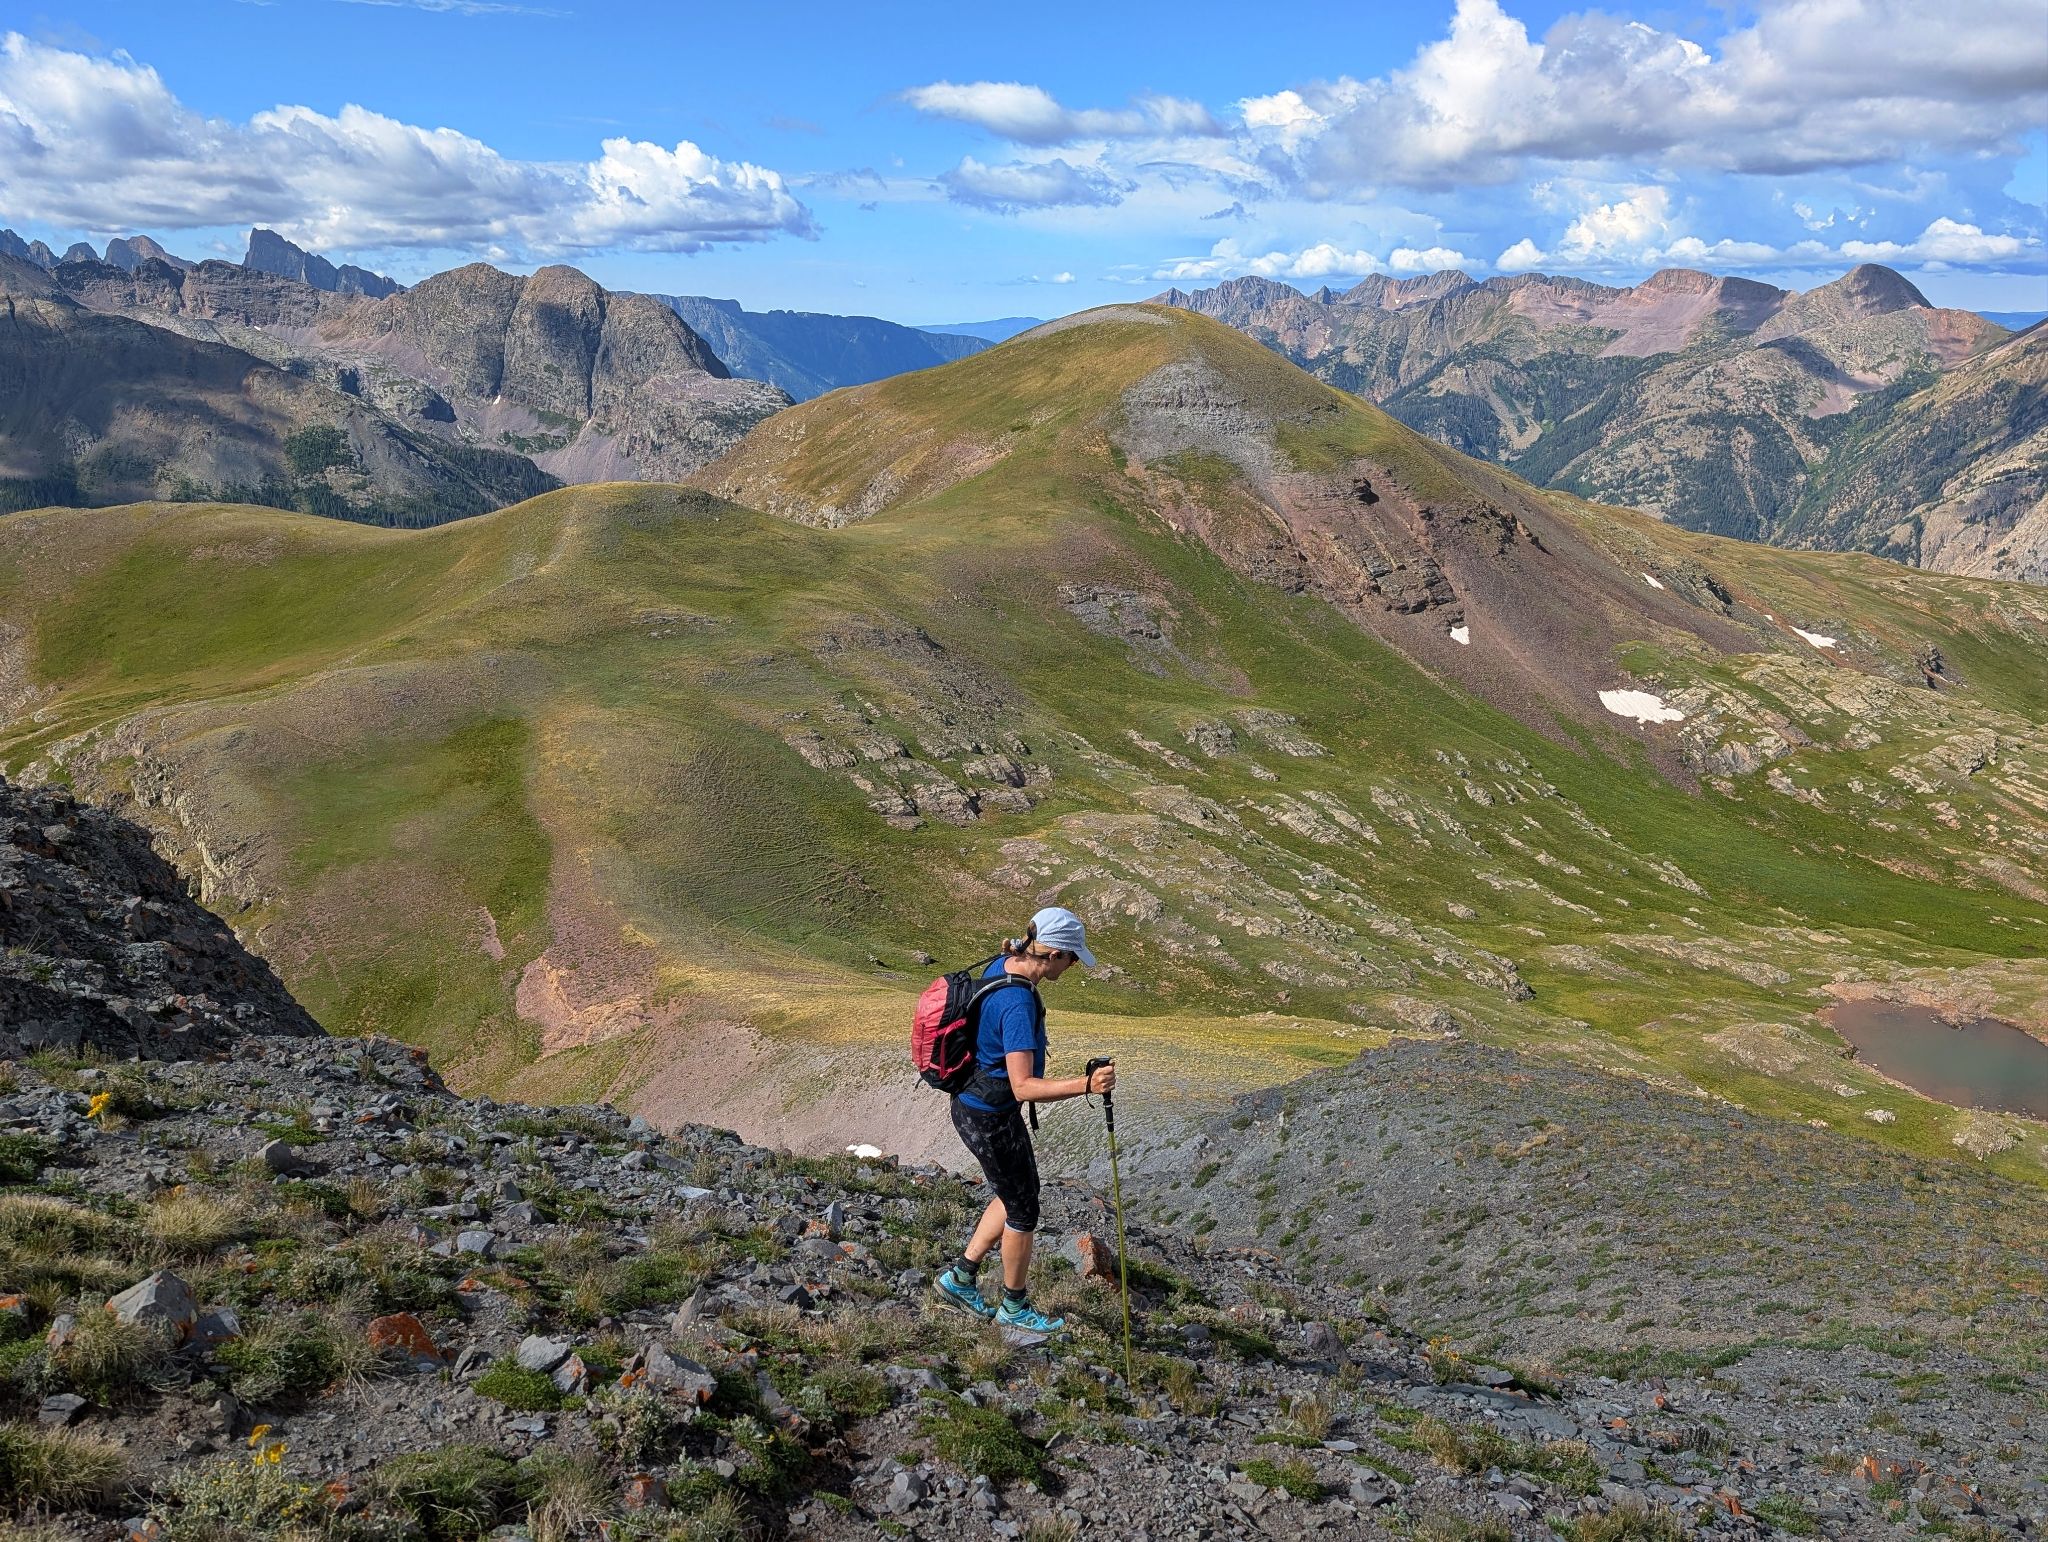
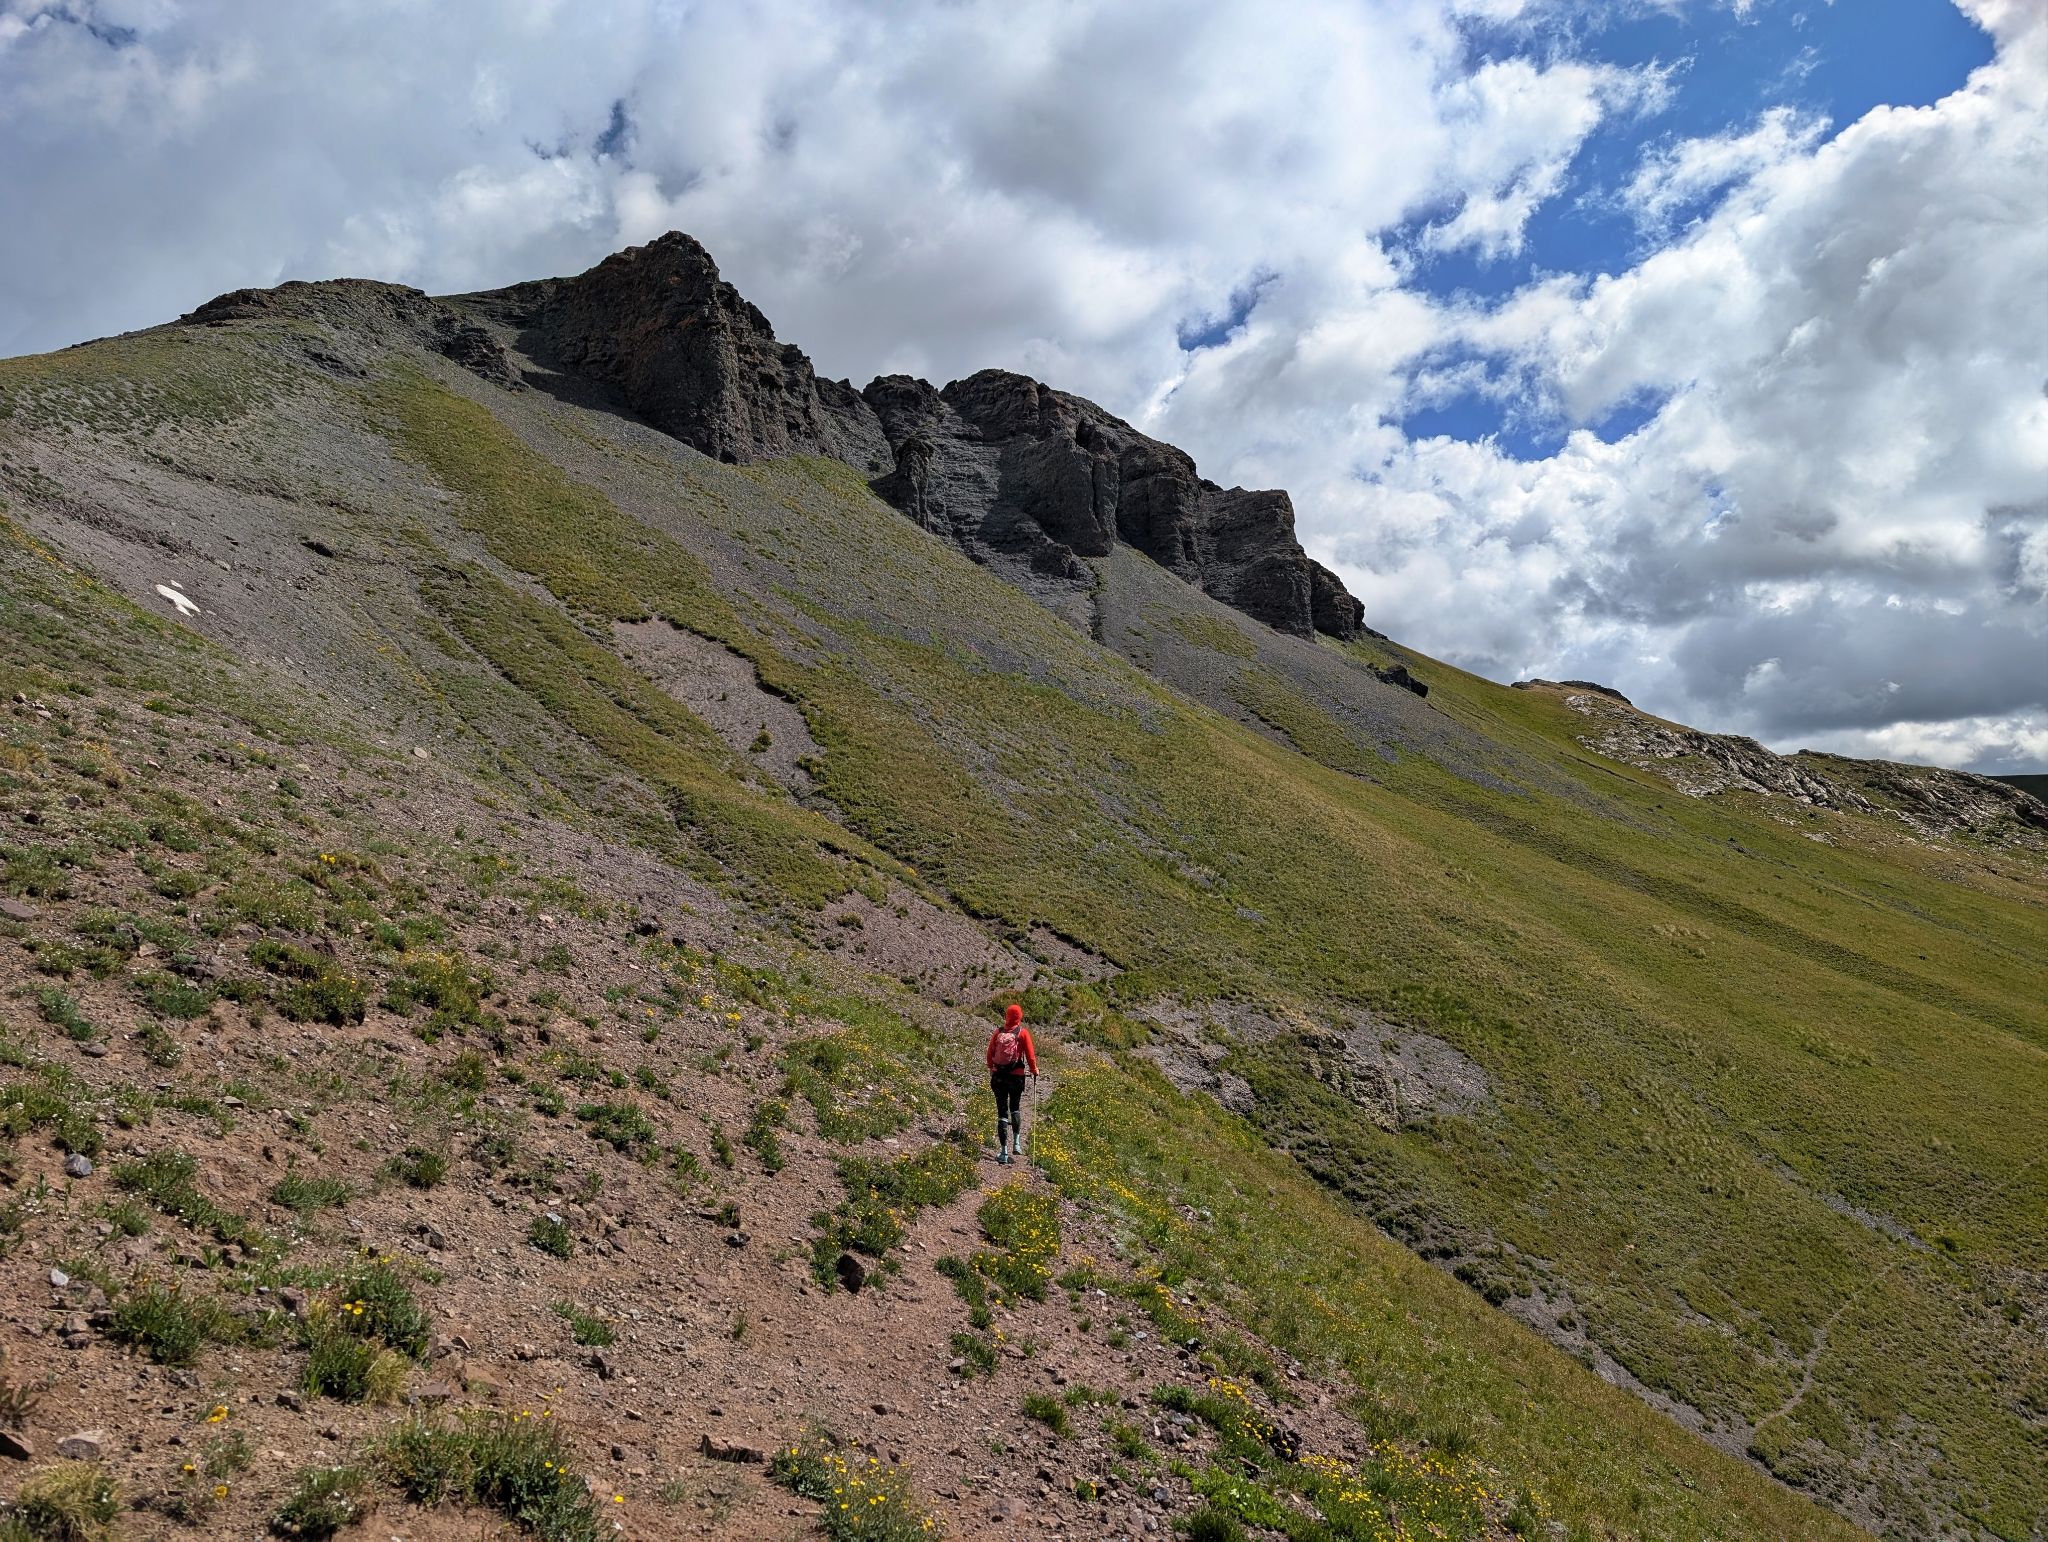
Kristi just above treeline on the easy going Whitehead trail
![Arrow bm loop 03]()
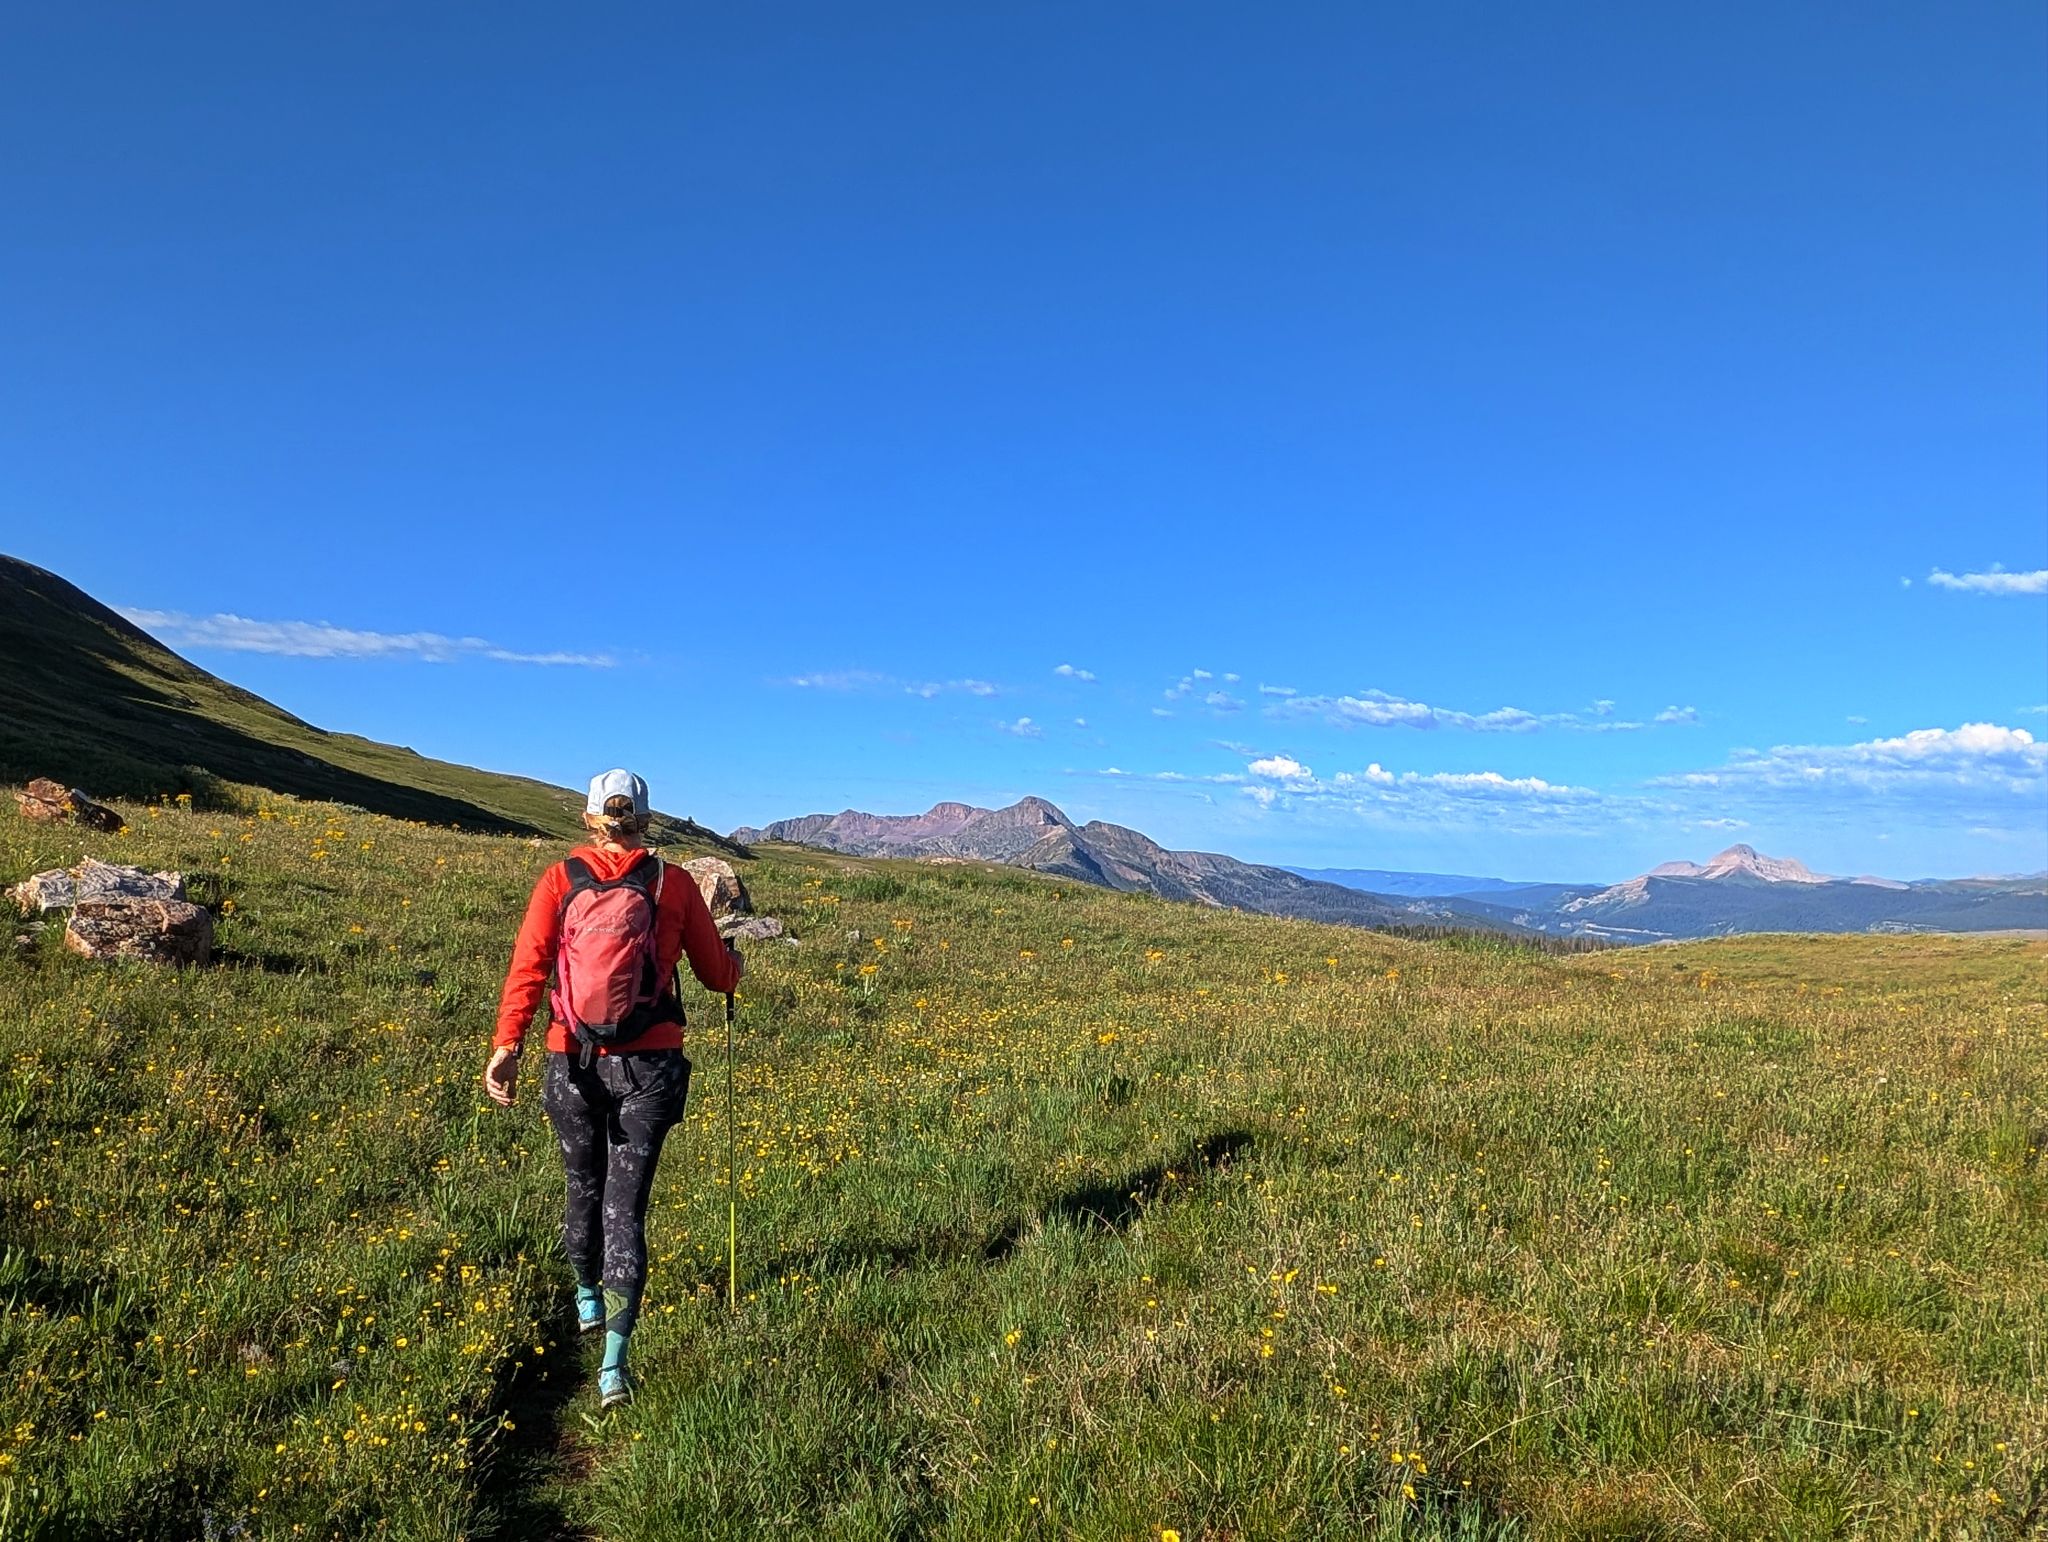
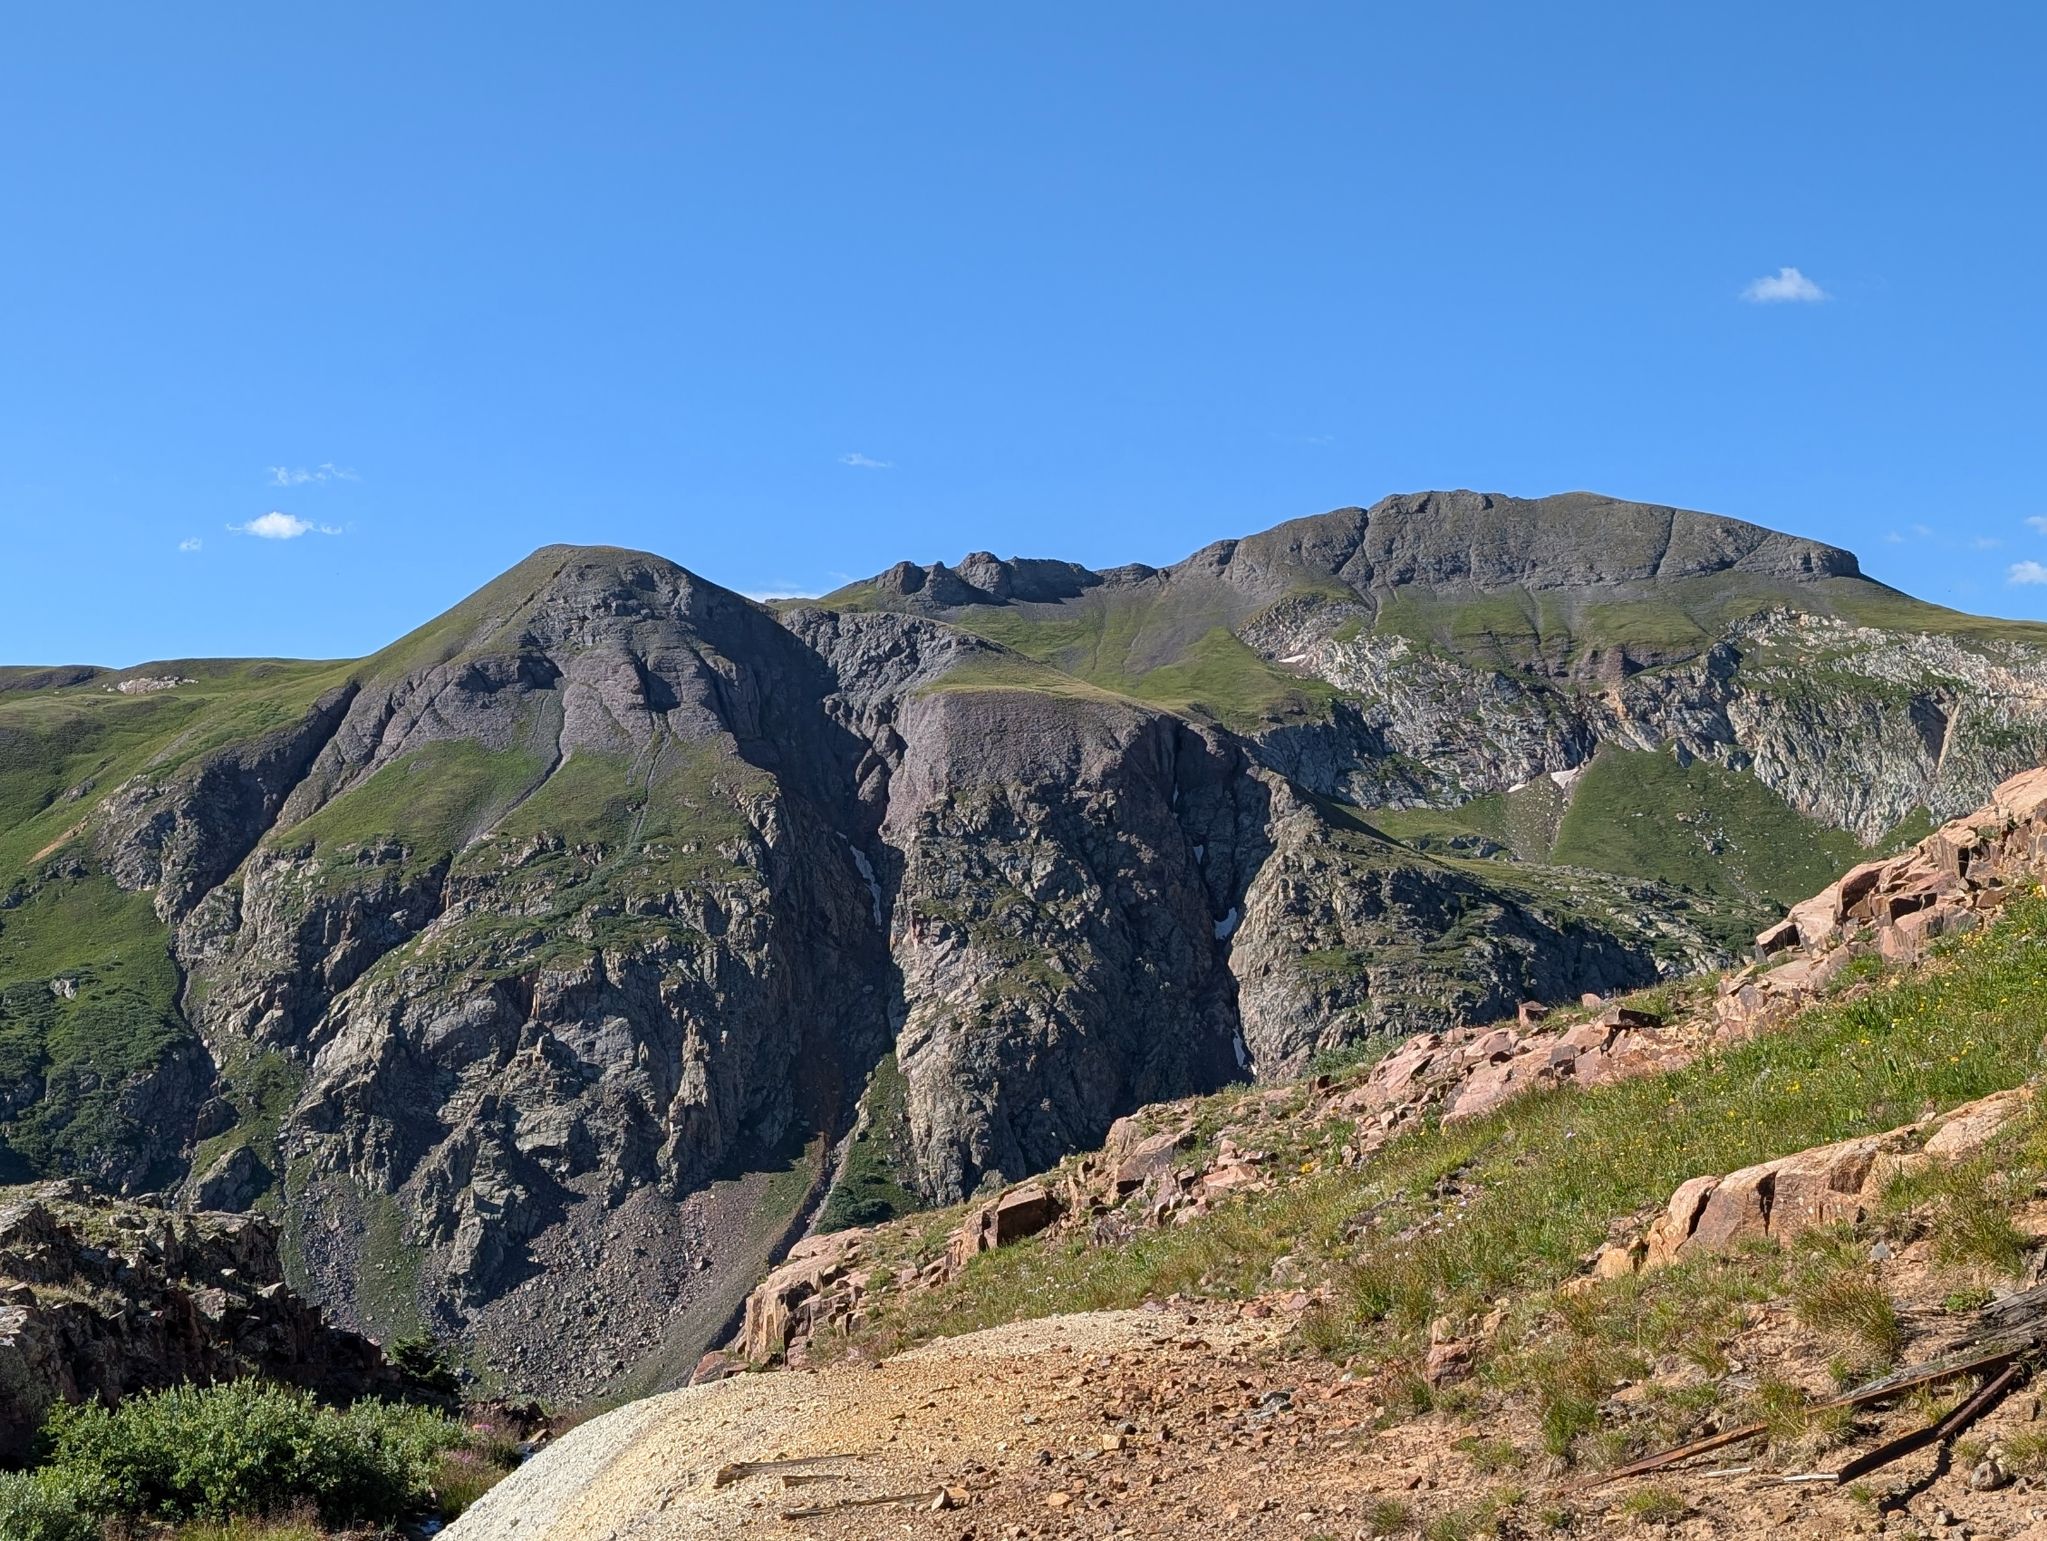
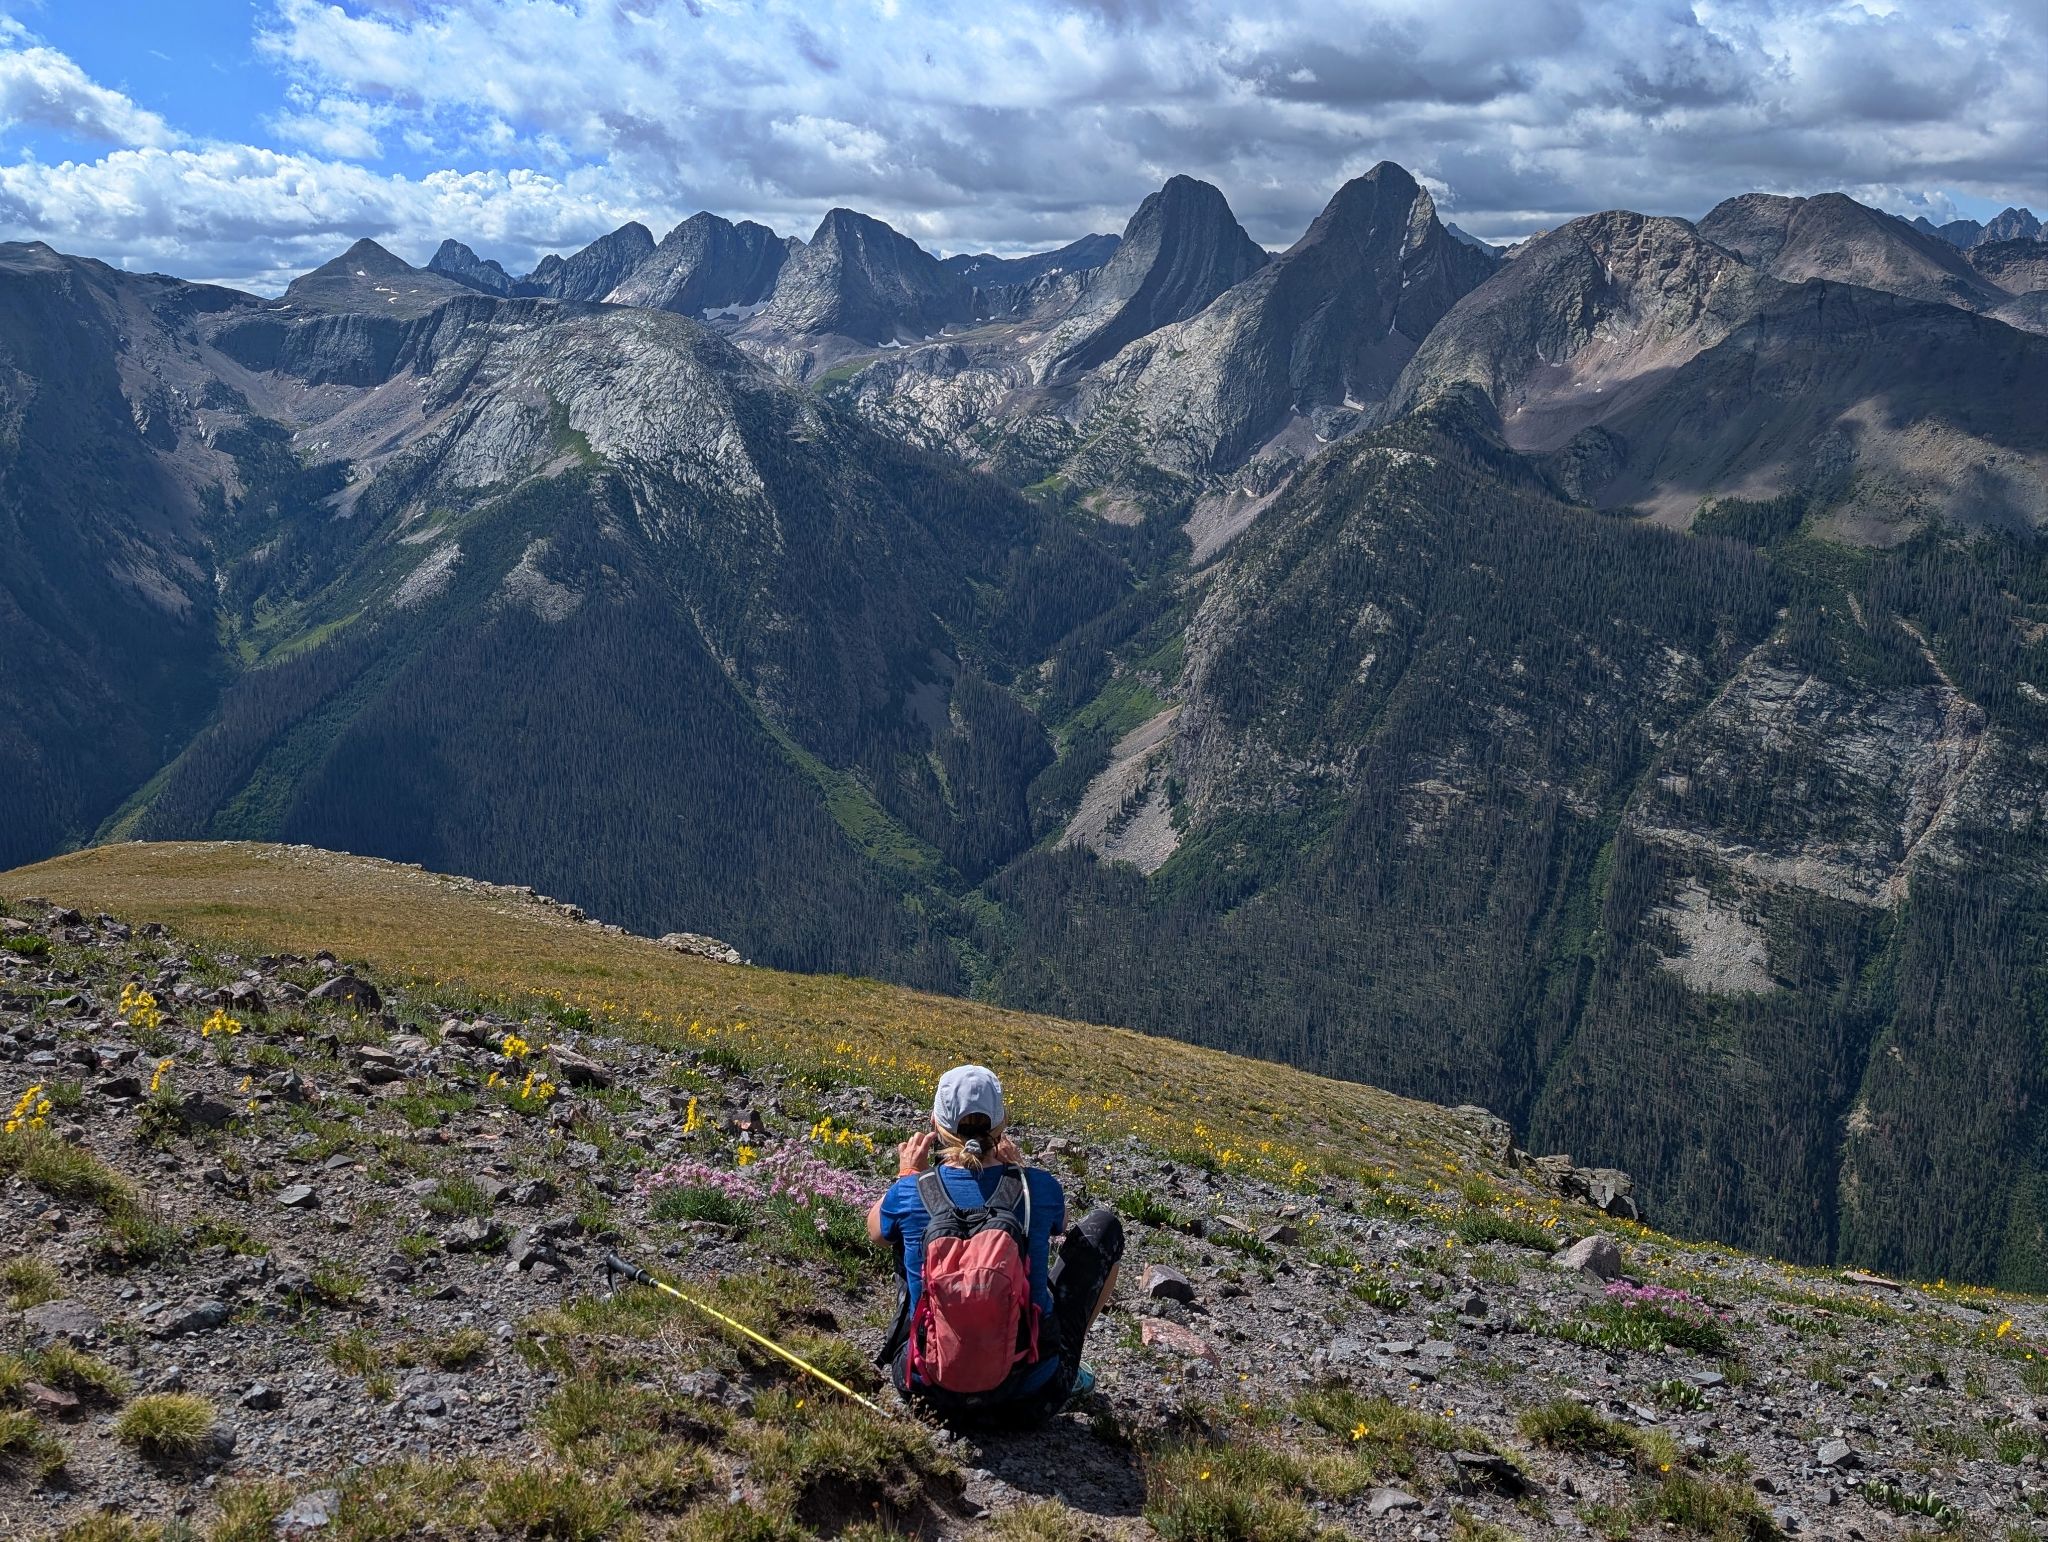
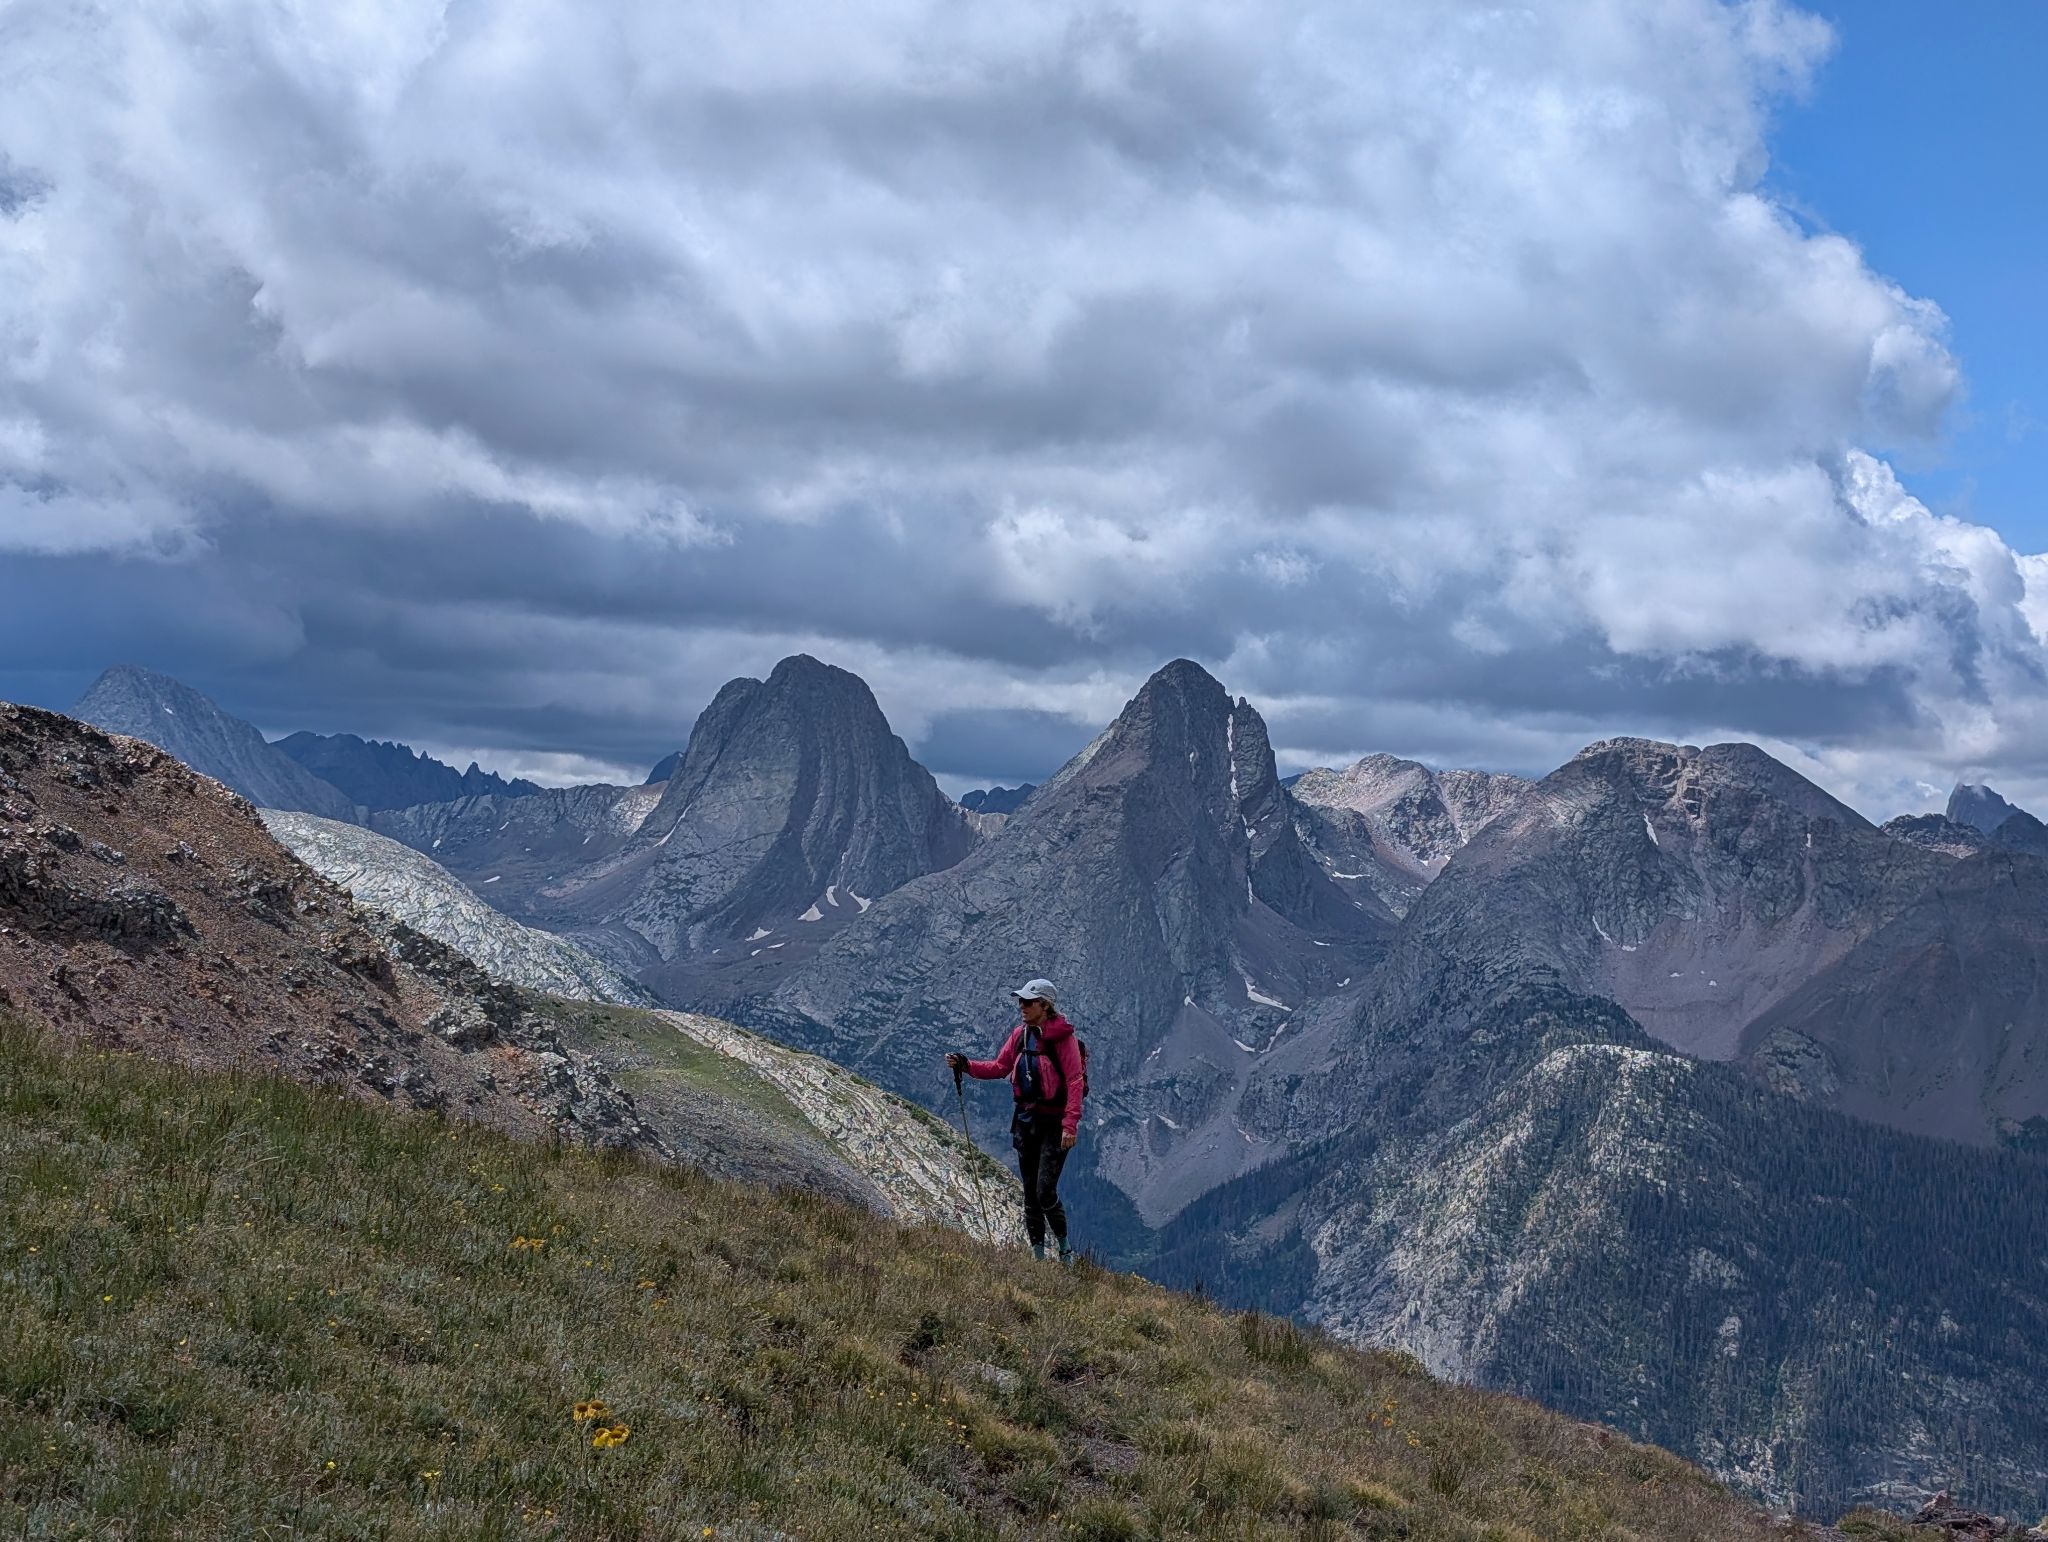
Snowdon Group dead ahead... Engineer off to the right
![Arrow bm loop 04]()
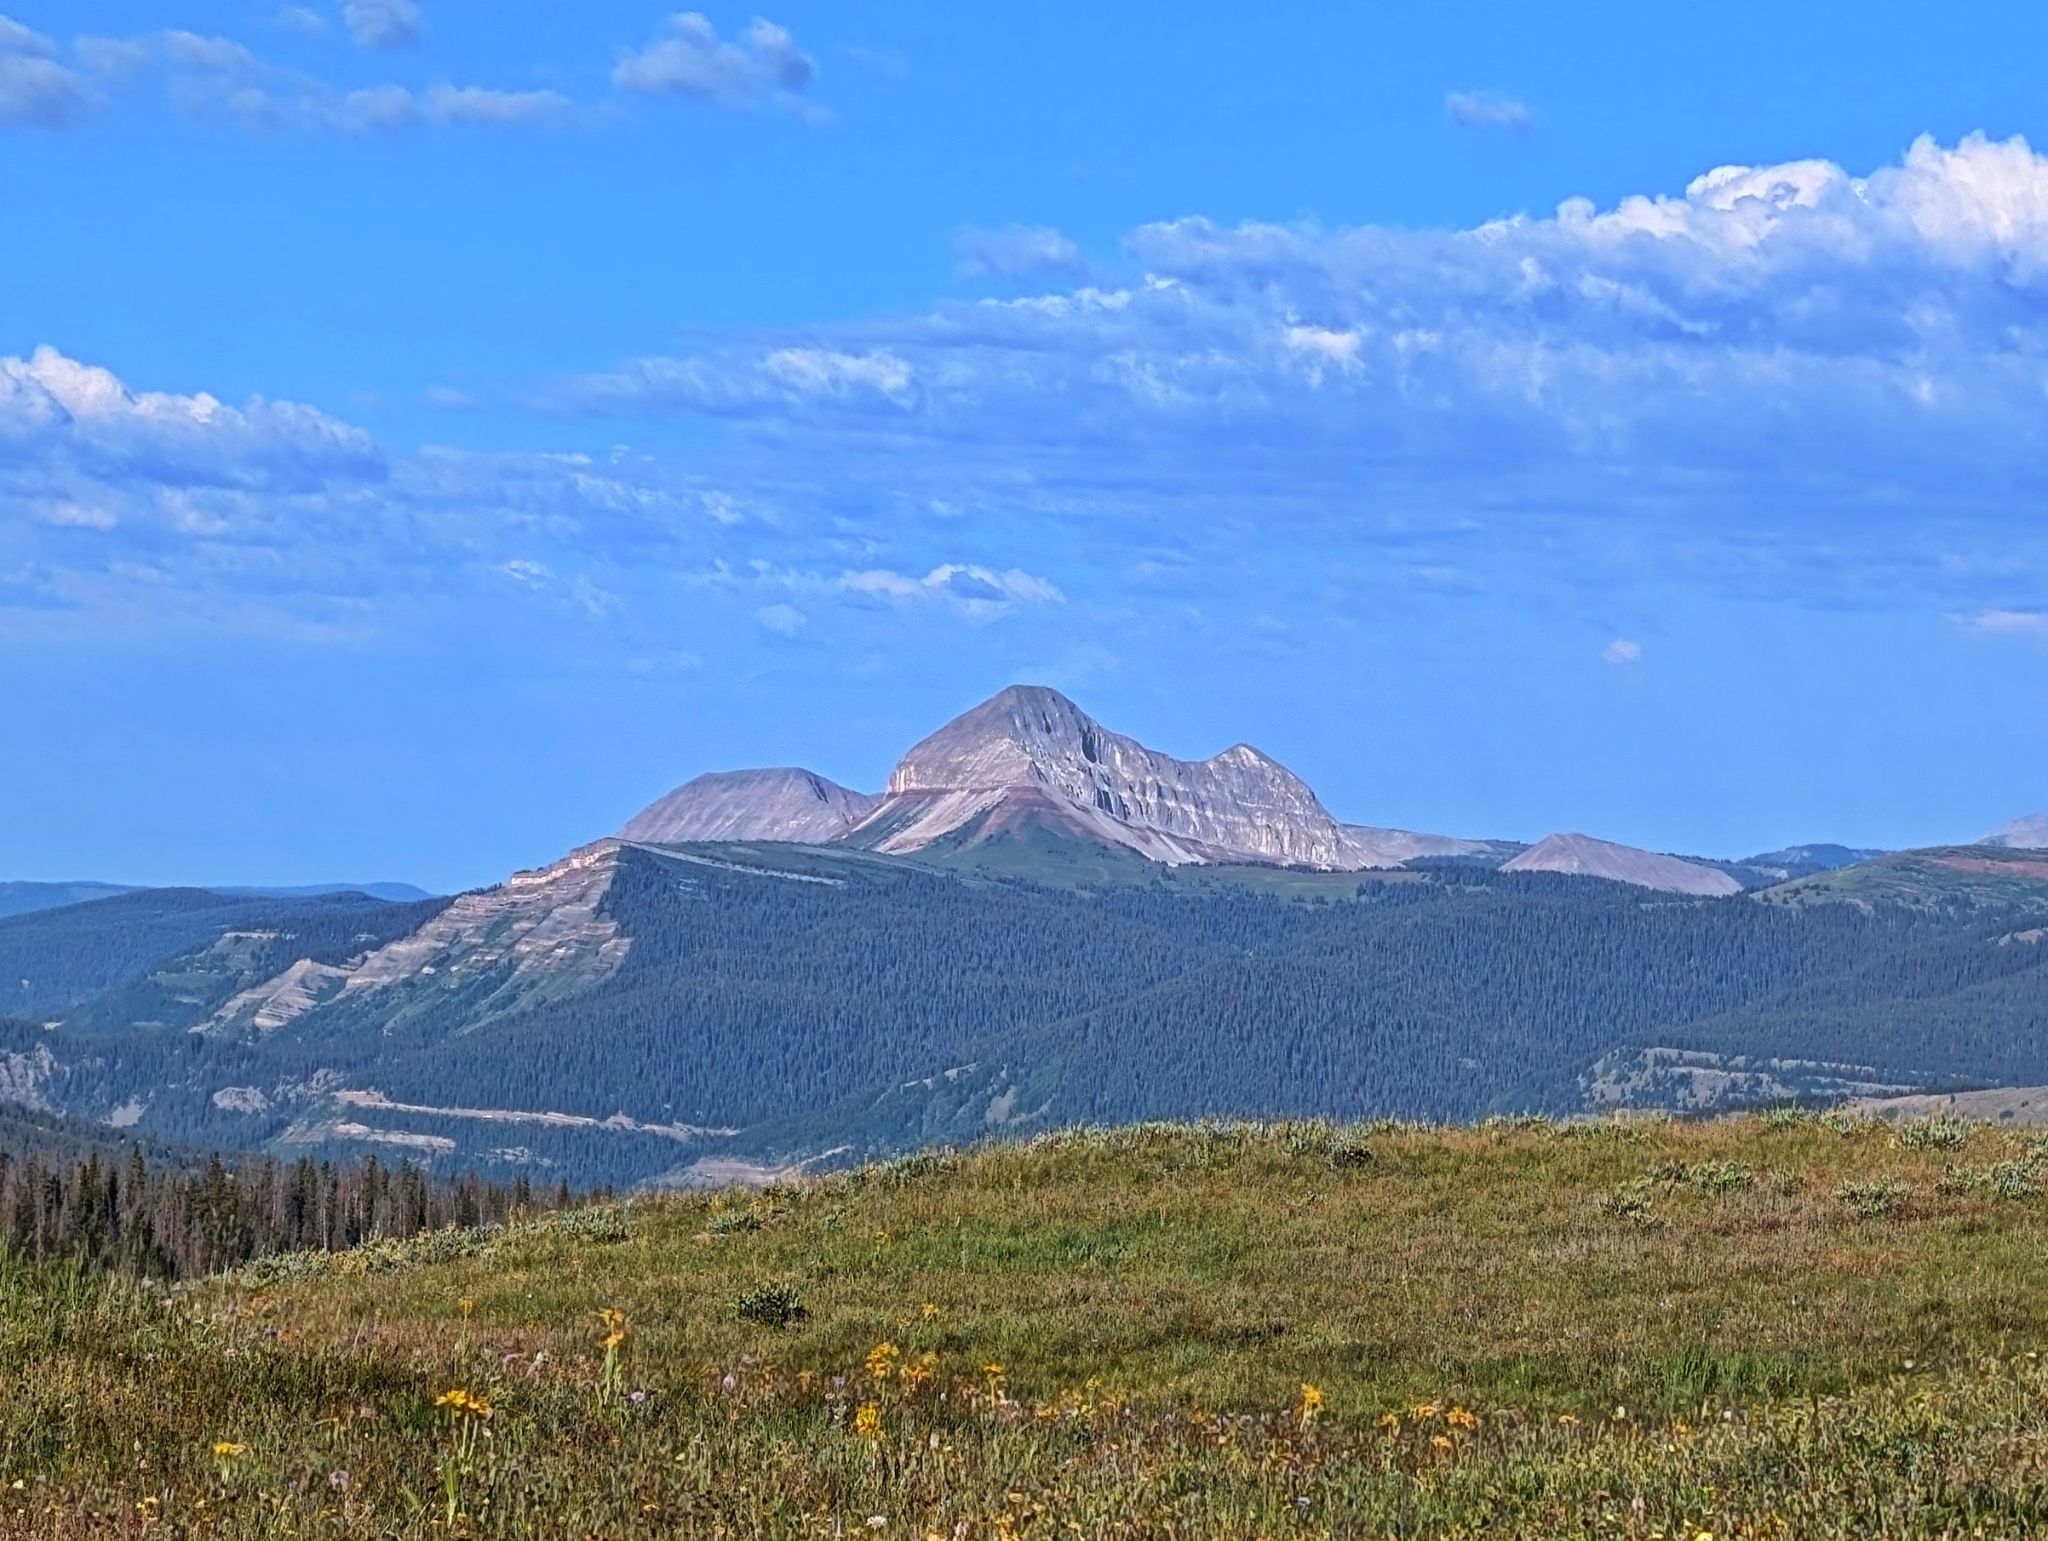
Engineer! Cool to look at... fun to climb
![Arrow bm loop 05]()
On the south side of Whitehead Peak
![Arrow bm loop 06]()
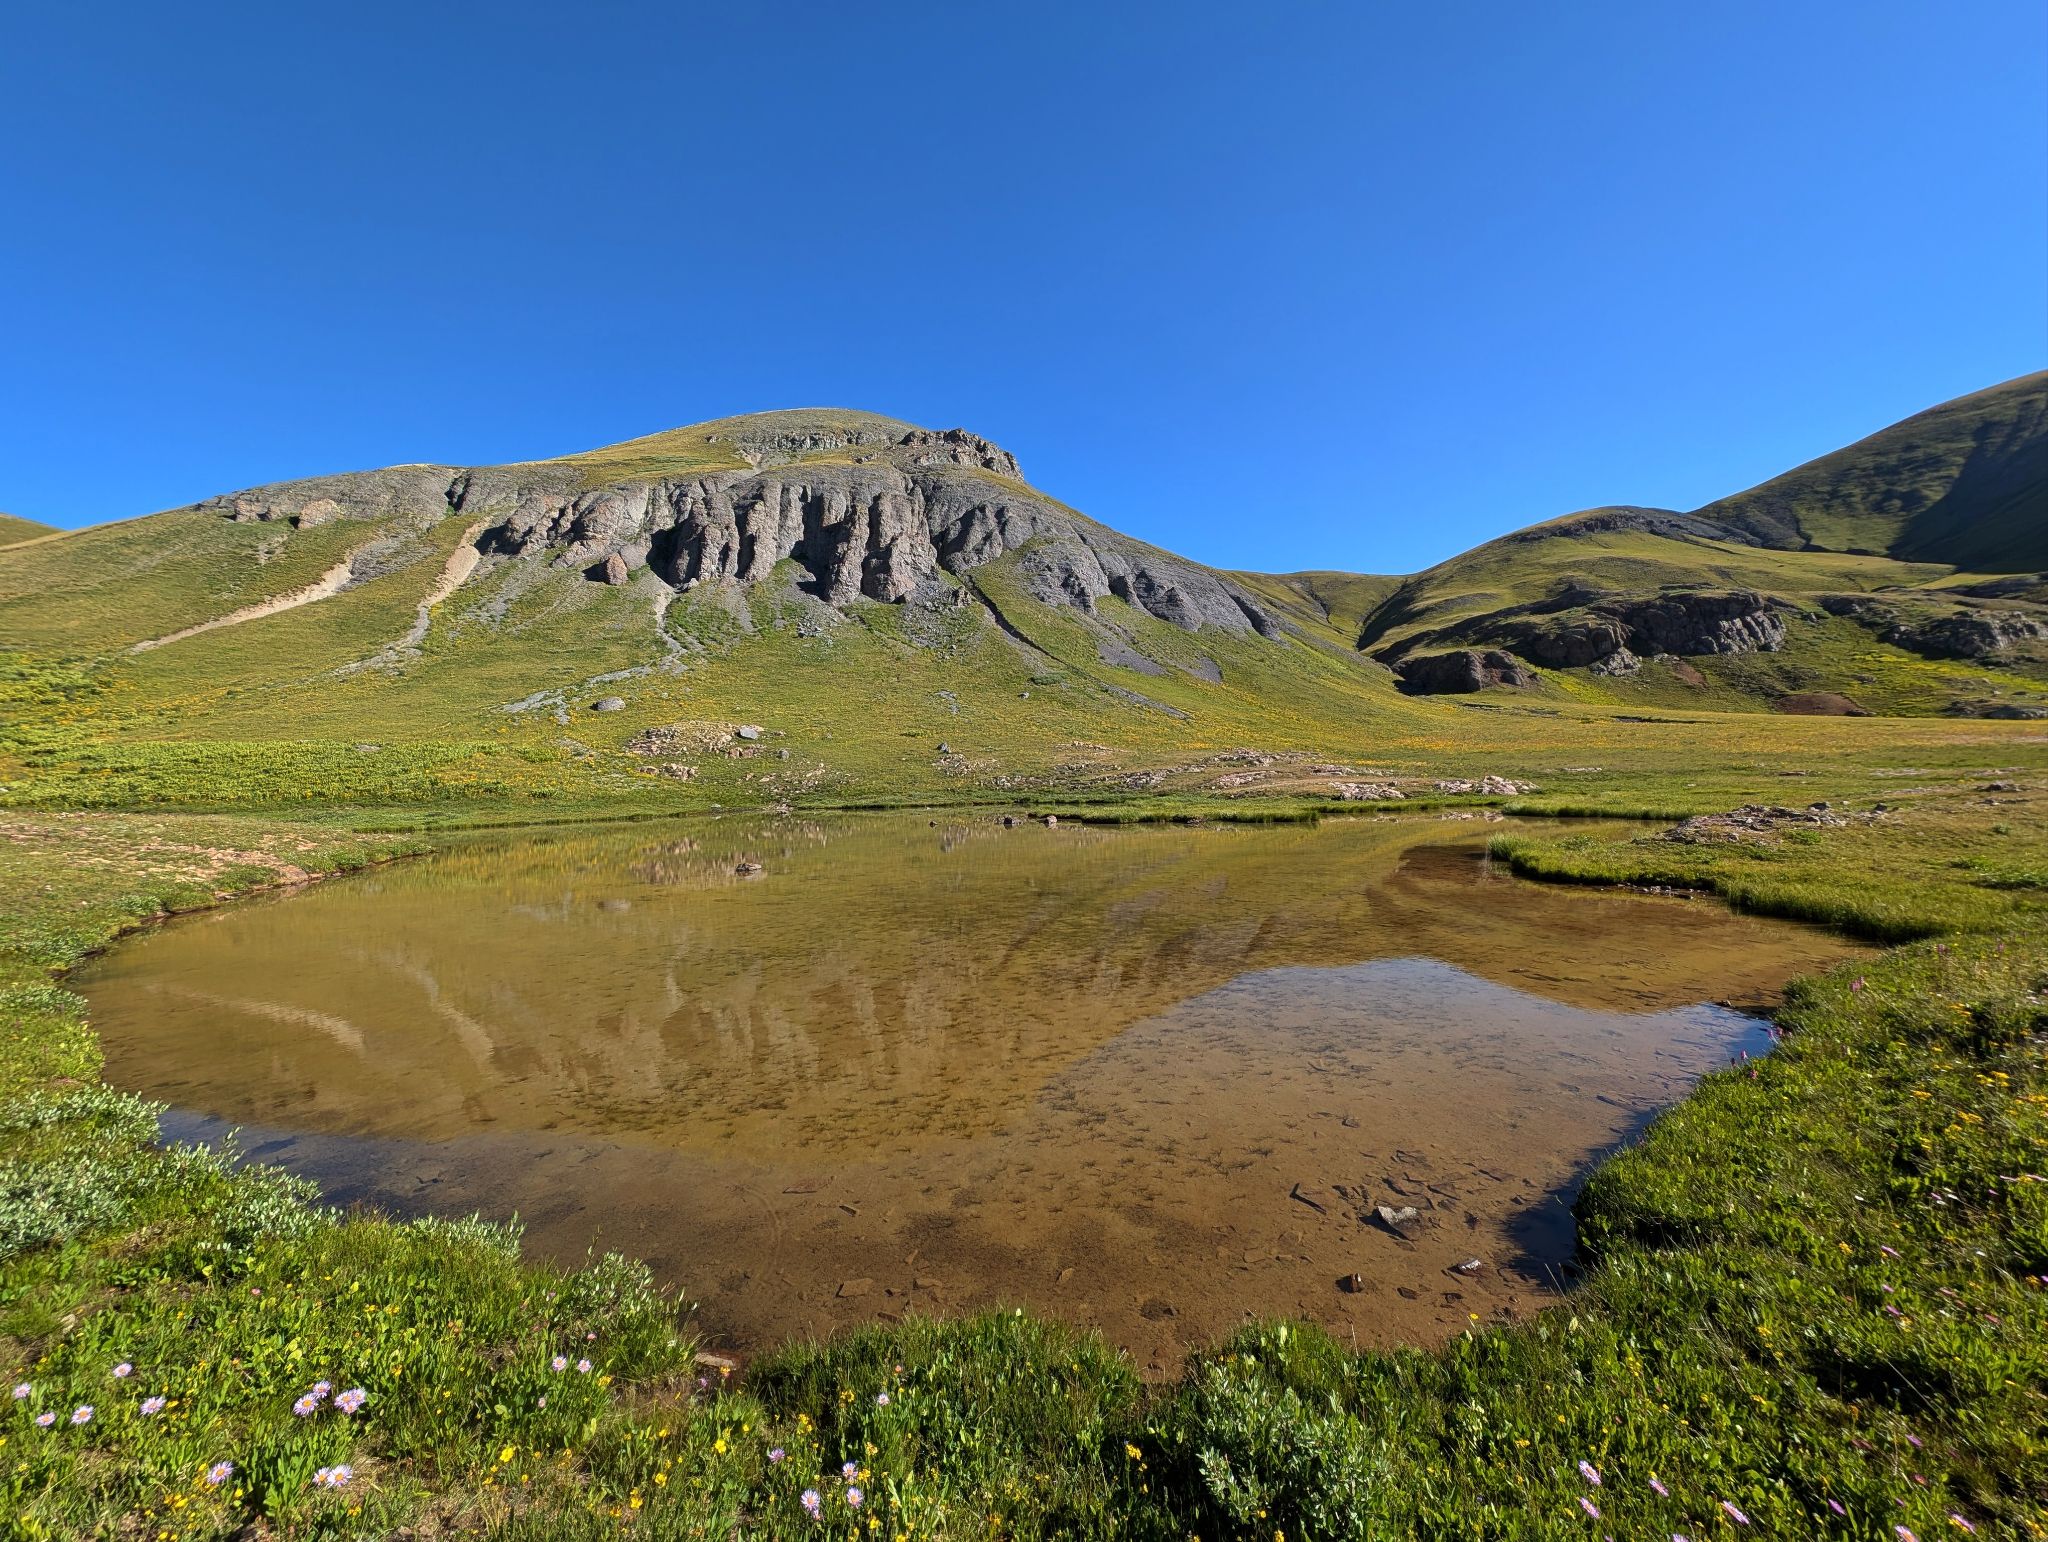
Crystal Clear
![Arrow bm loop 07]()
Looking south to PT12959 from the Whitehead Trail
![Arrow bm loop 08]()
We followed the trail until breaking right towards PT12959 at the top of this section
![Arrow bm loop 09]()
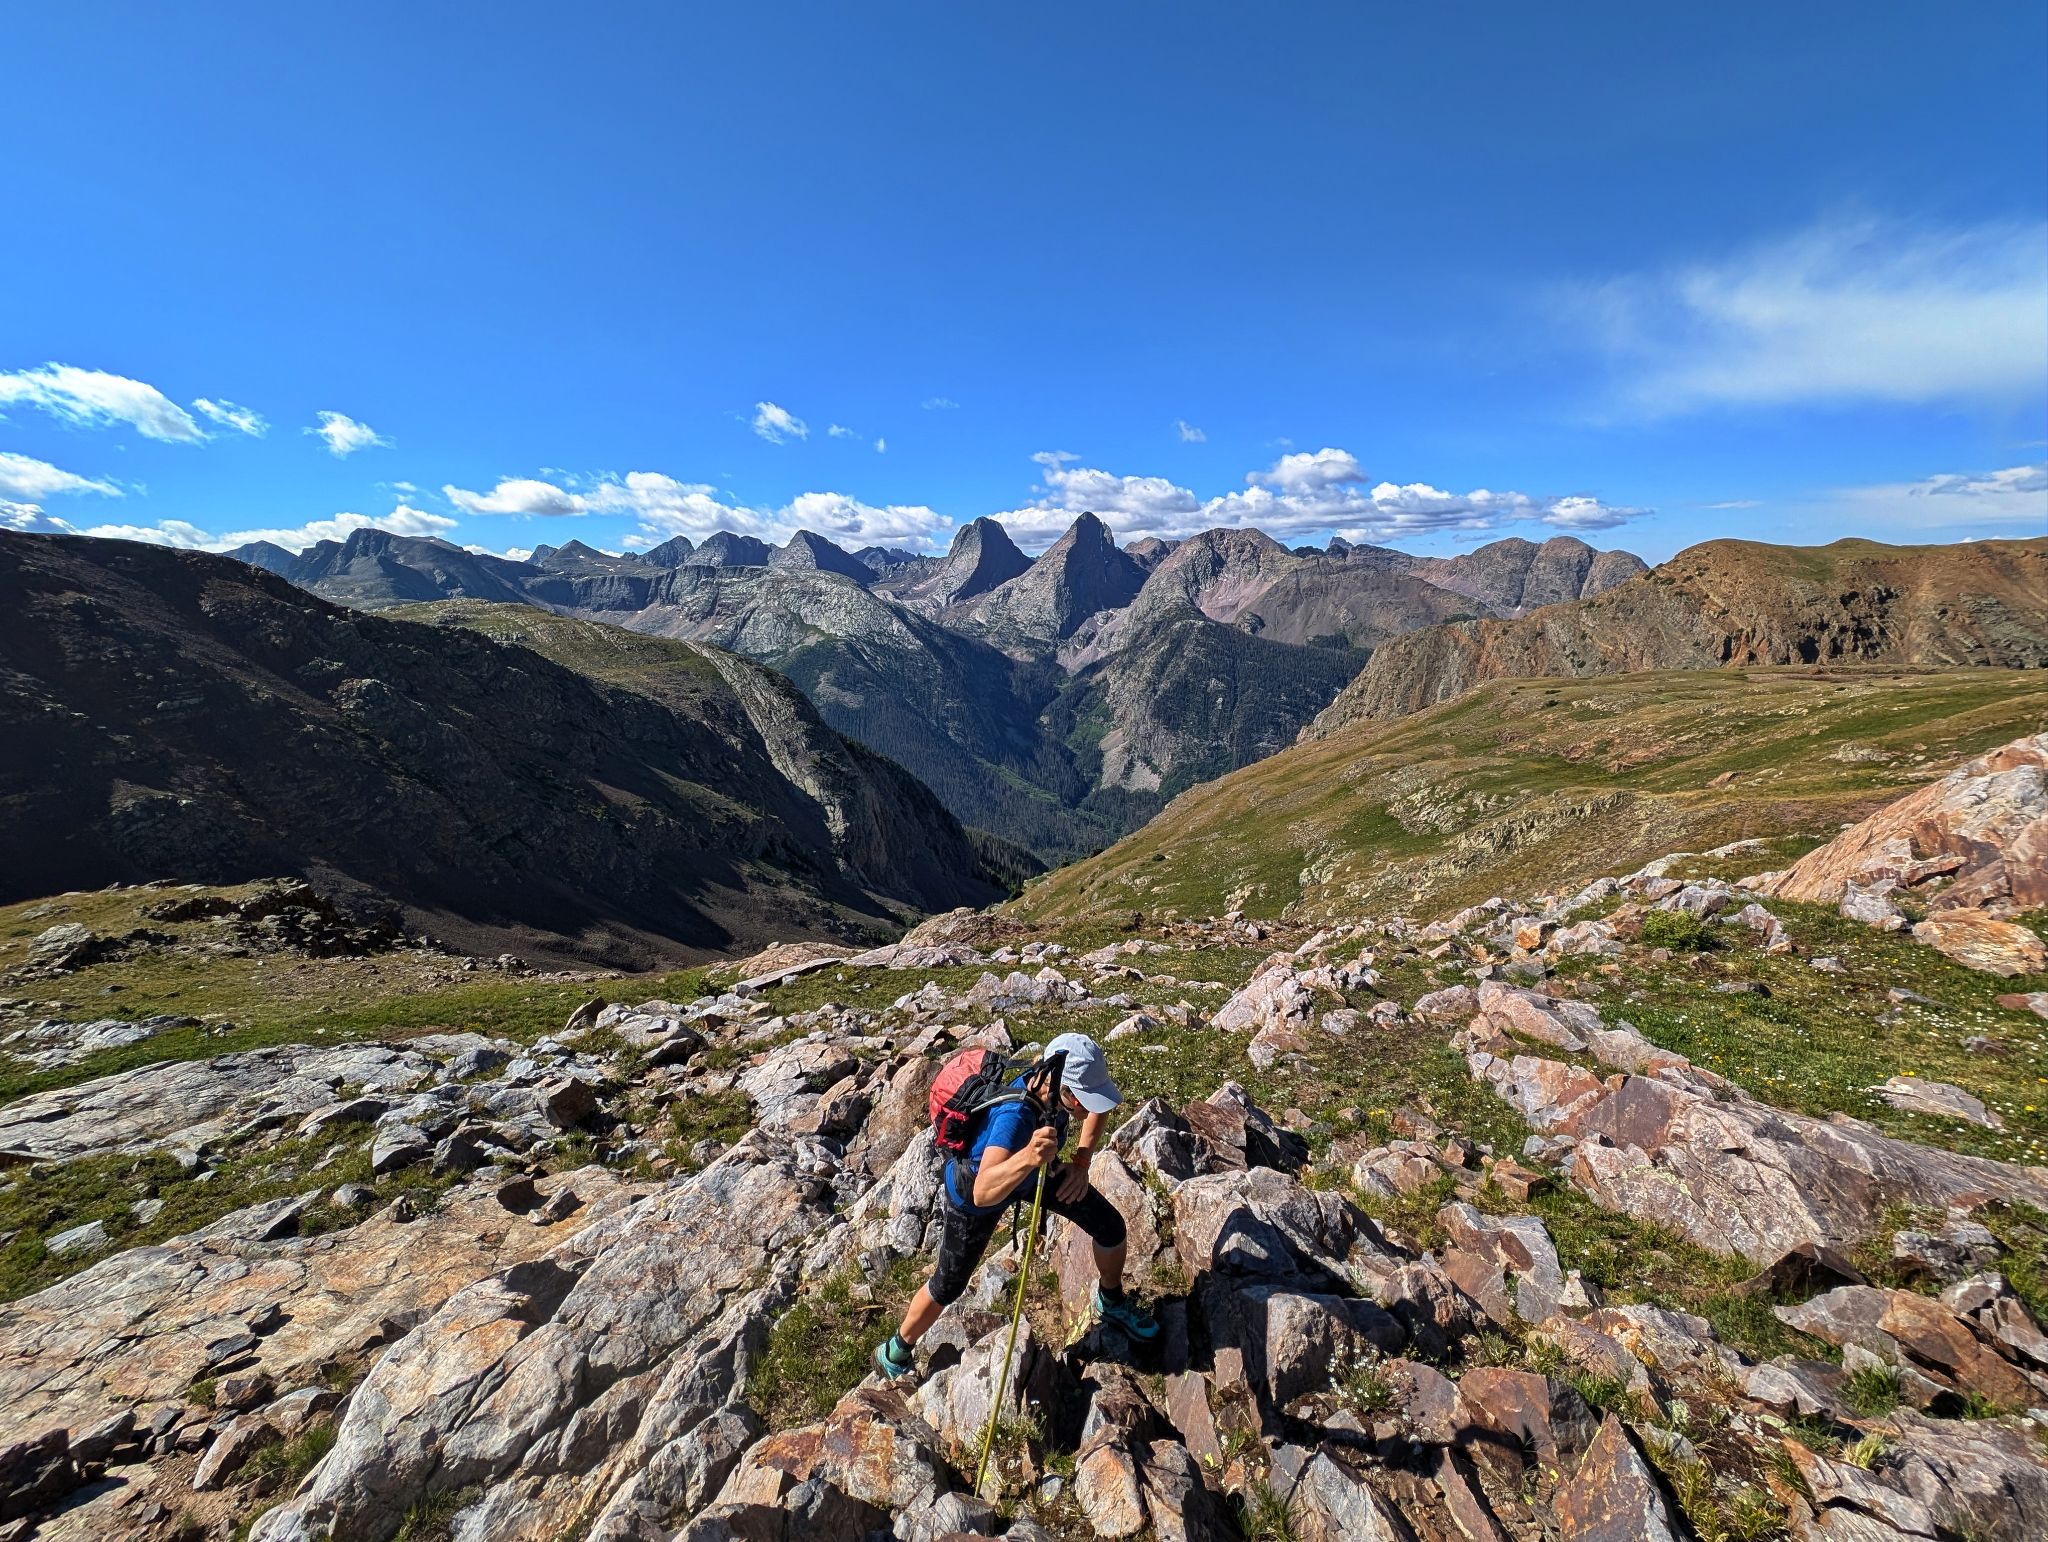
The views opened up after leaving the trail and heading to PT12959's east ridge
![Arrow bm loop 10]()
![Arrow bm loop 11]()
We hiked up and over PT12959(right) and then out to Arrow Benchmark (left)
![Arrow bm loop 12]()
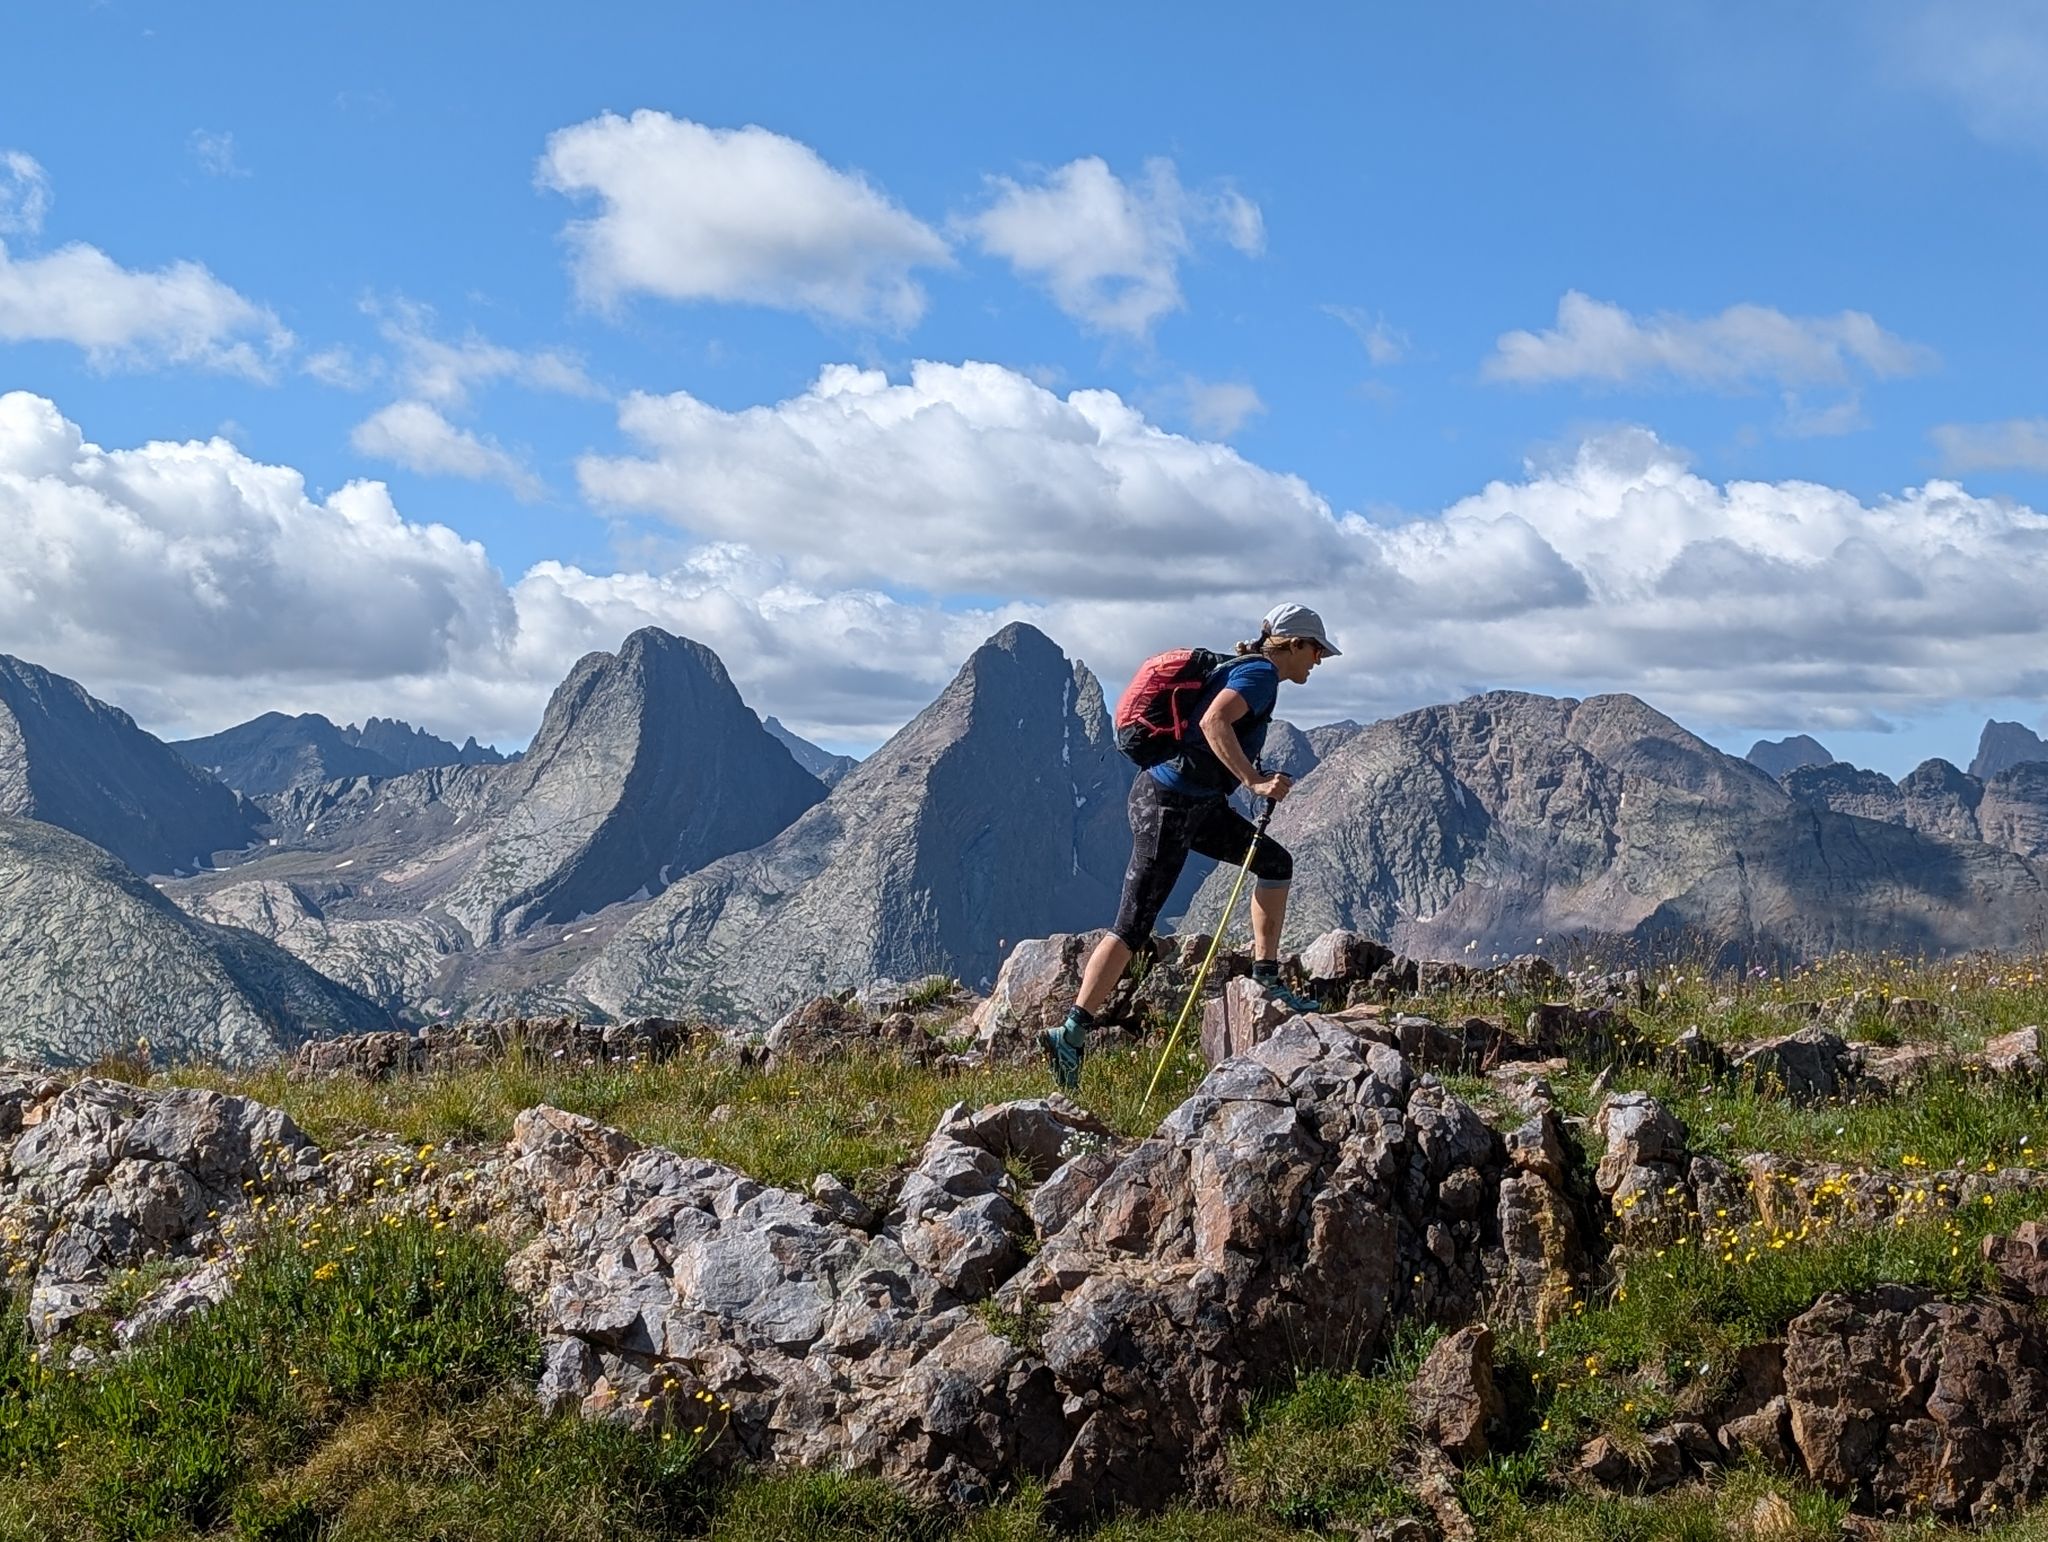
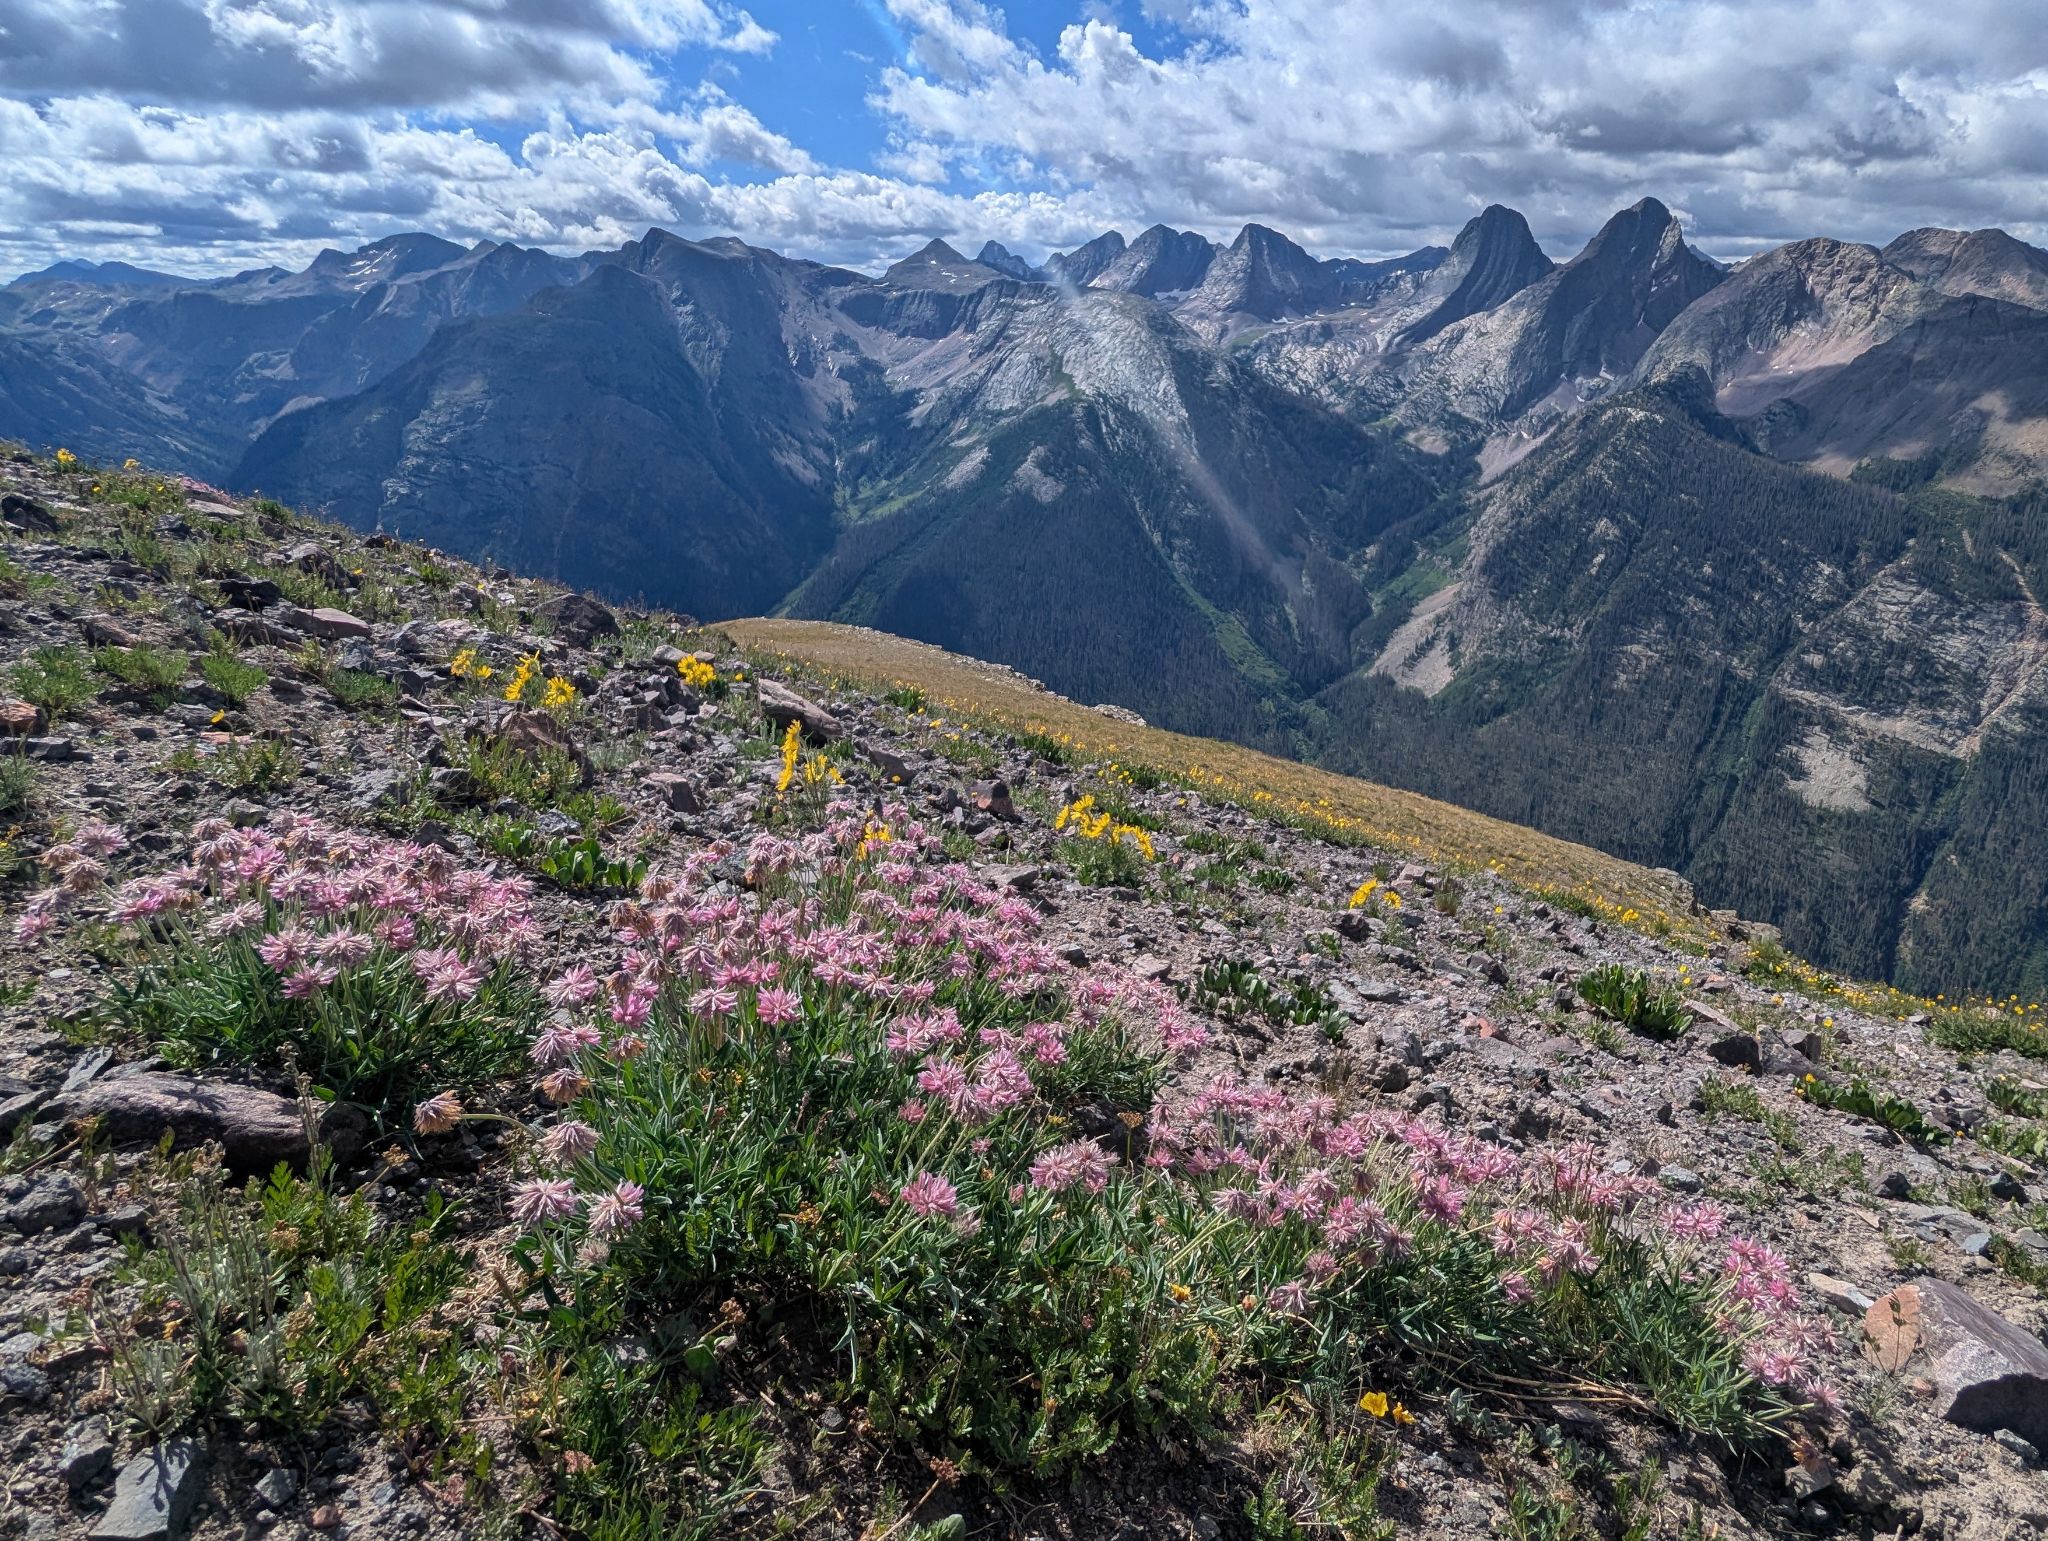
Not too shabby. Some of the best Weminuche views with a relatively small effort
![Arrow bm loop 13]()
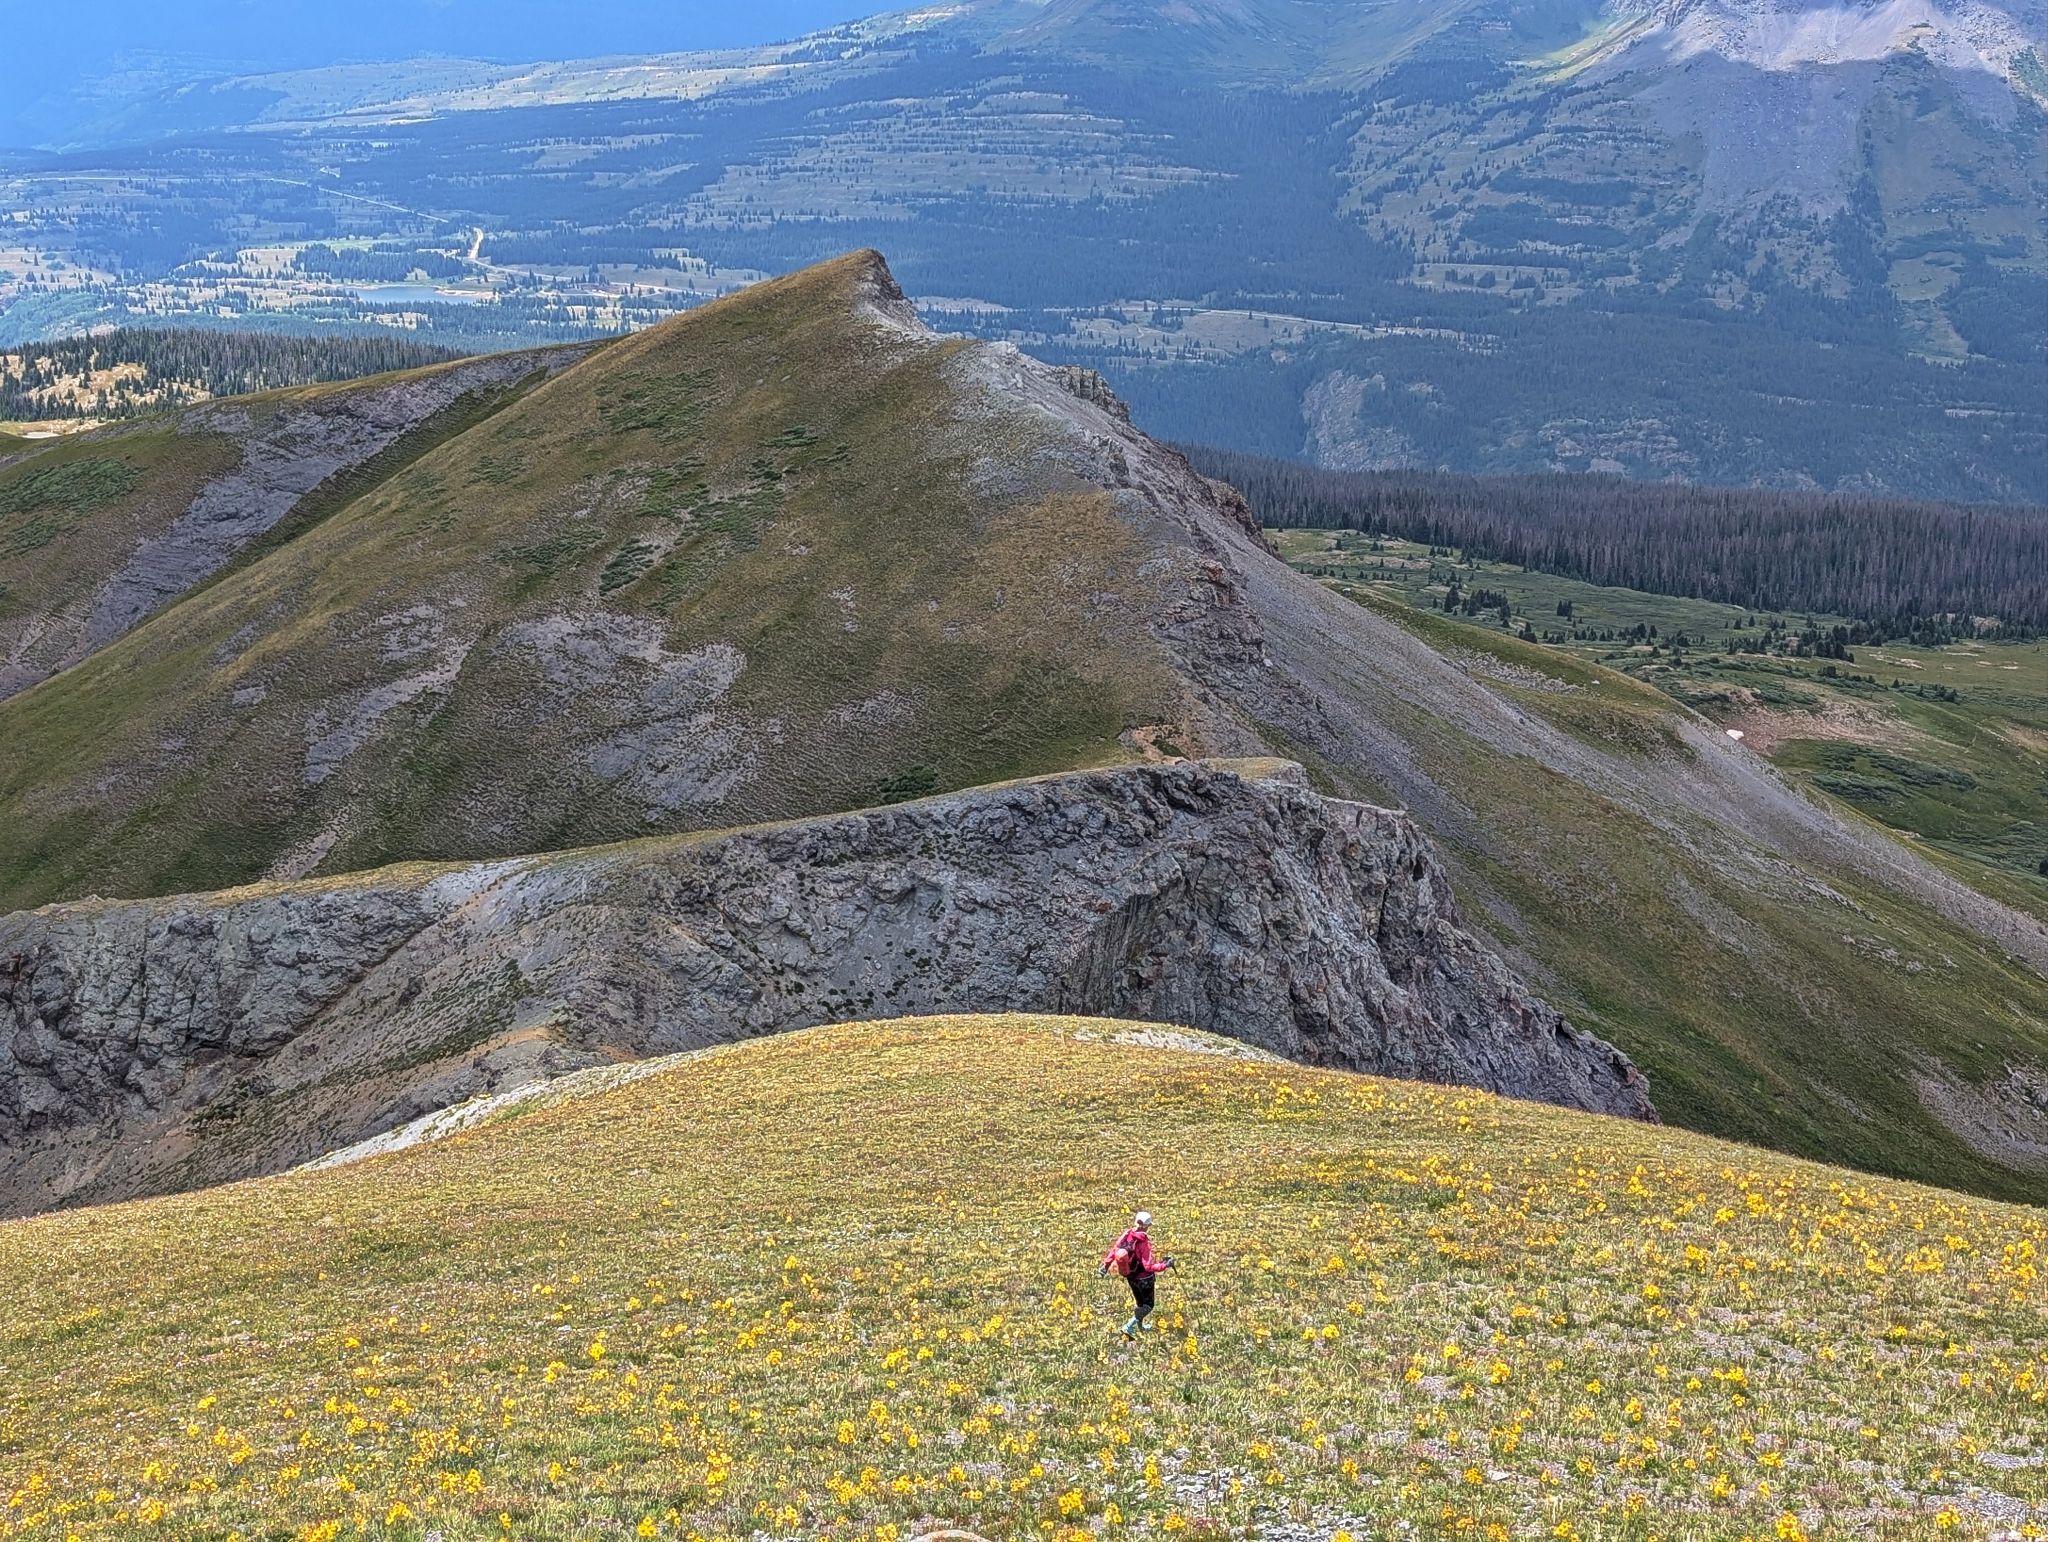
Kristi descends PT12959's south ridge and heads to Arrow BM
![Arrow bm loop 14]()
The Process
![Arrow bm loop 15]()
The Result
![Arrow bm loop 16]()
Pigeon over Garfield to the south
![Arrow bm loop 17]()
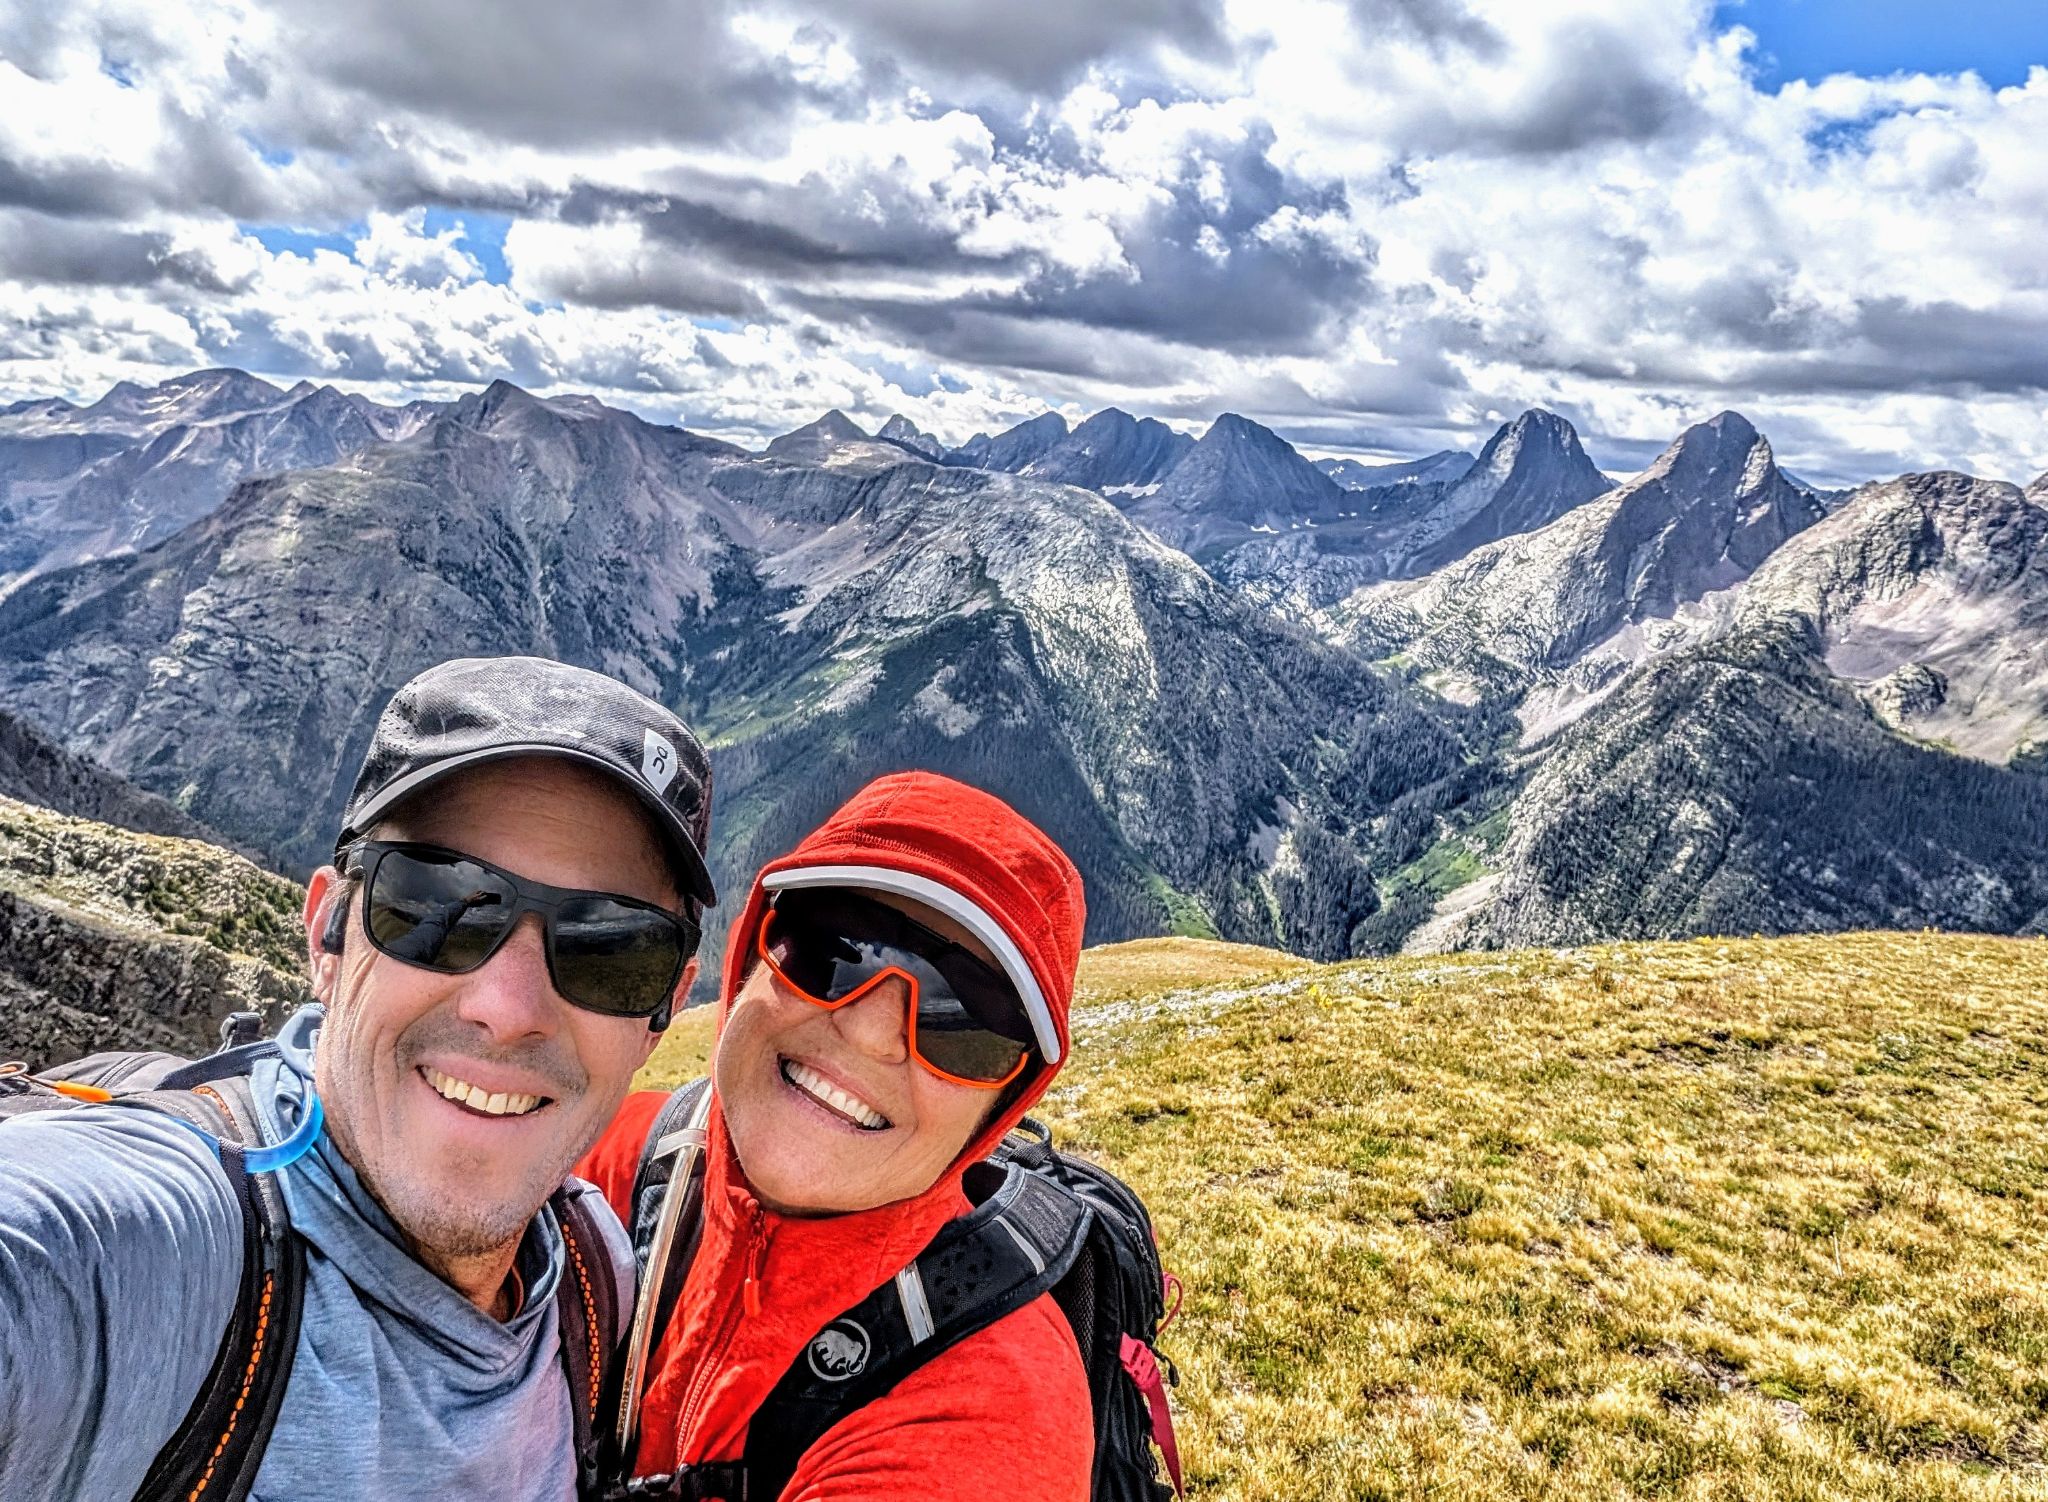
Stoked on Arrow BM's amazing summit
![Arrow bm loop 18]()
We contoured around the south side of PT13959 on return
![Arrow bm loop 19]()
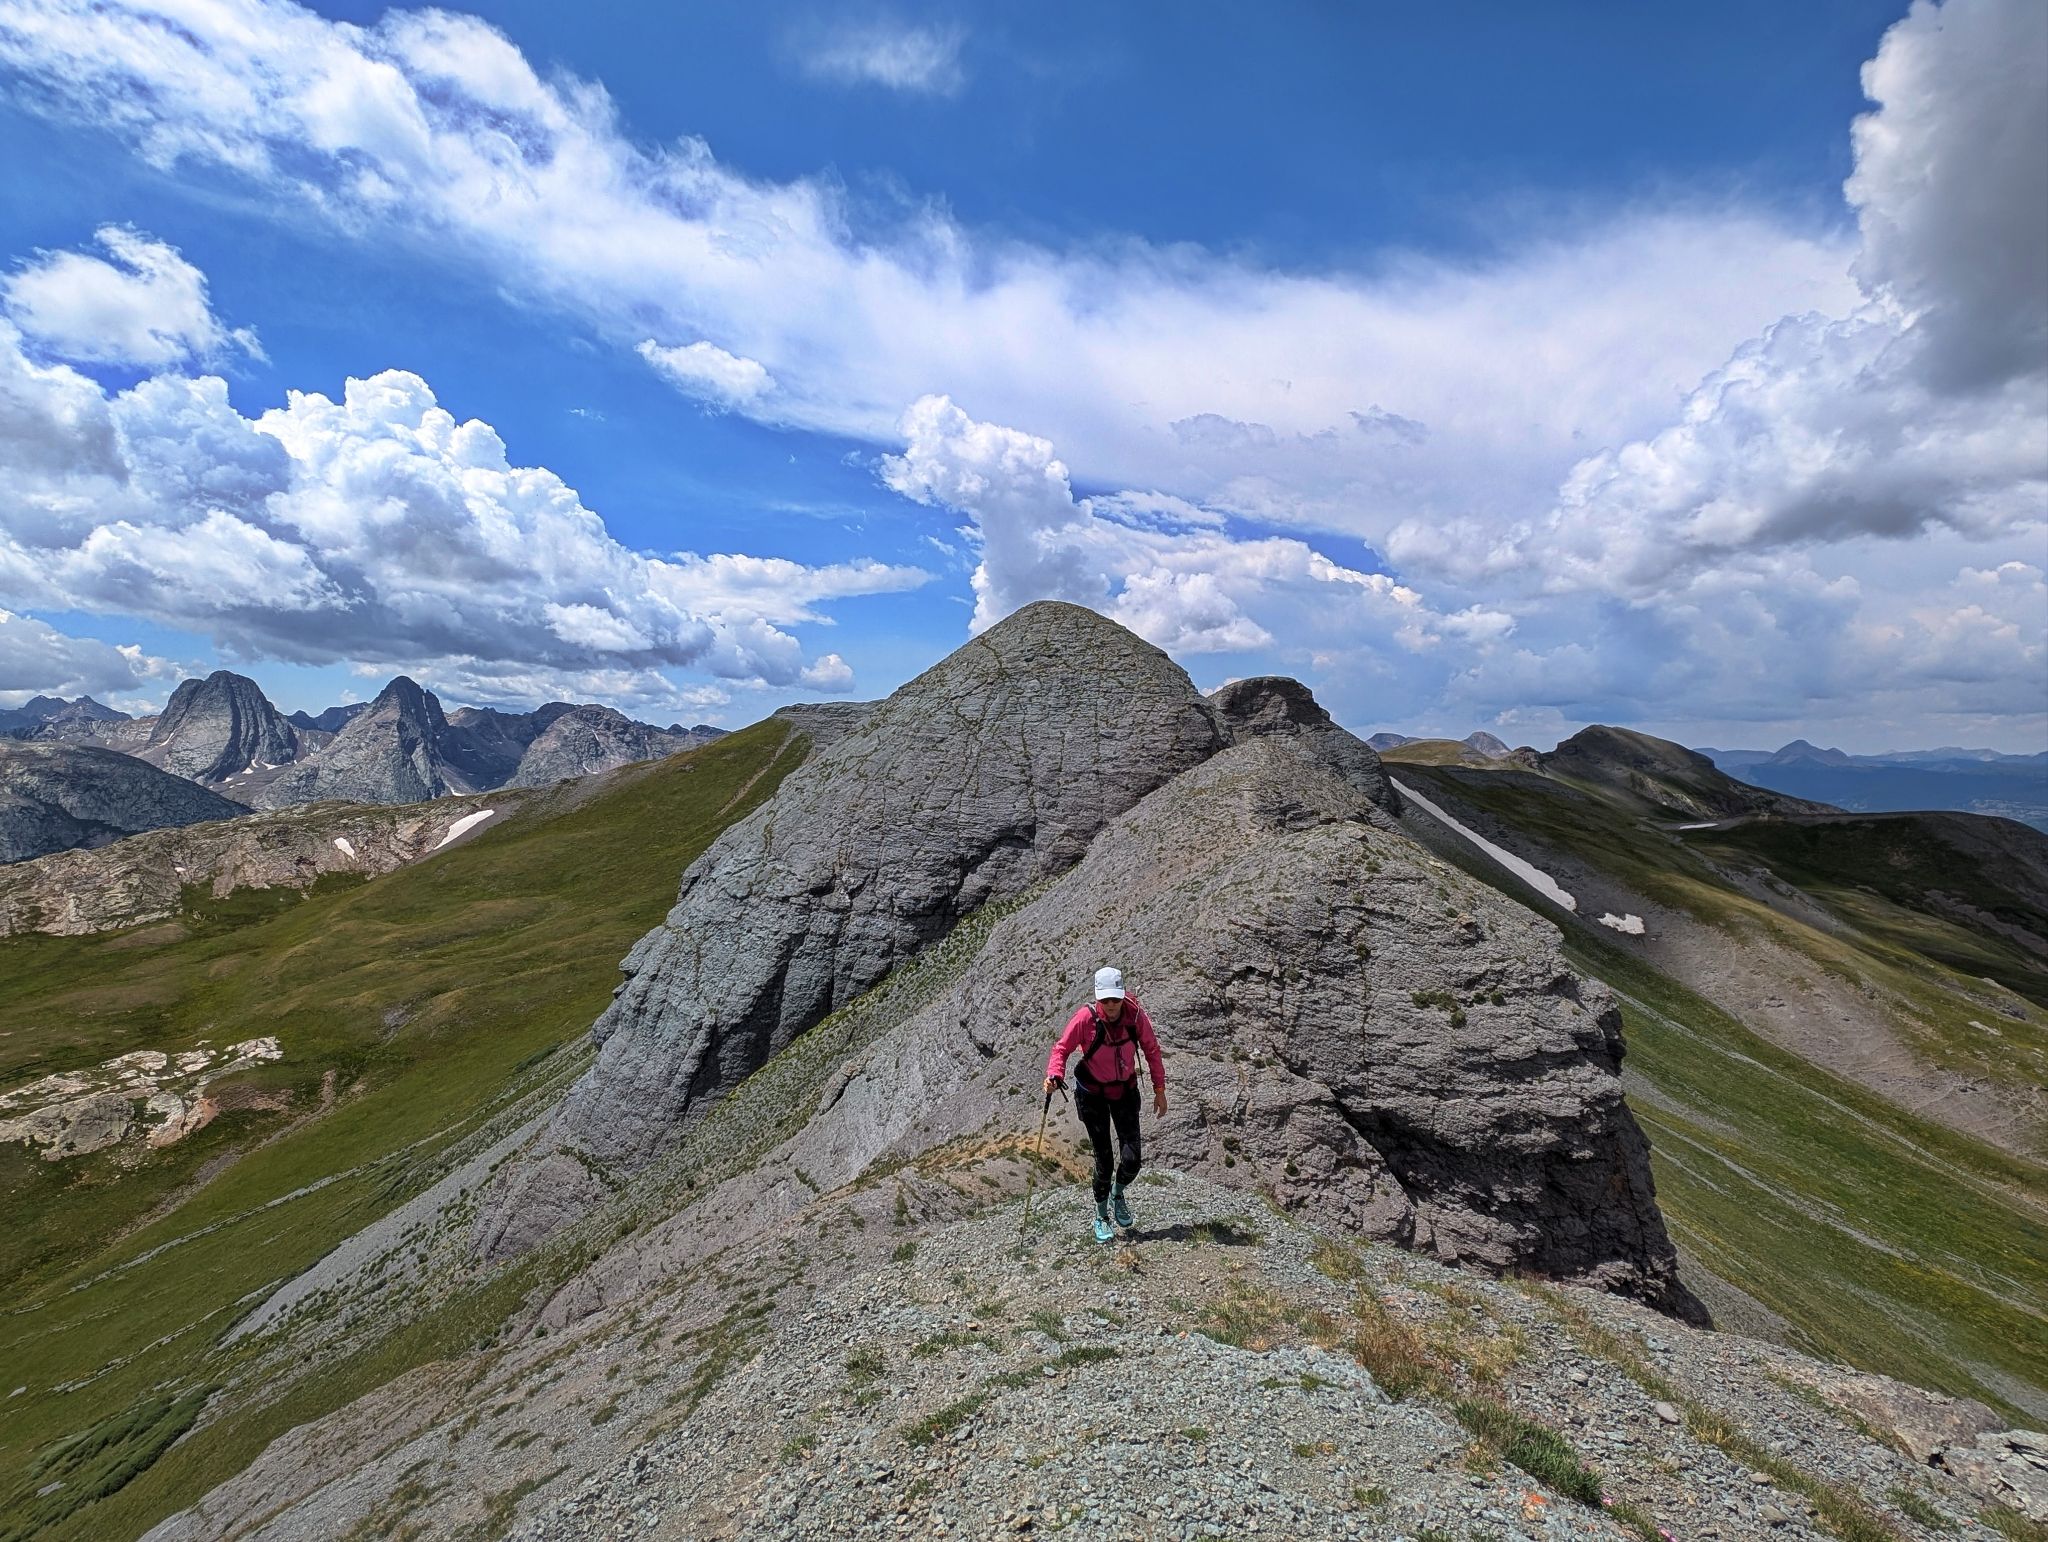
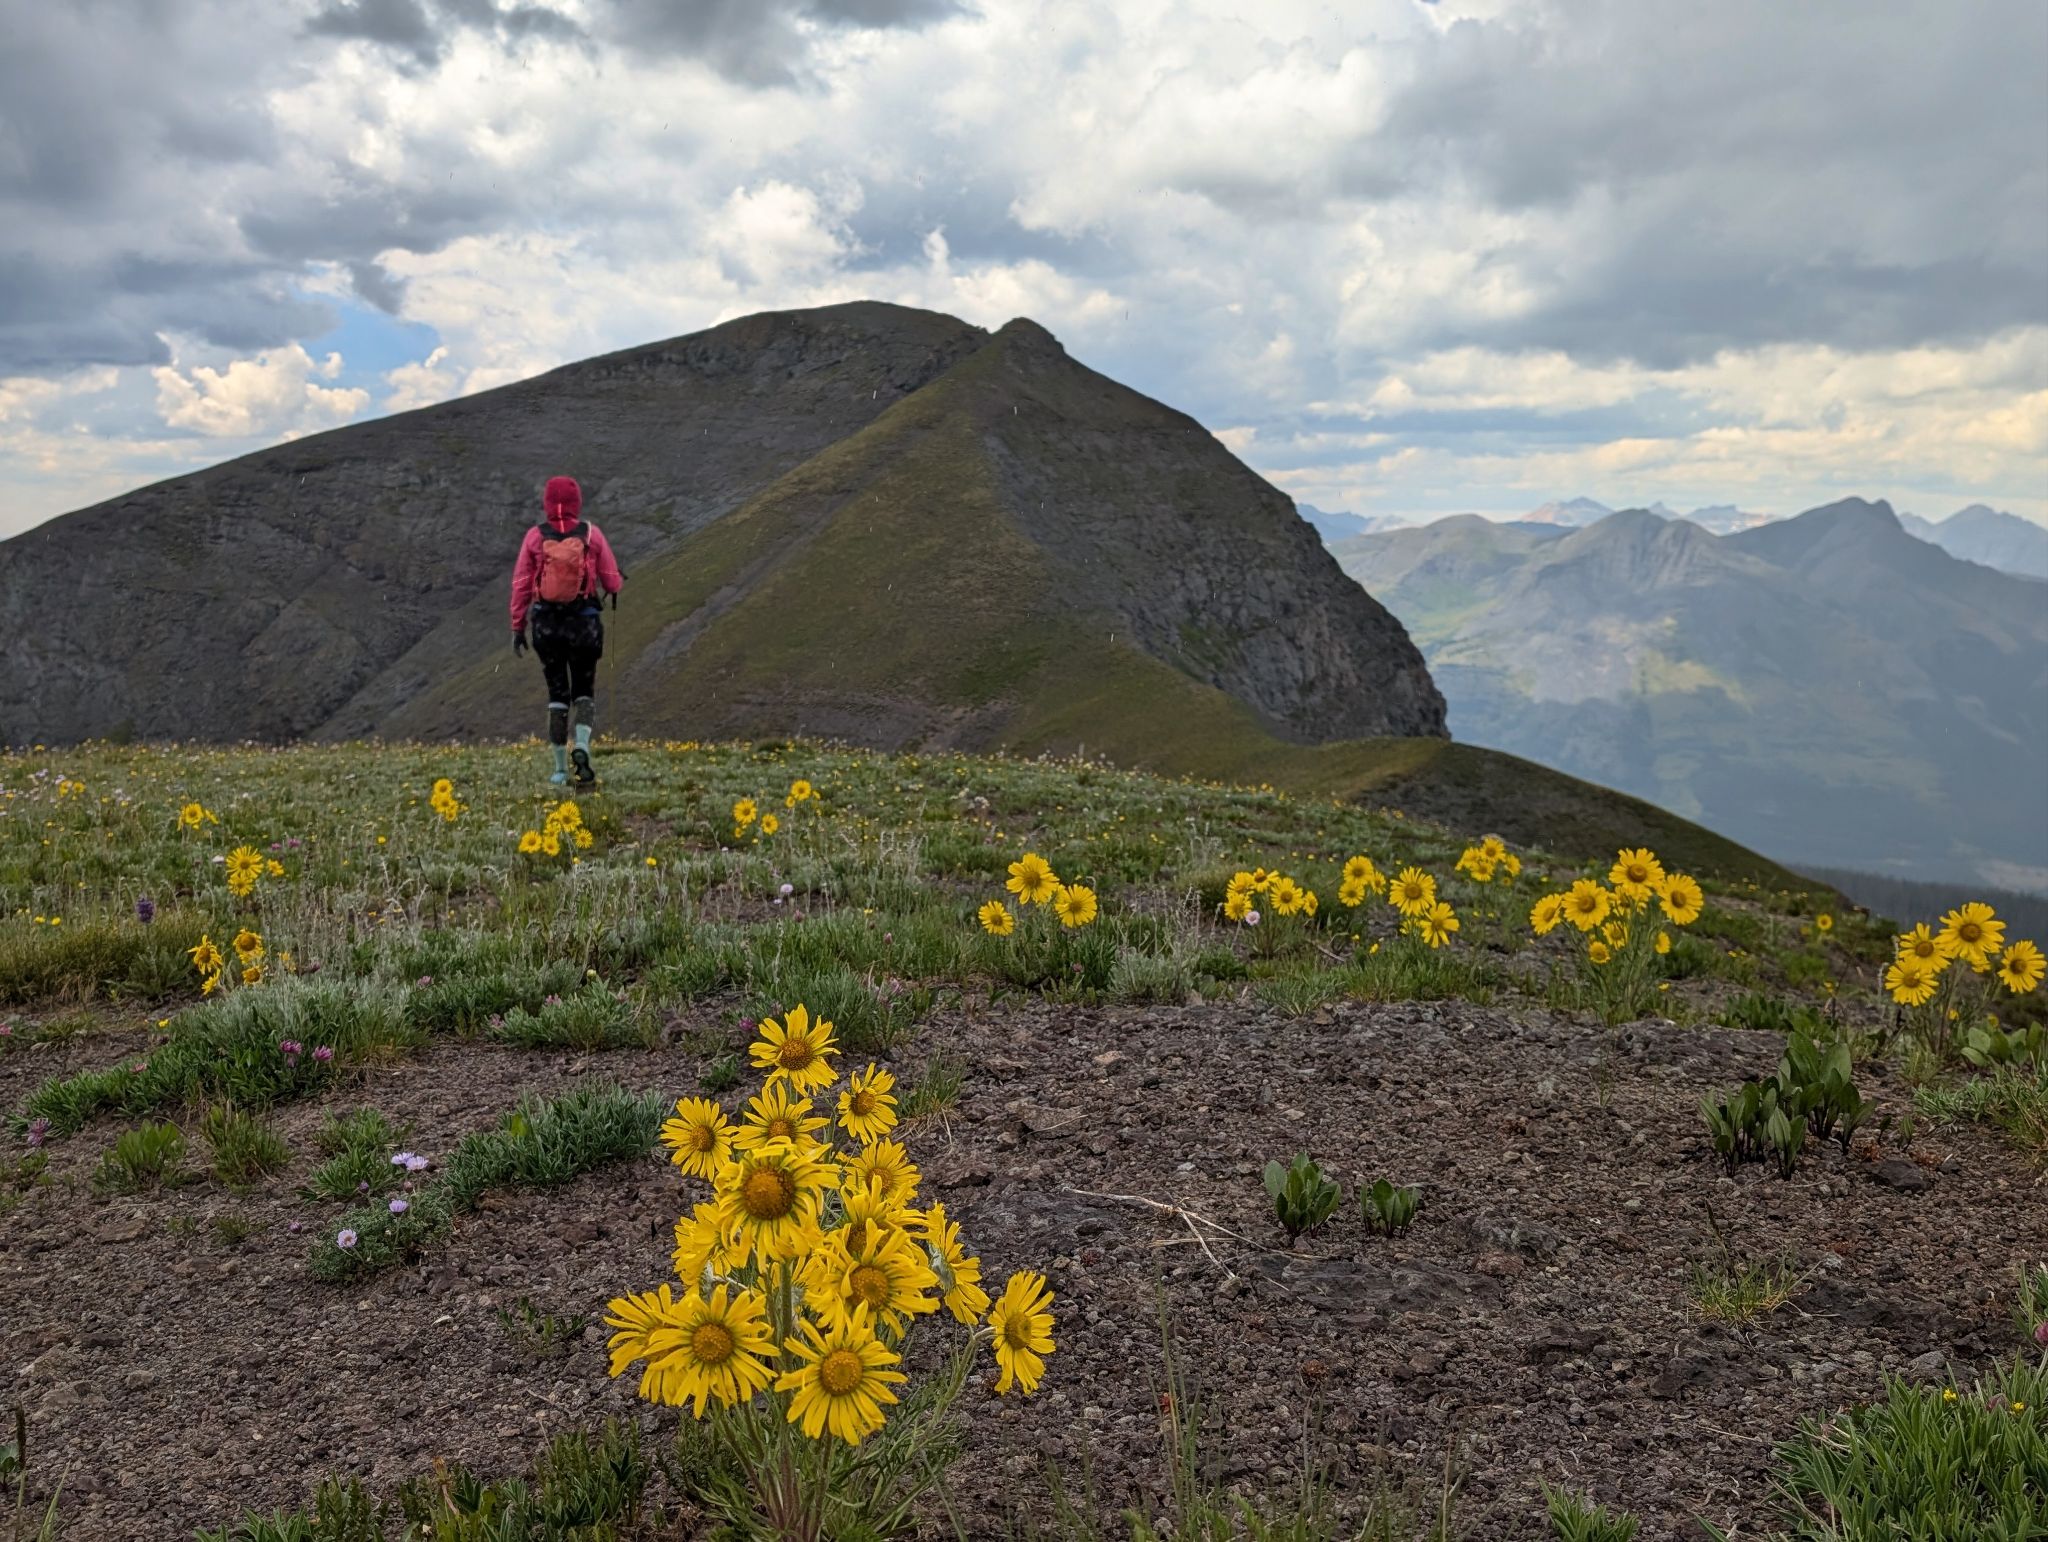
On a whim we decided to traverse a little ridge just northeast of PT12959 and head to Mount Rhoda
![Arrow bm loop 20]()
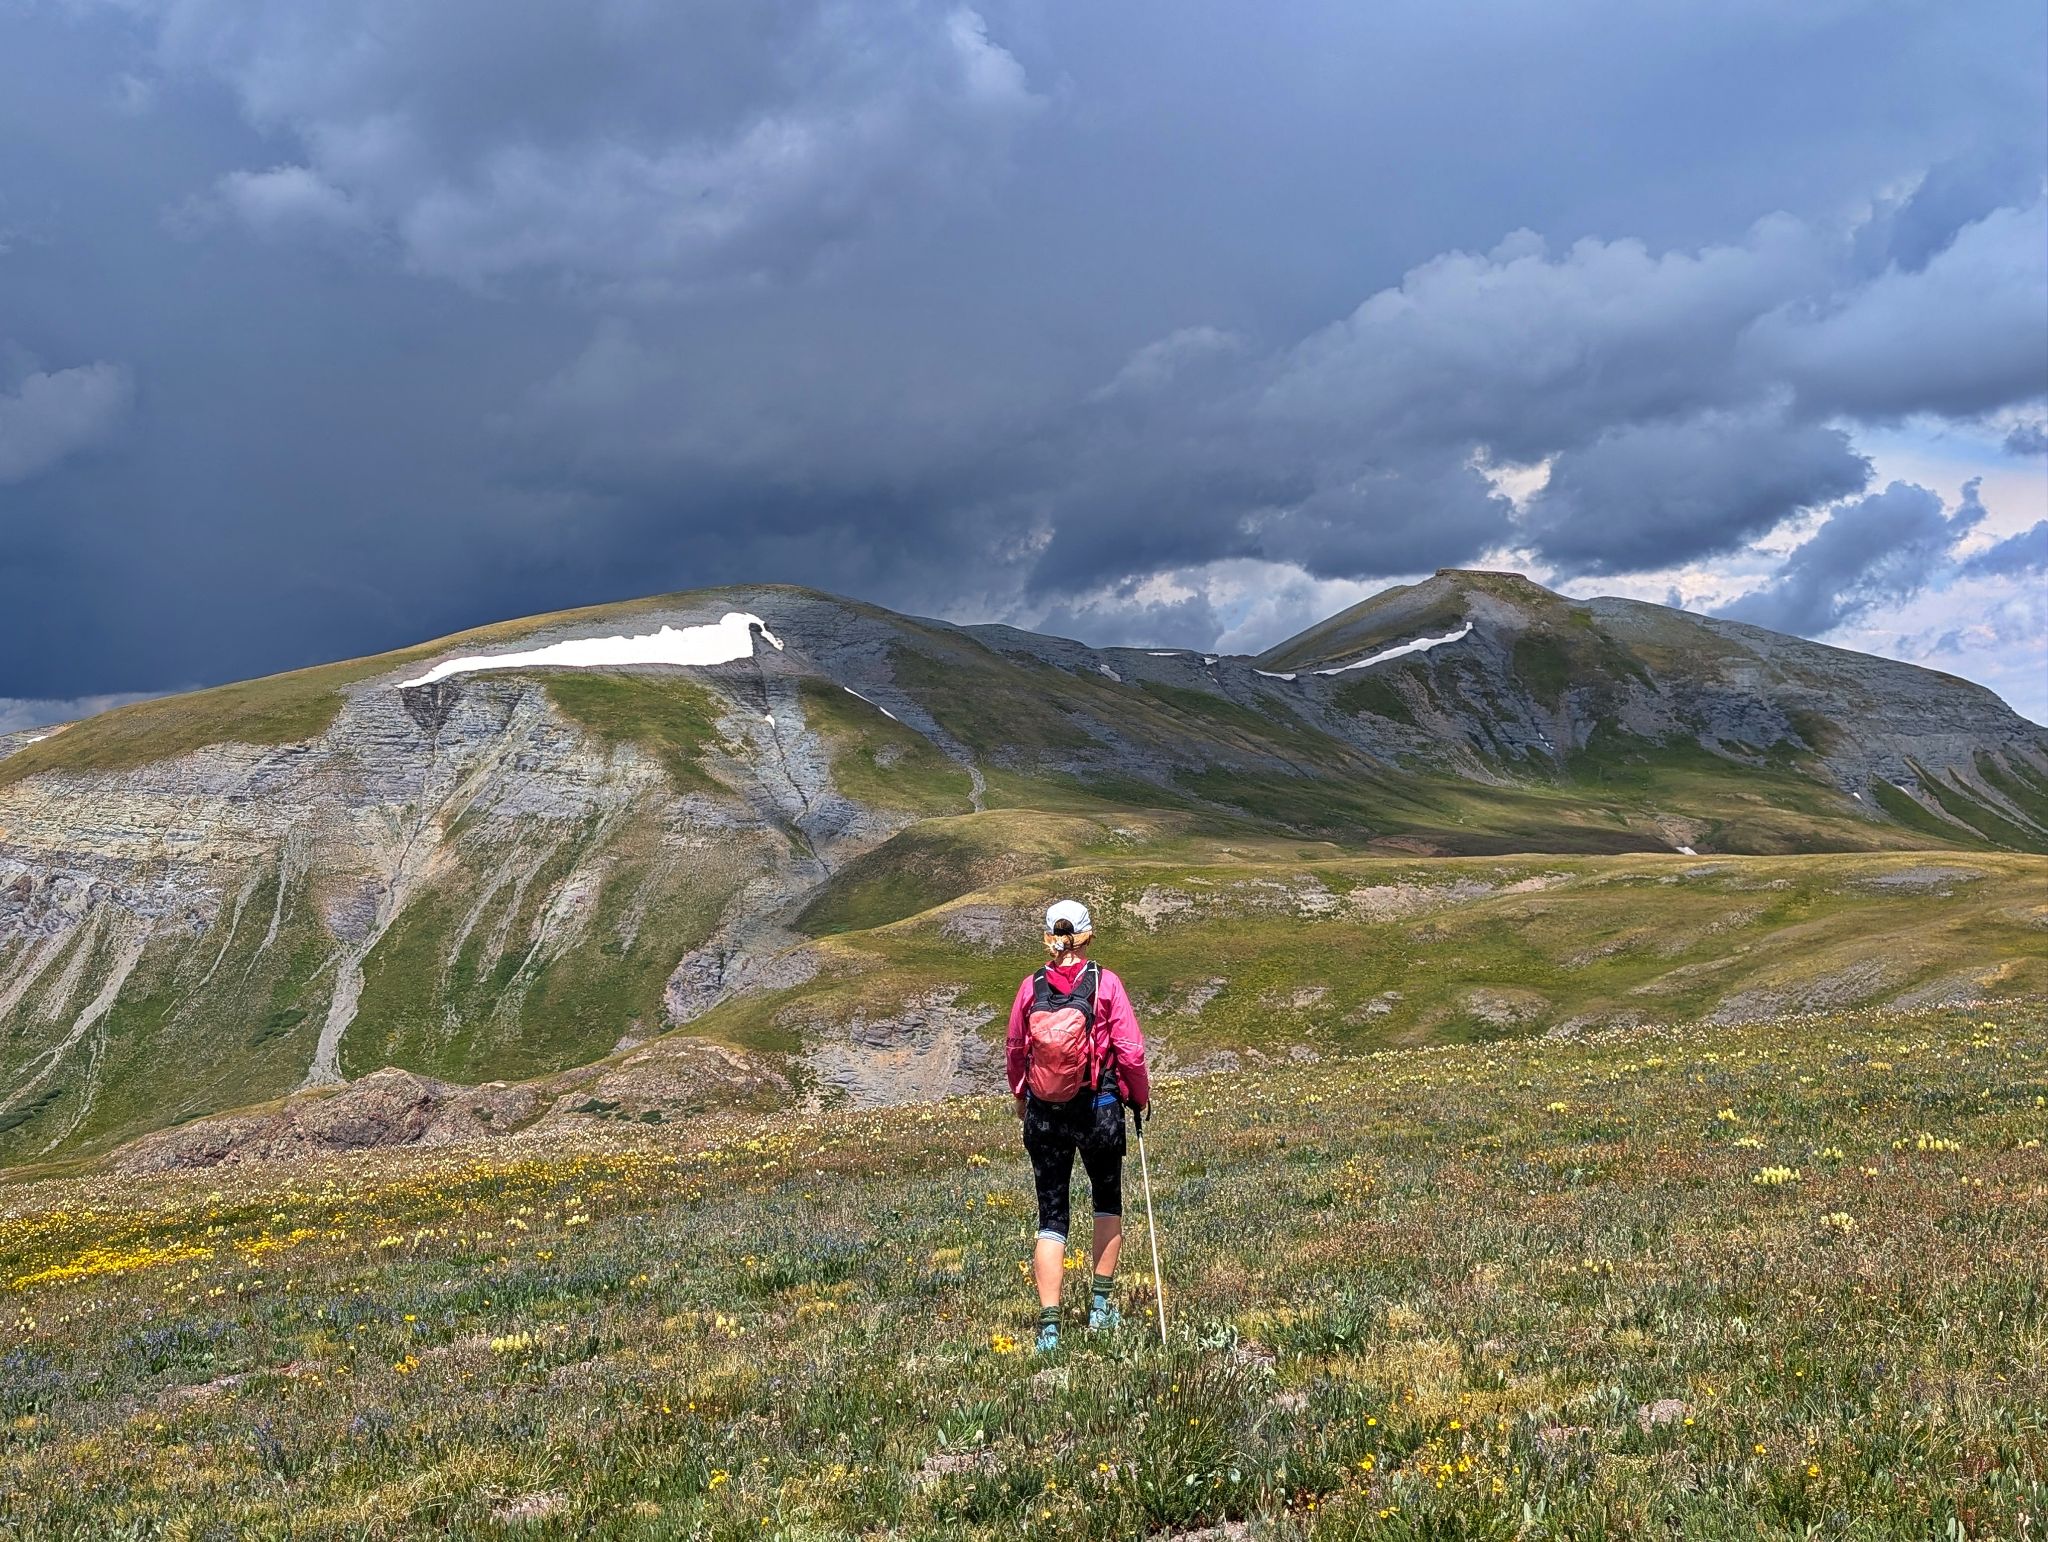
The views didn't let up but the weather was getting moody
![Arrow bm loop 21]()
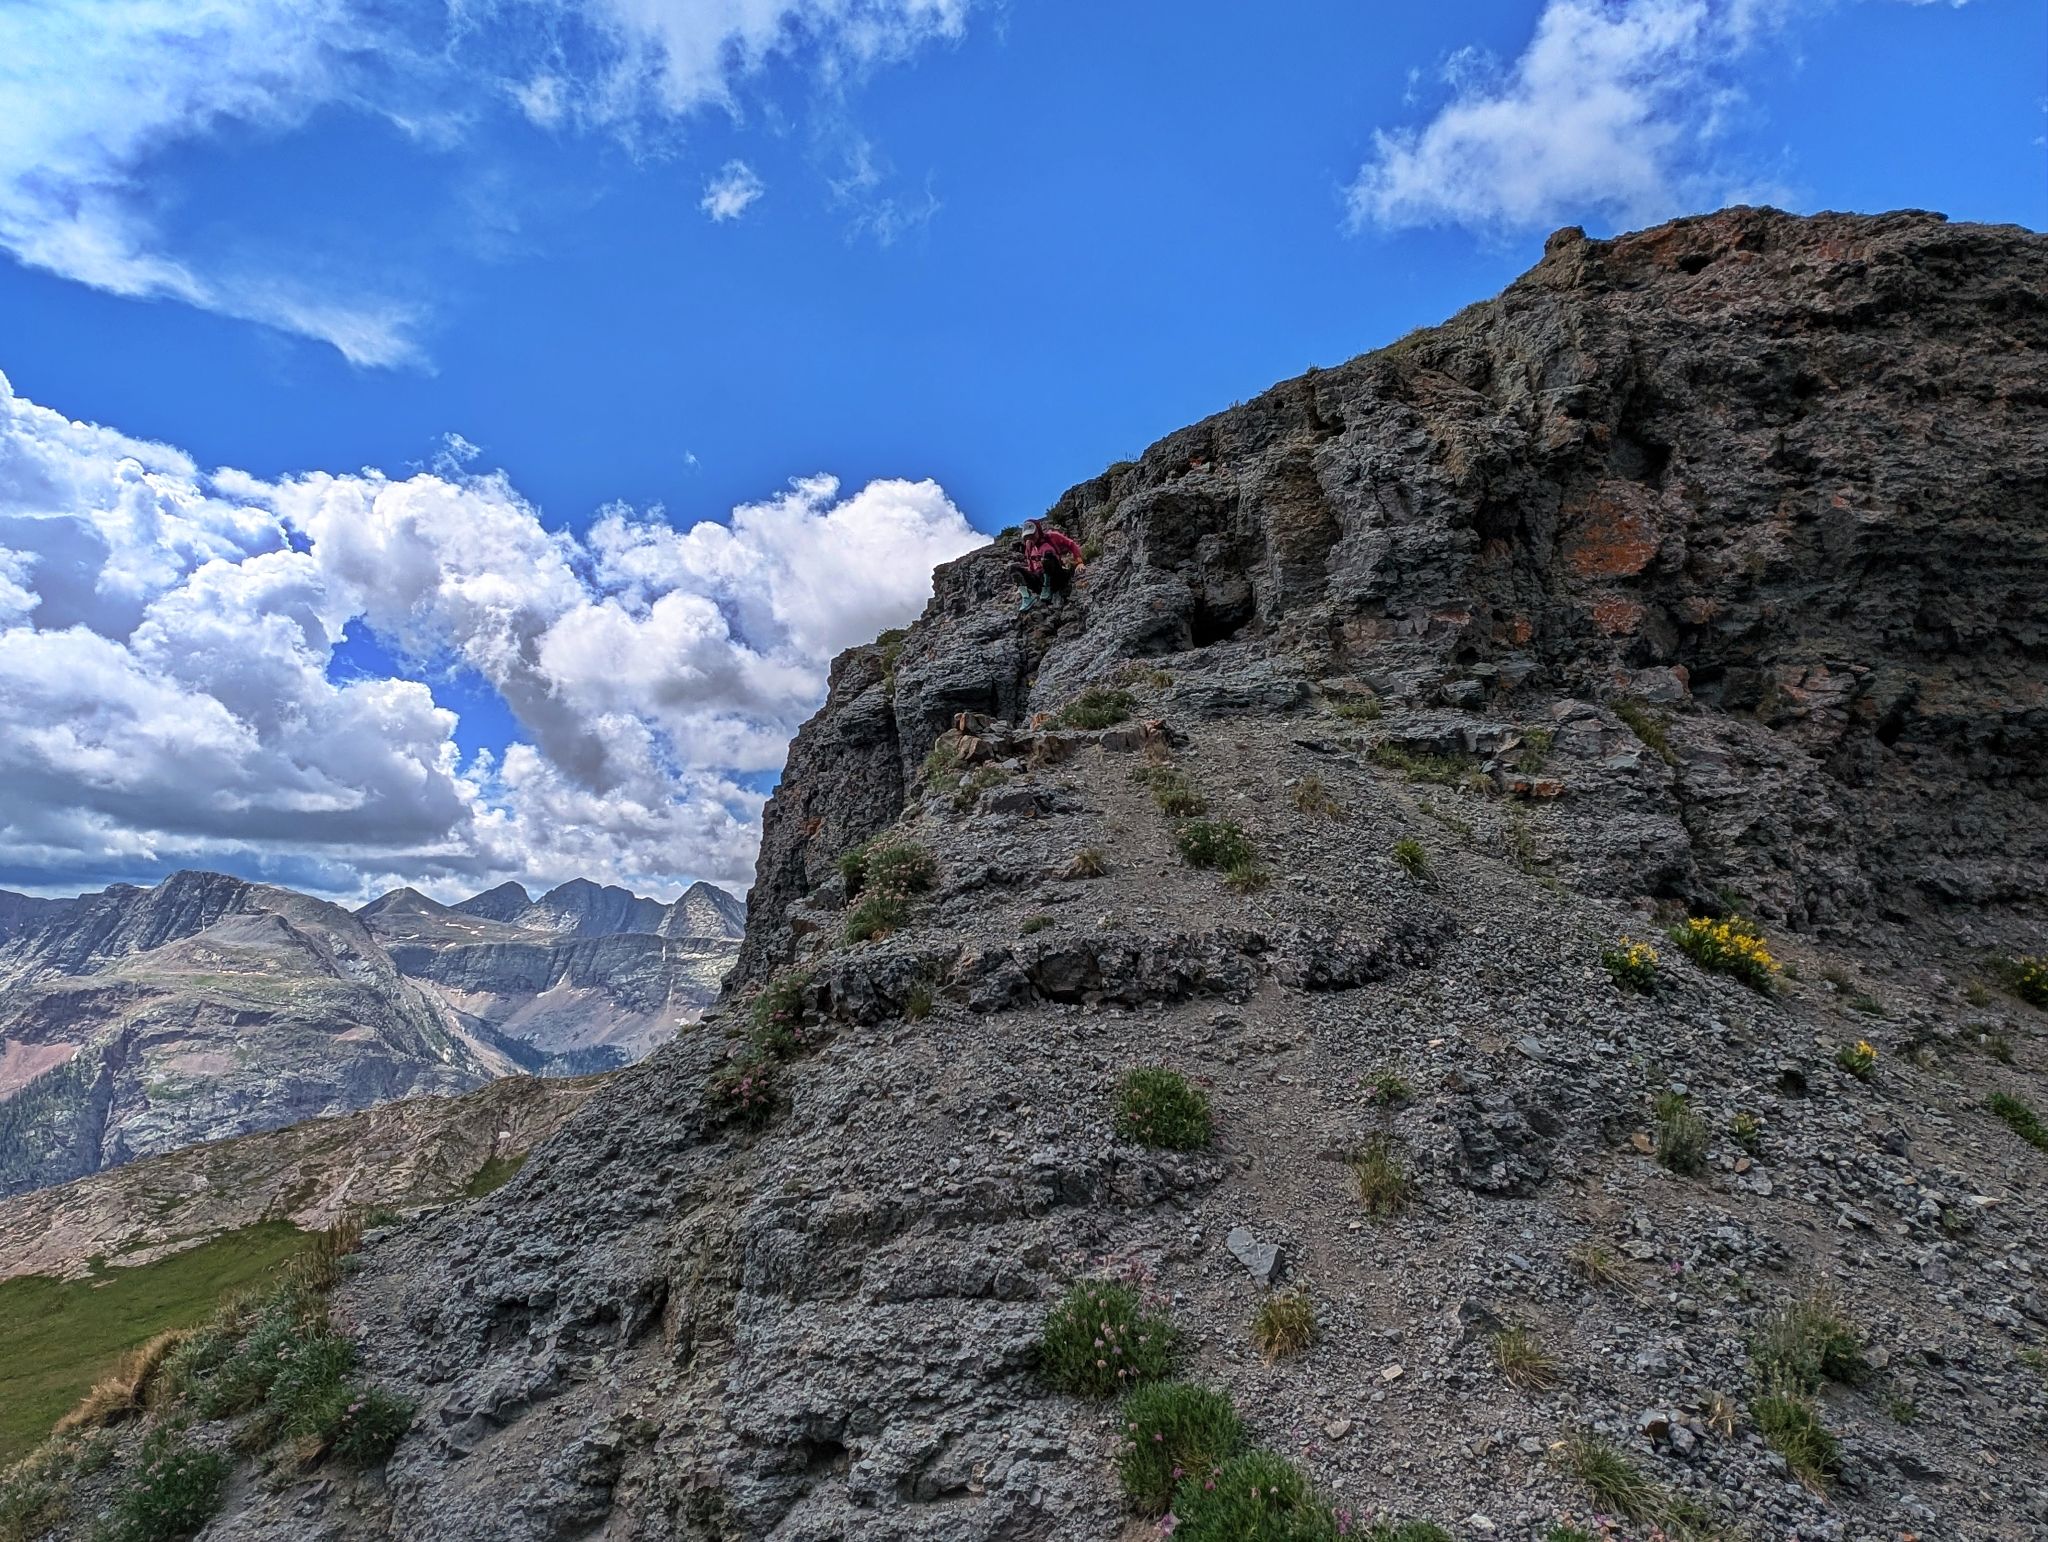
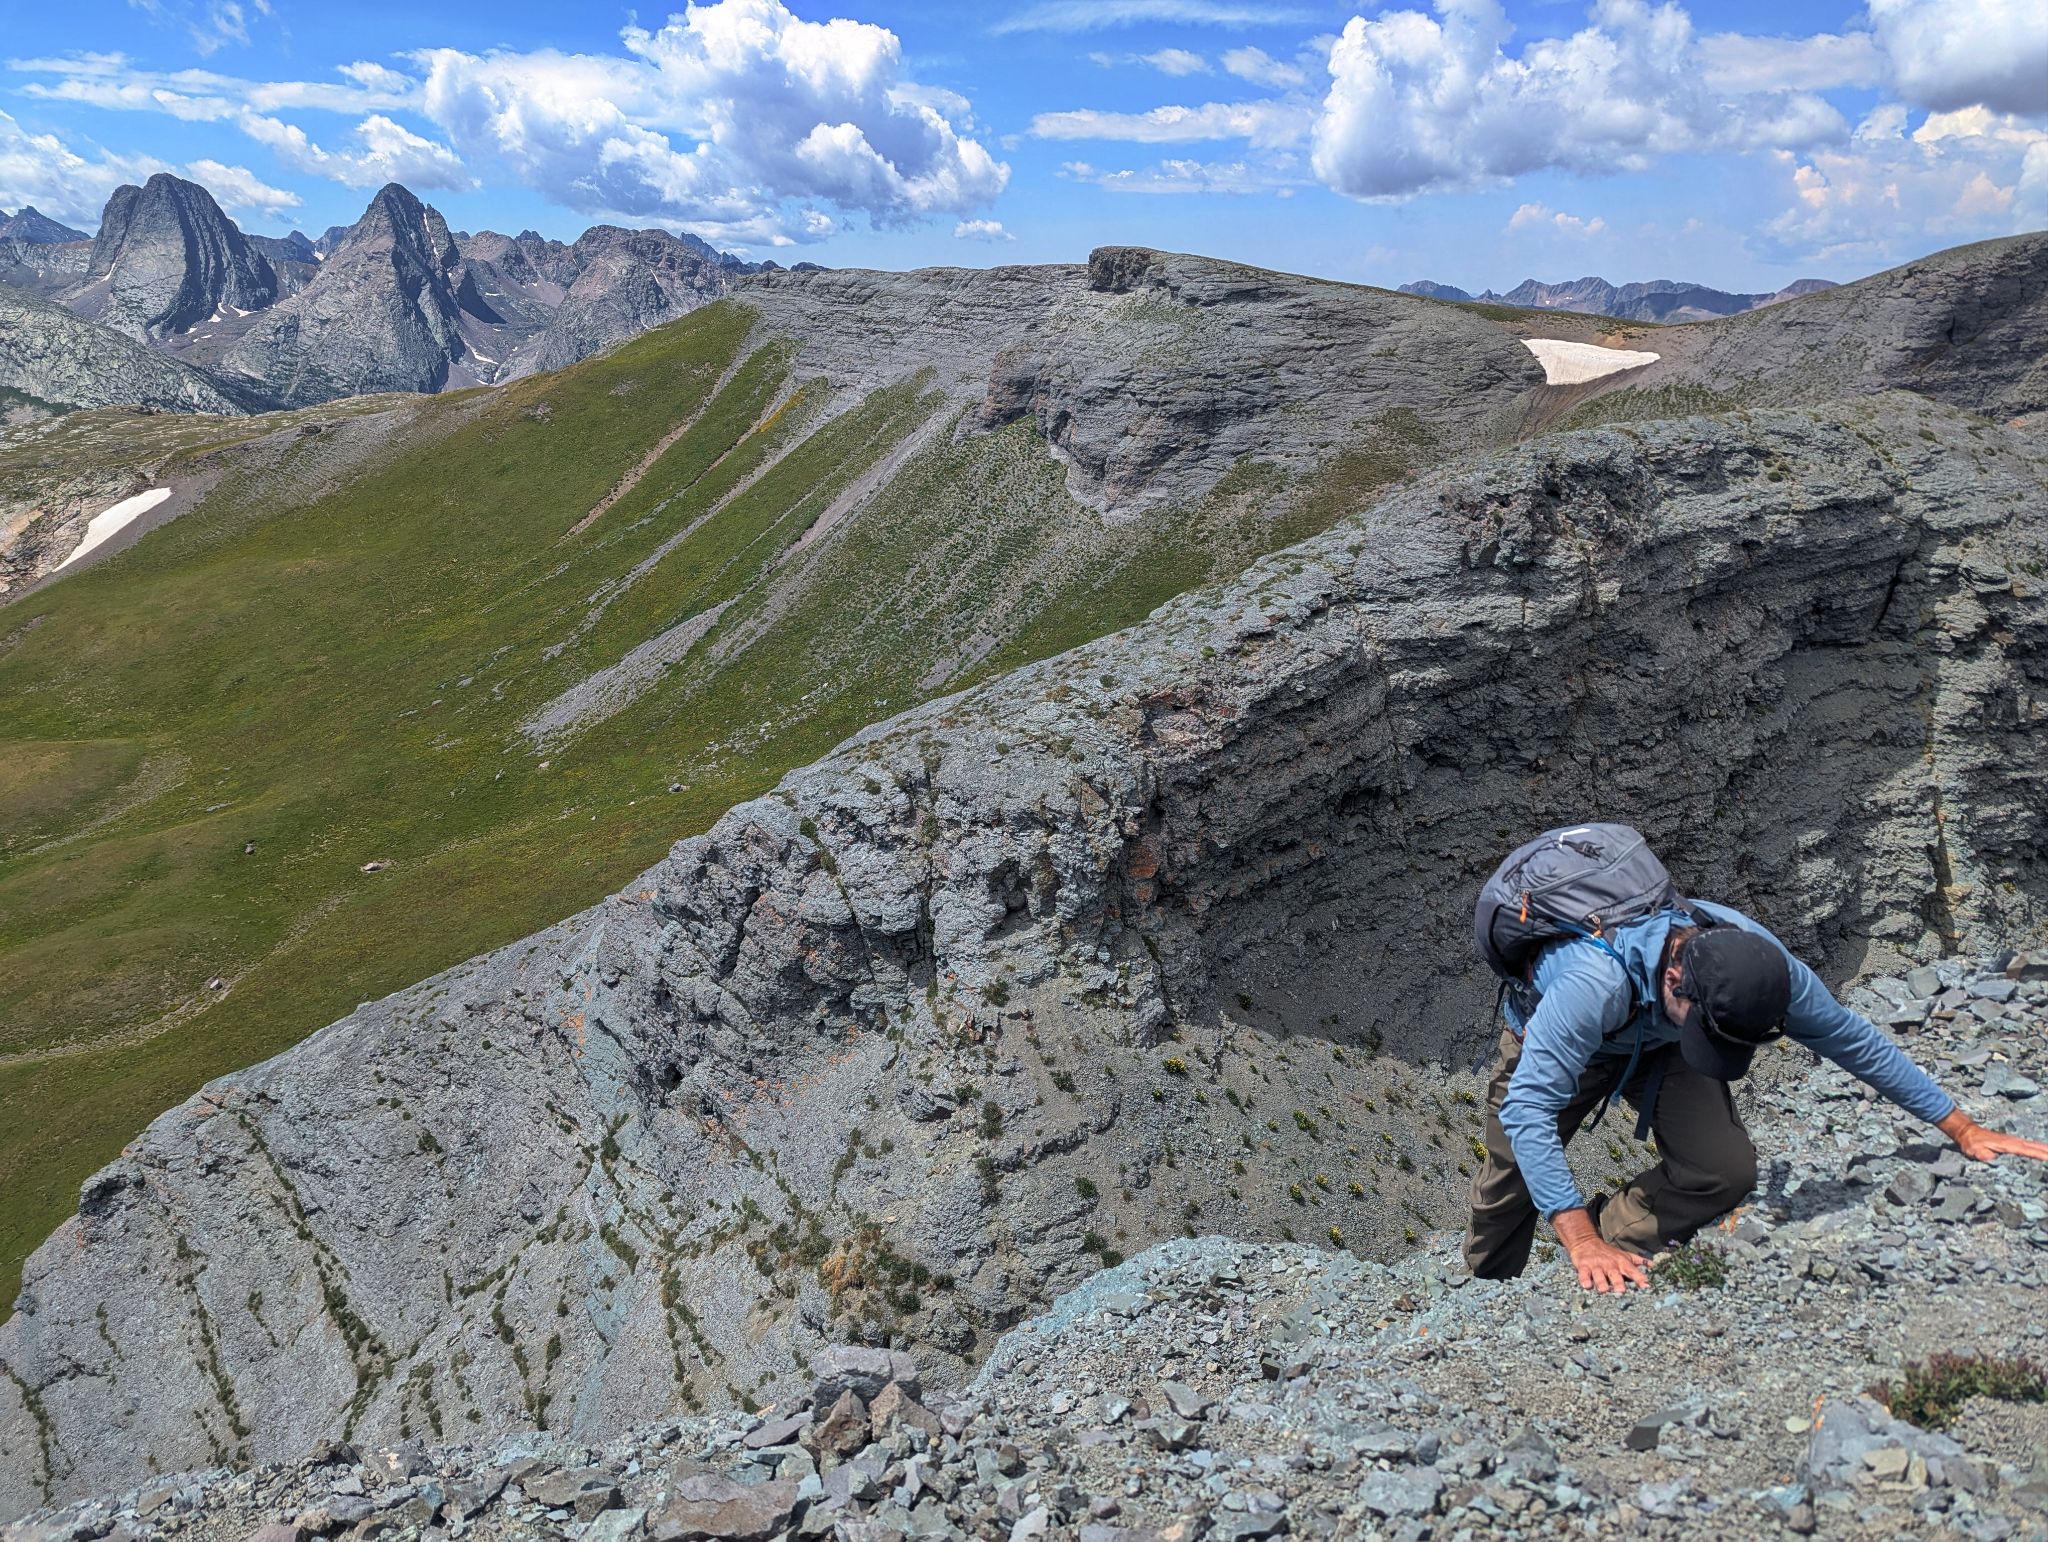
The ridge was relatively gentle with the exception of the large middle bump. Kristi on the spicy descent to the notch
![Arrow bm loop 22]()
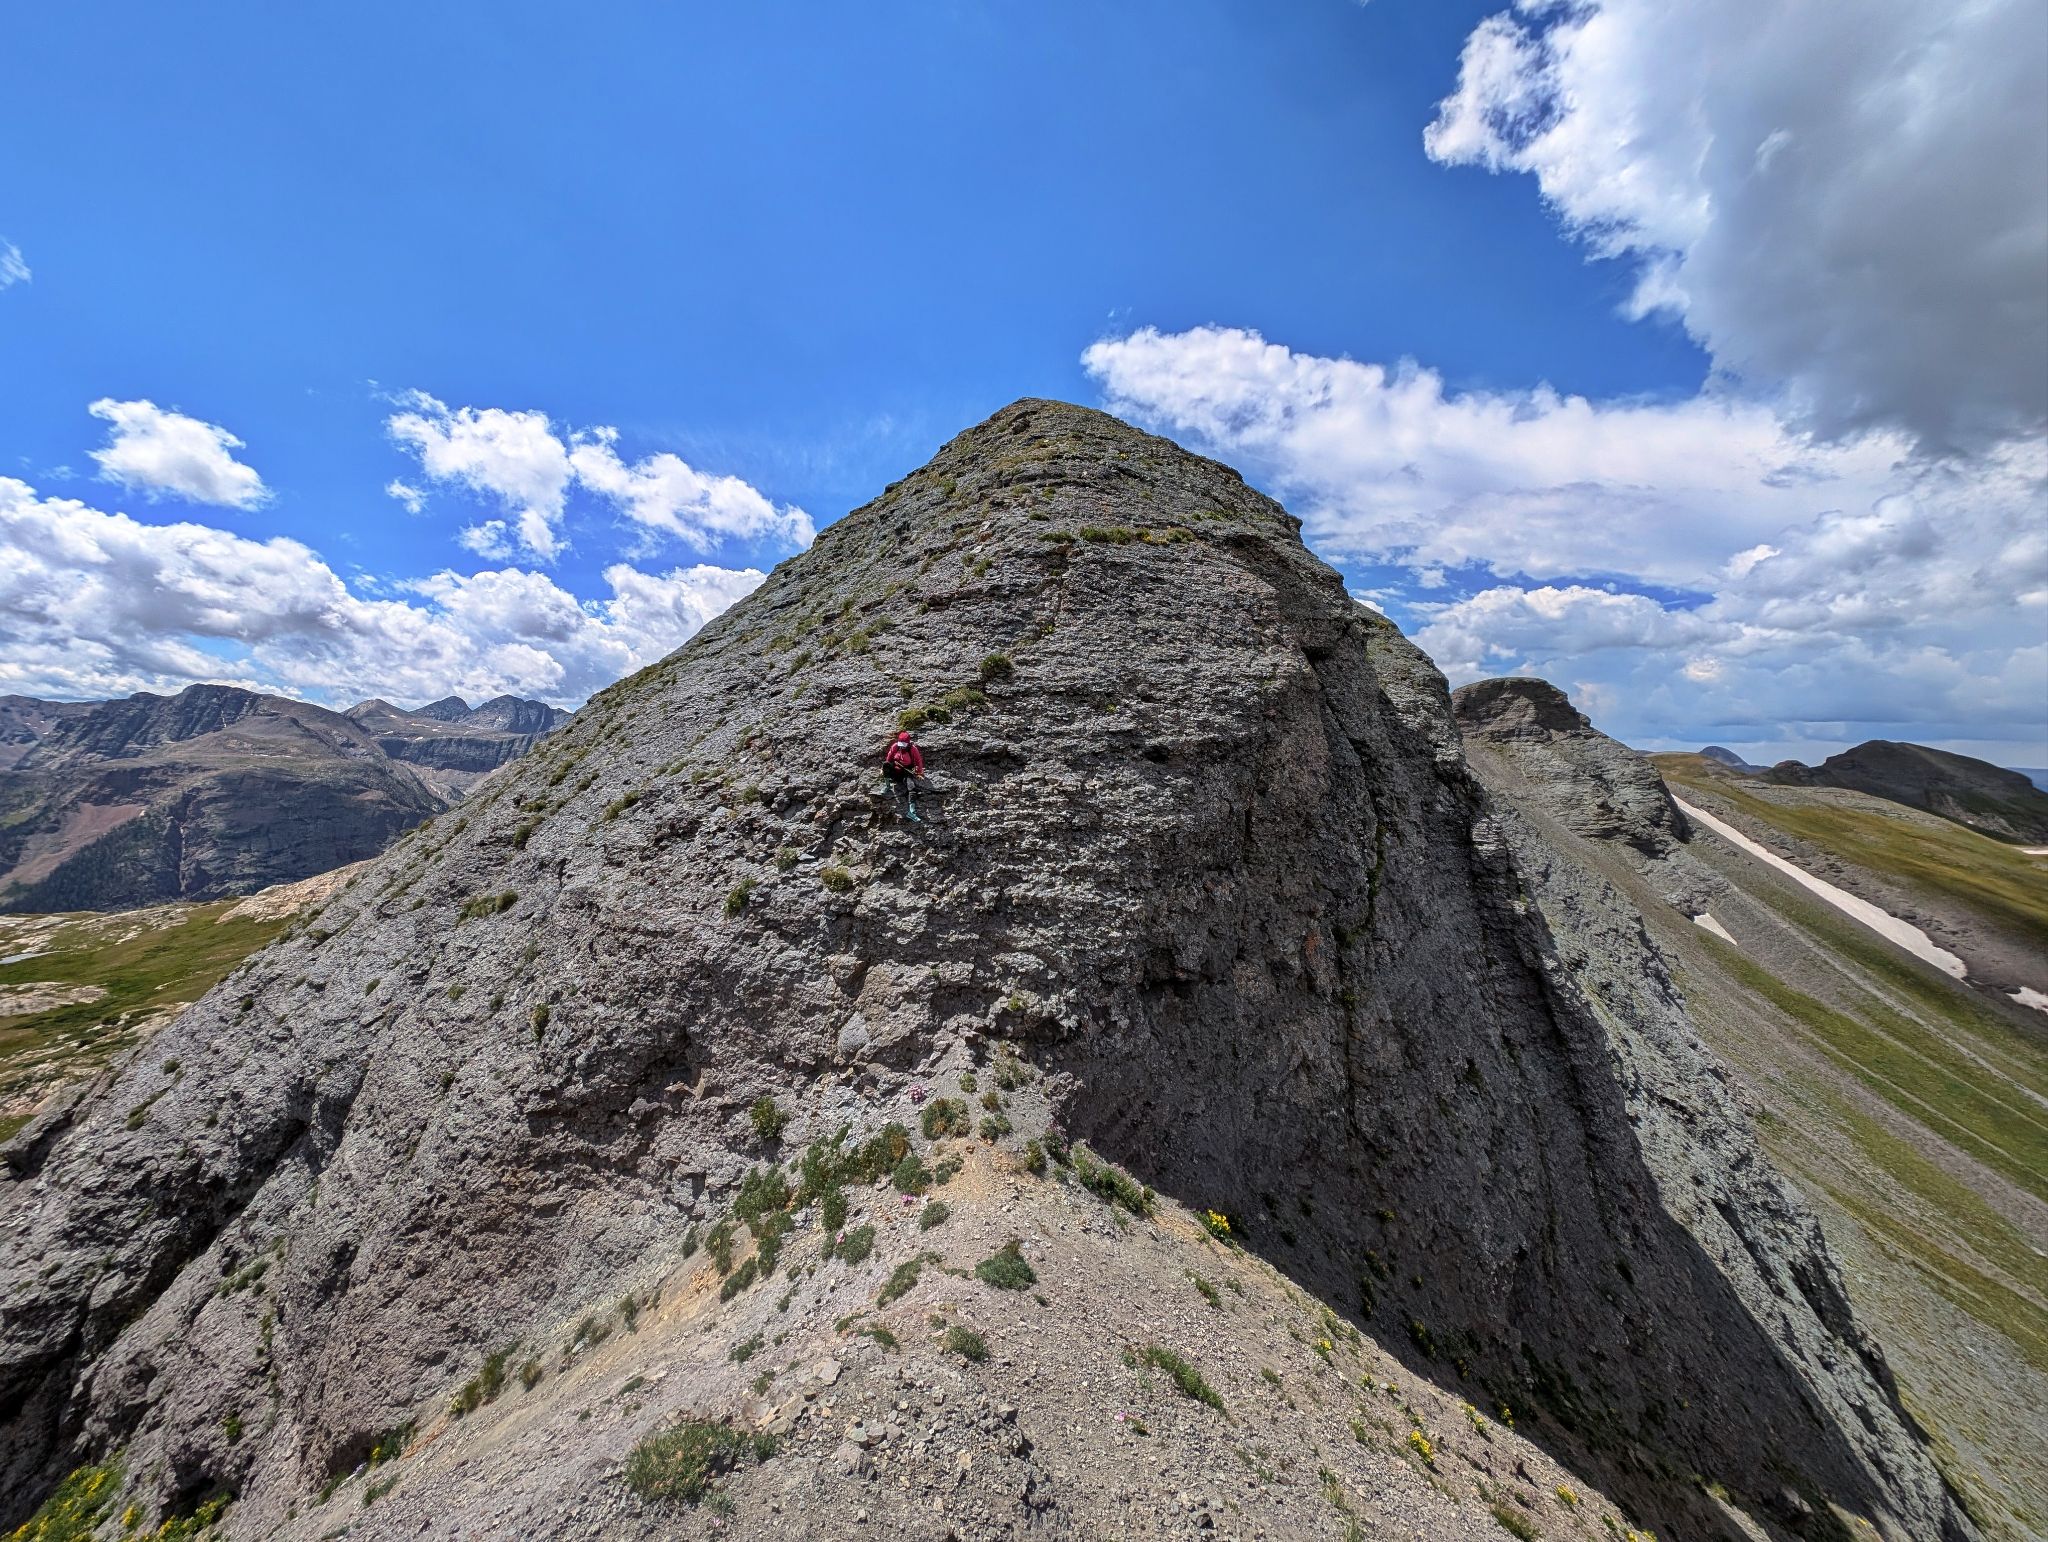
Traversing slick and exposed kitty litter to the base of the middle bump's south wall
![Arrow bm loop 23]()
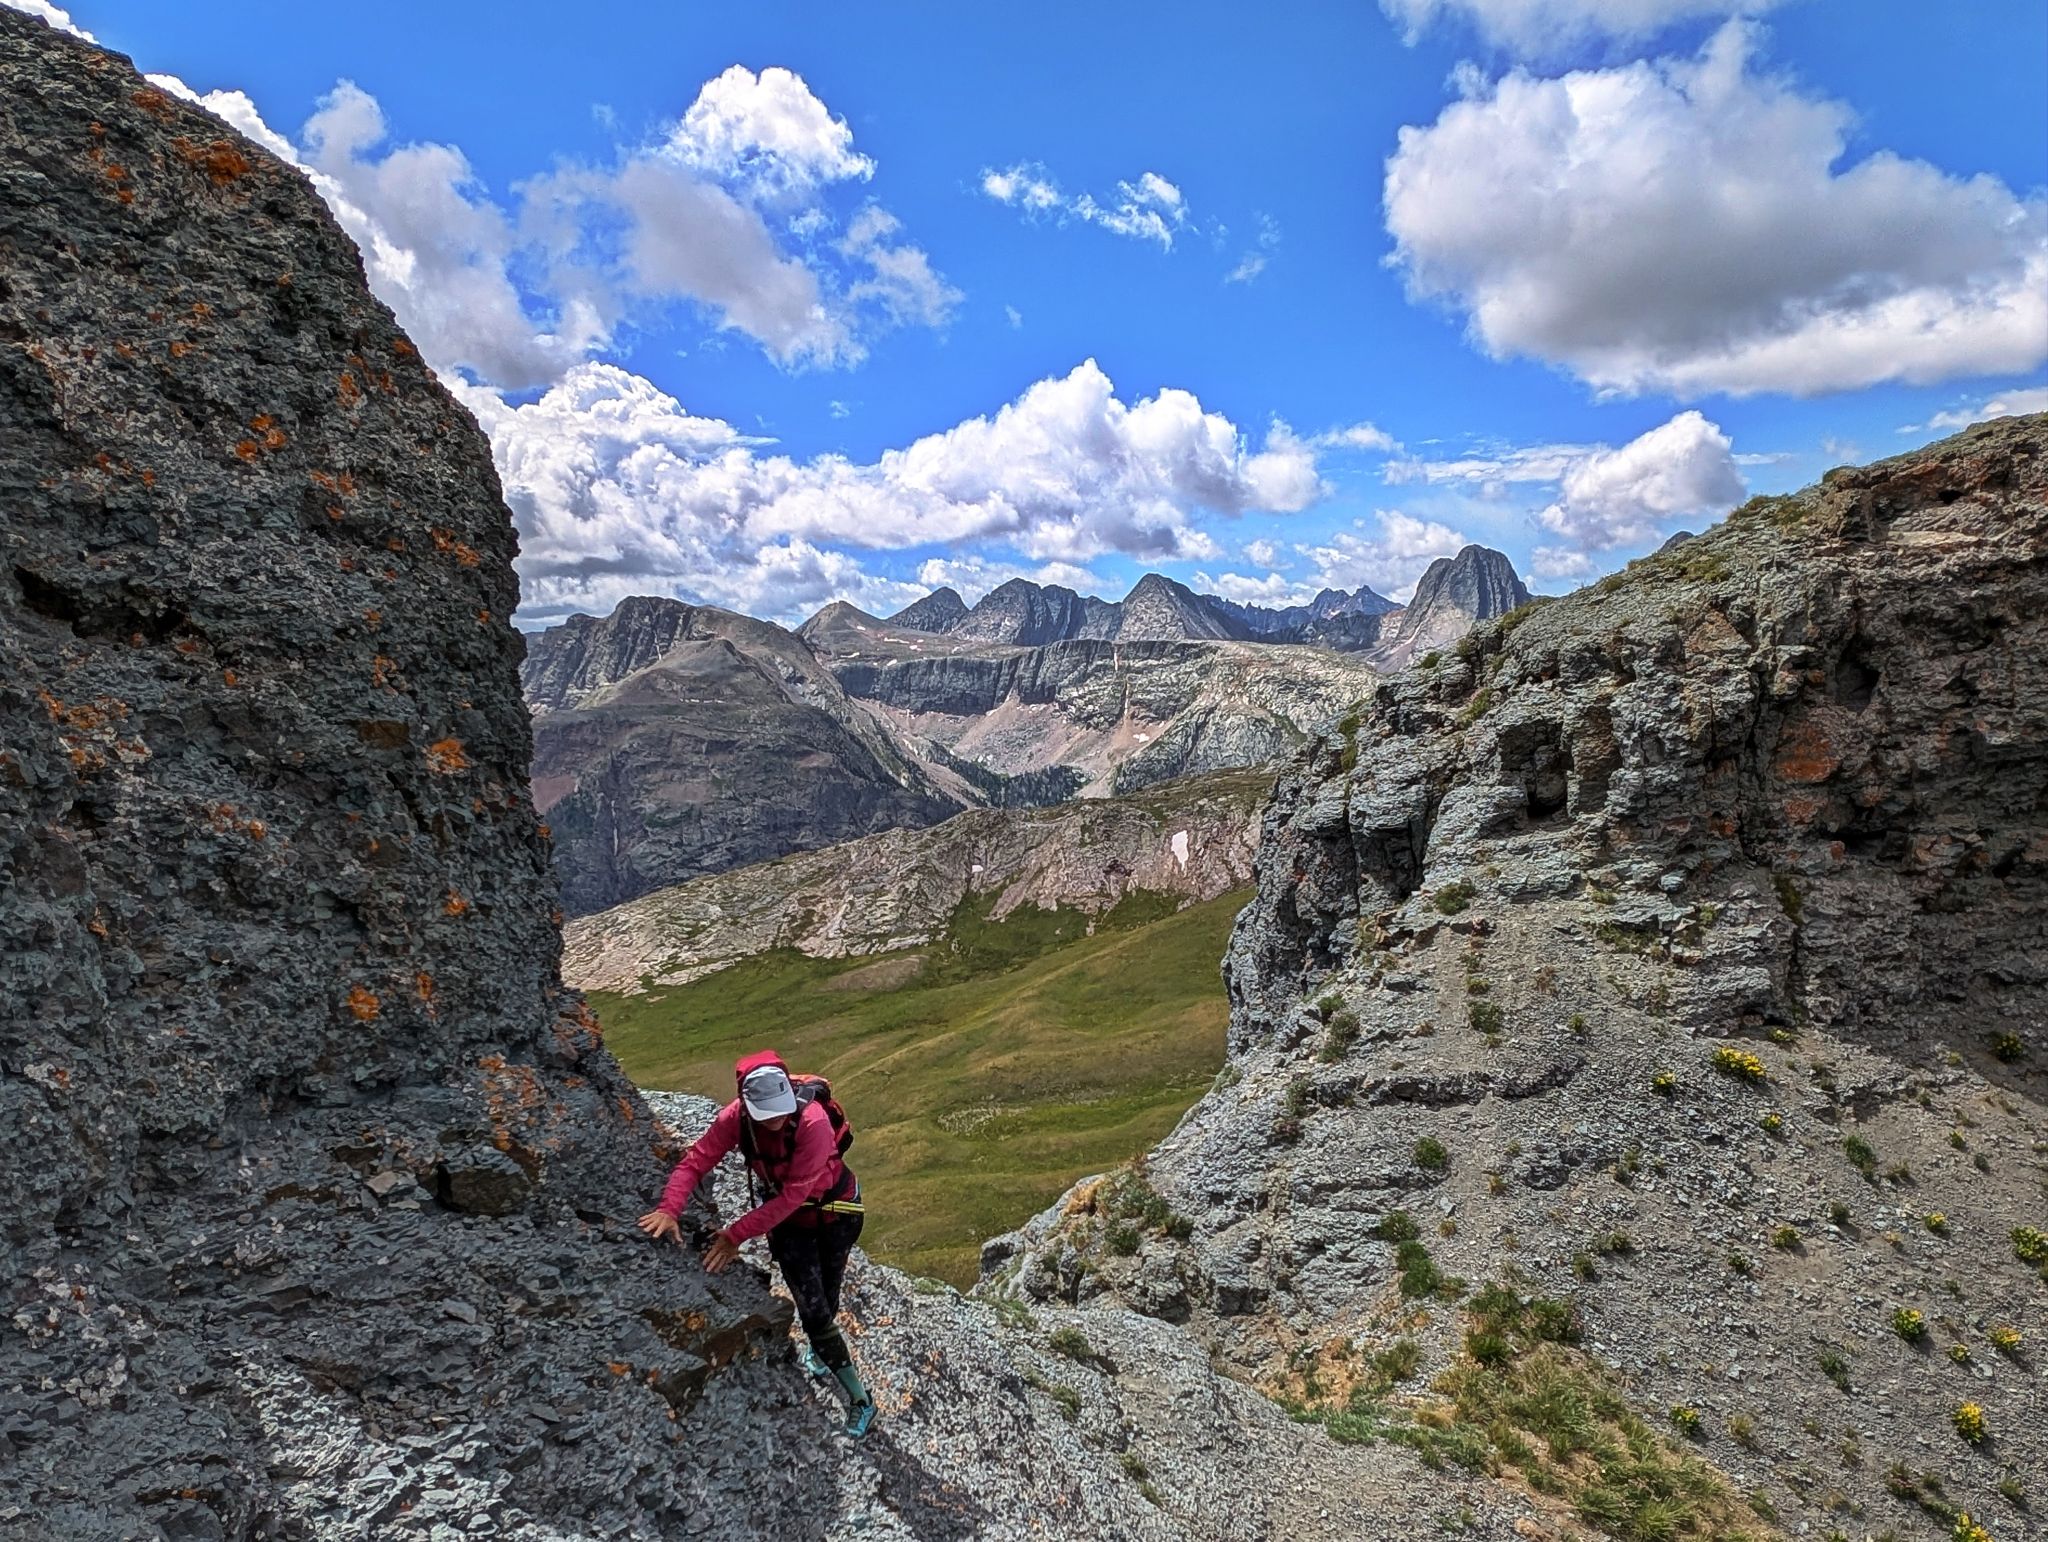
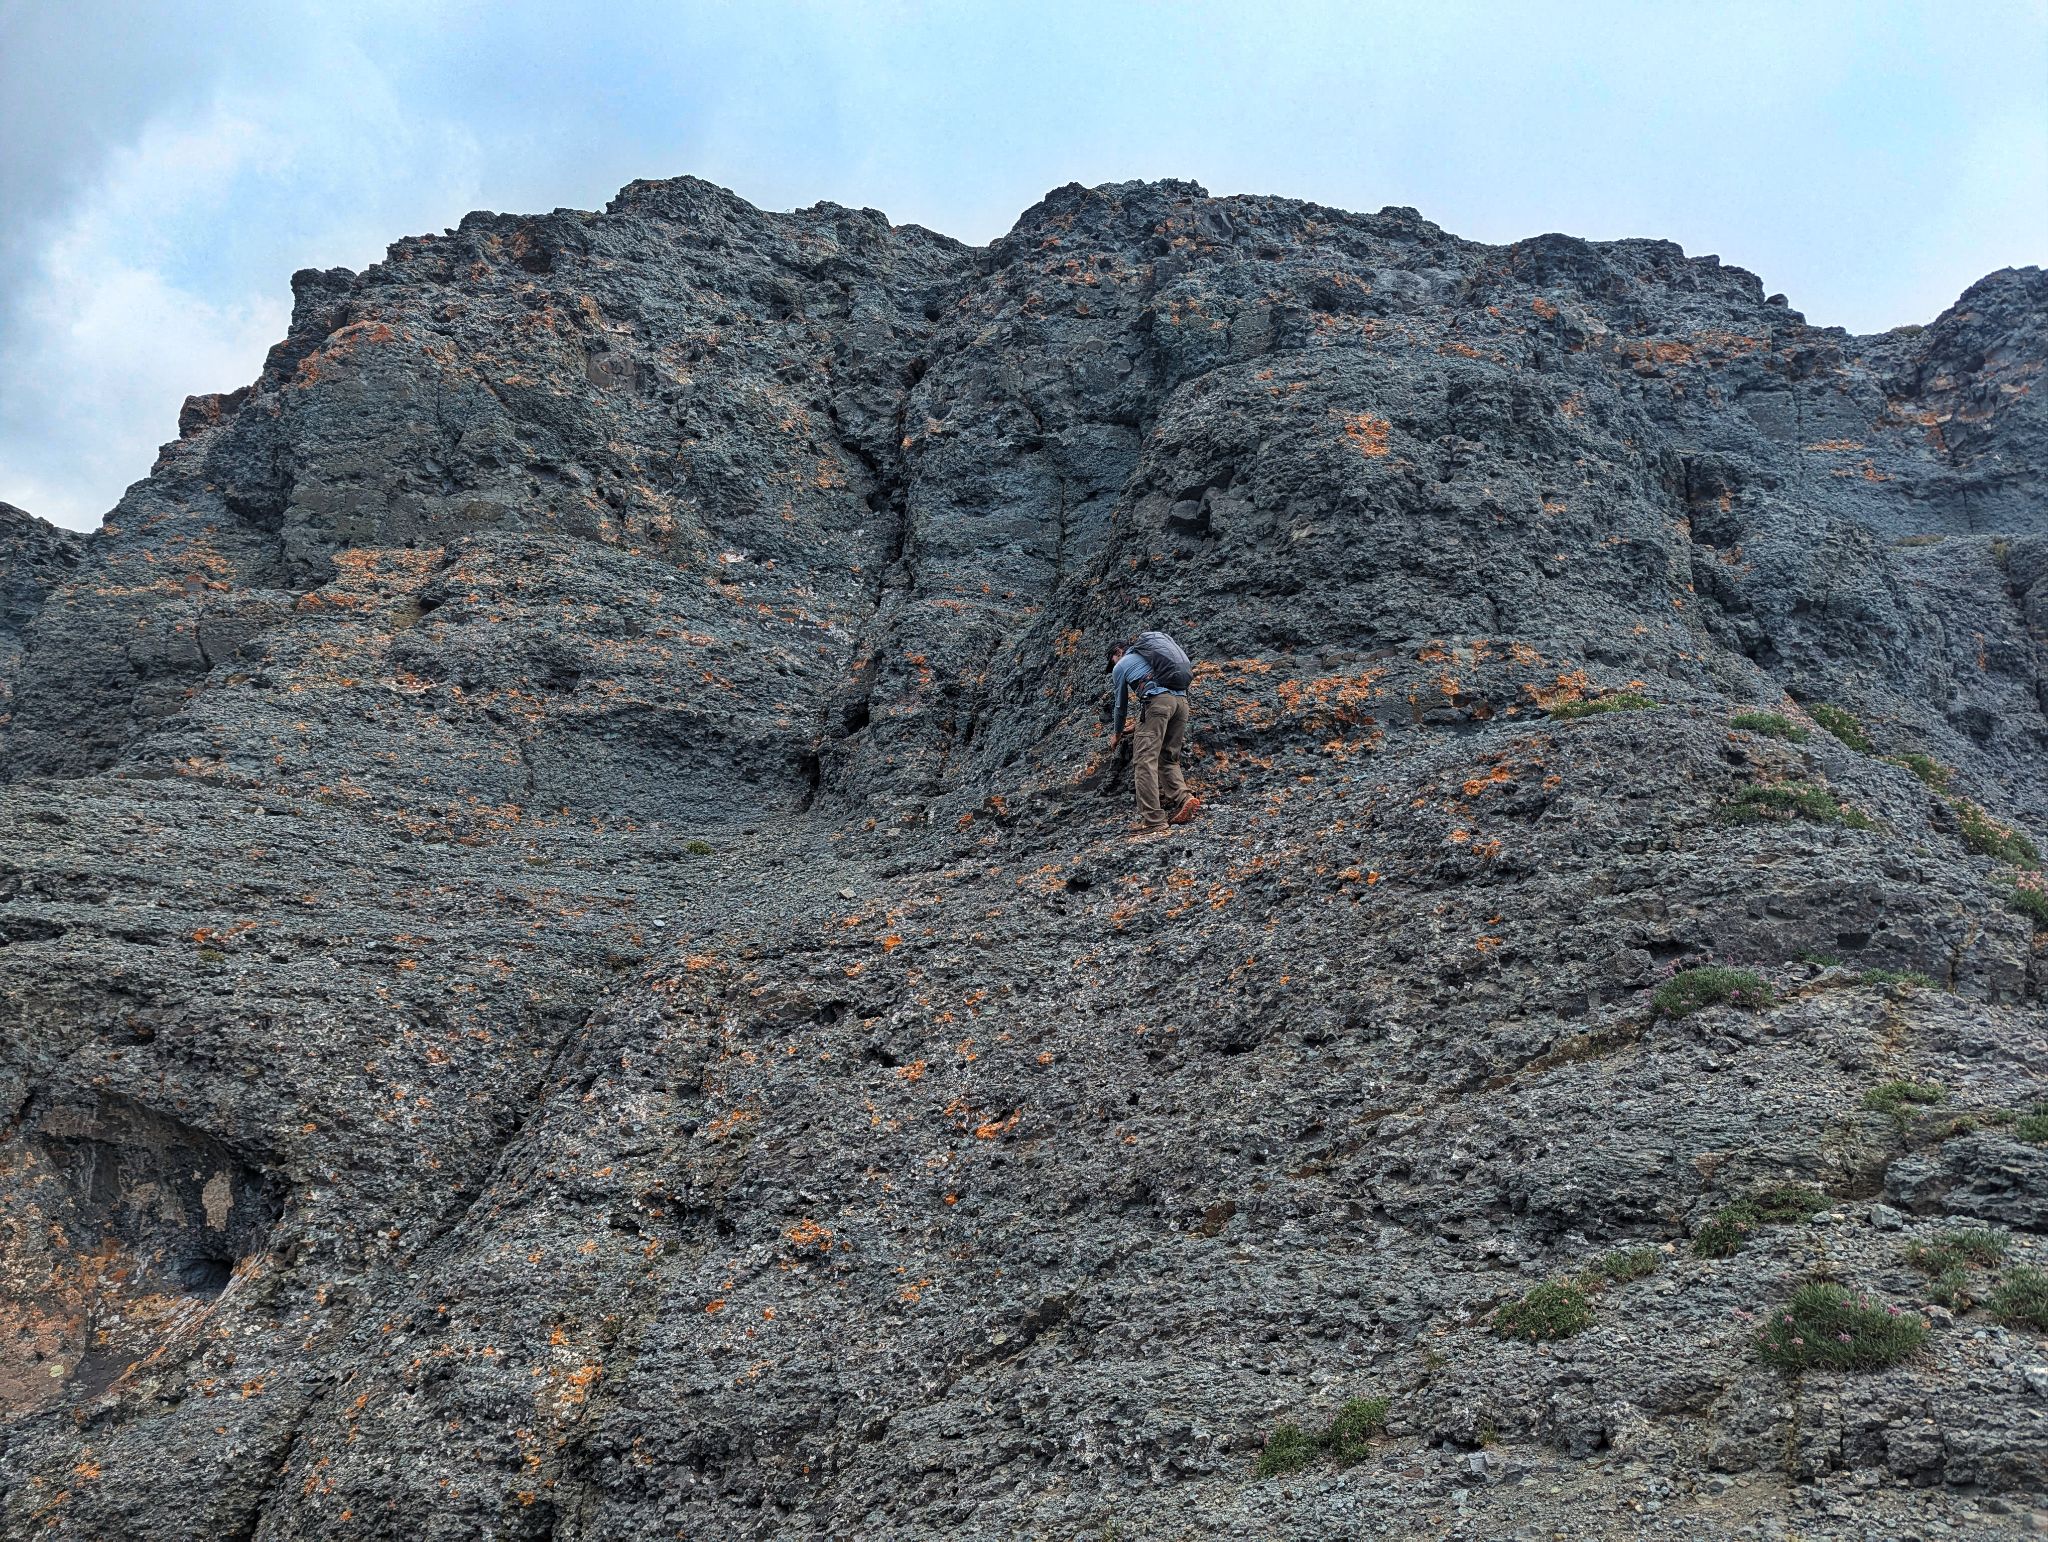
Alex scouts routes on the the middle bump's south wall. Initially it didn't look reasonable but upon further examination it was good to go albeit spicy
![Arrow bm loop 24]()
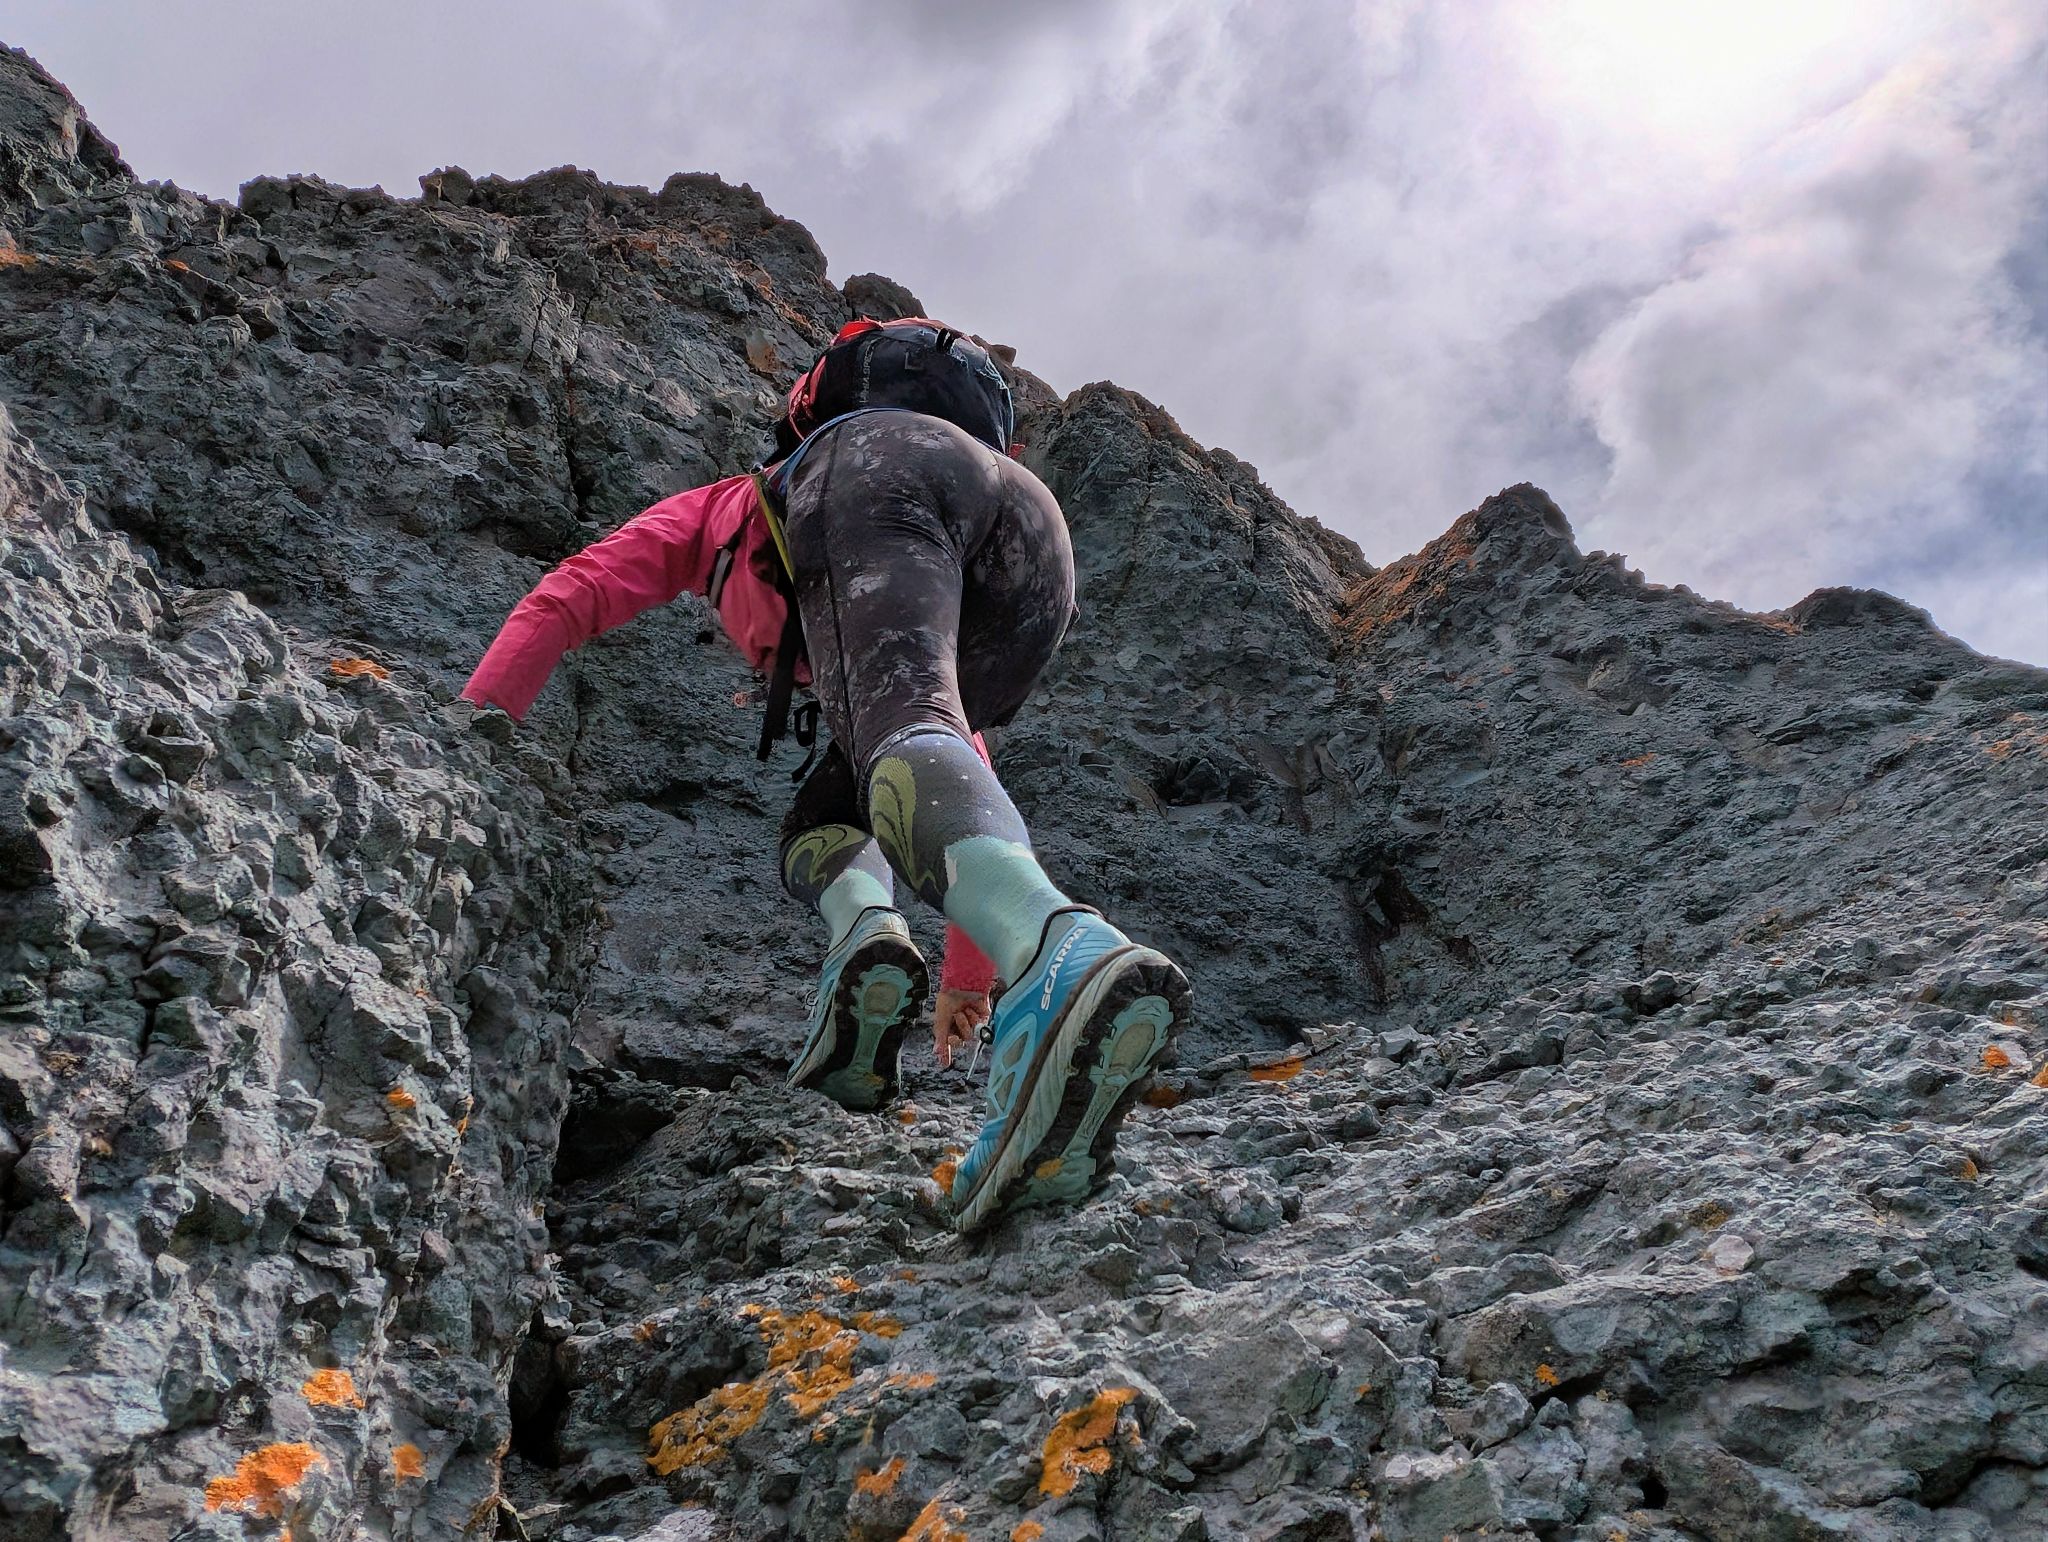
The rock was ok at the bottom but got looser as we climbed
![Arrow bm loop 25]()
Weighting all four extremities not to put too much pressure on any single point
![Arrow bm loop 26]()
The north side of the bump was steep with kitty litter. We were able to down climb it with a little butt scooting
![Arrow bm loop 27]()
Happy to be off the middle bump we headed to Rhoda
![Arrow bm loop 28]()
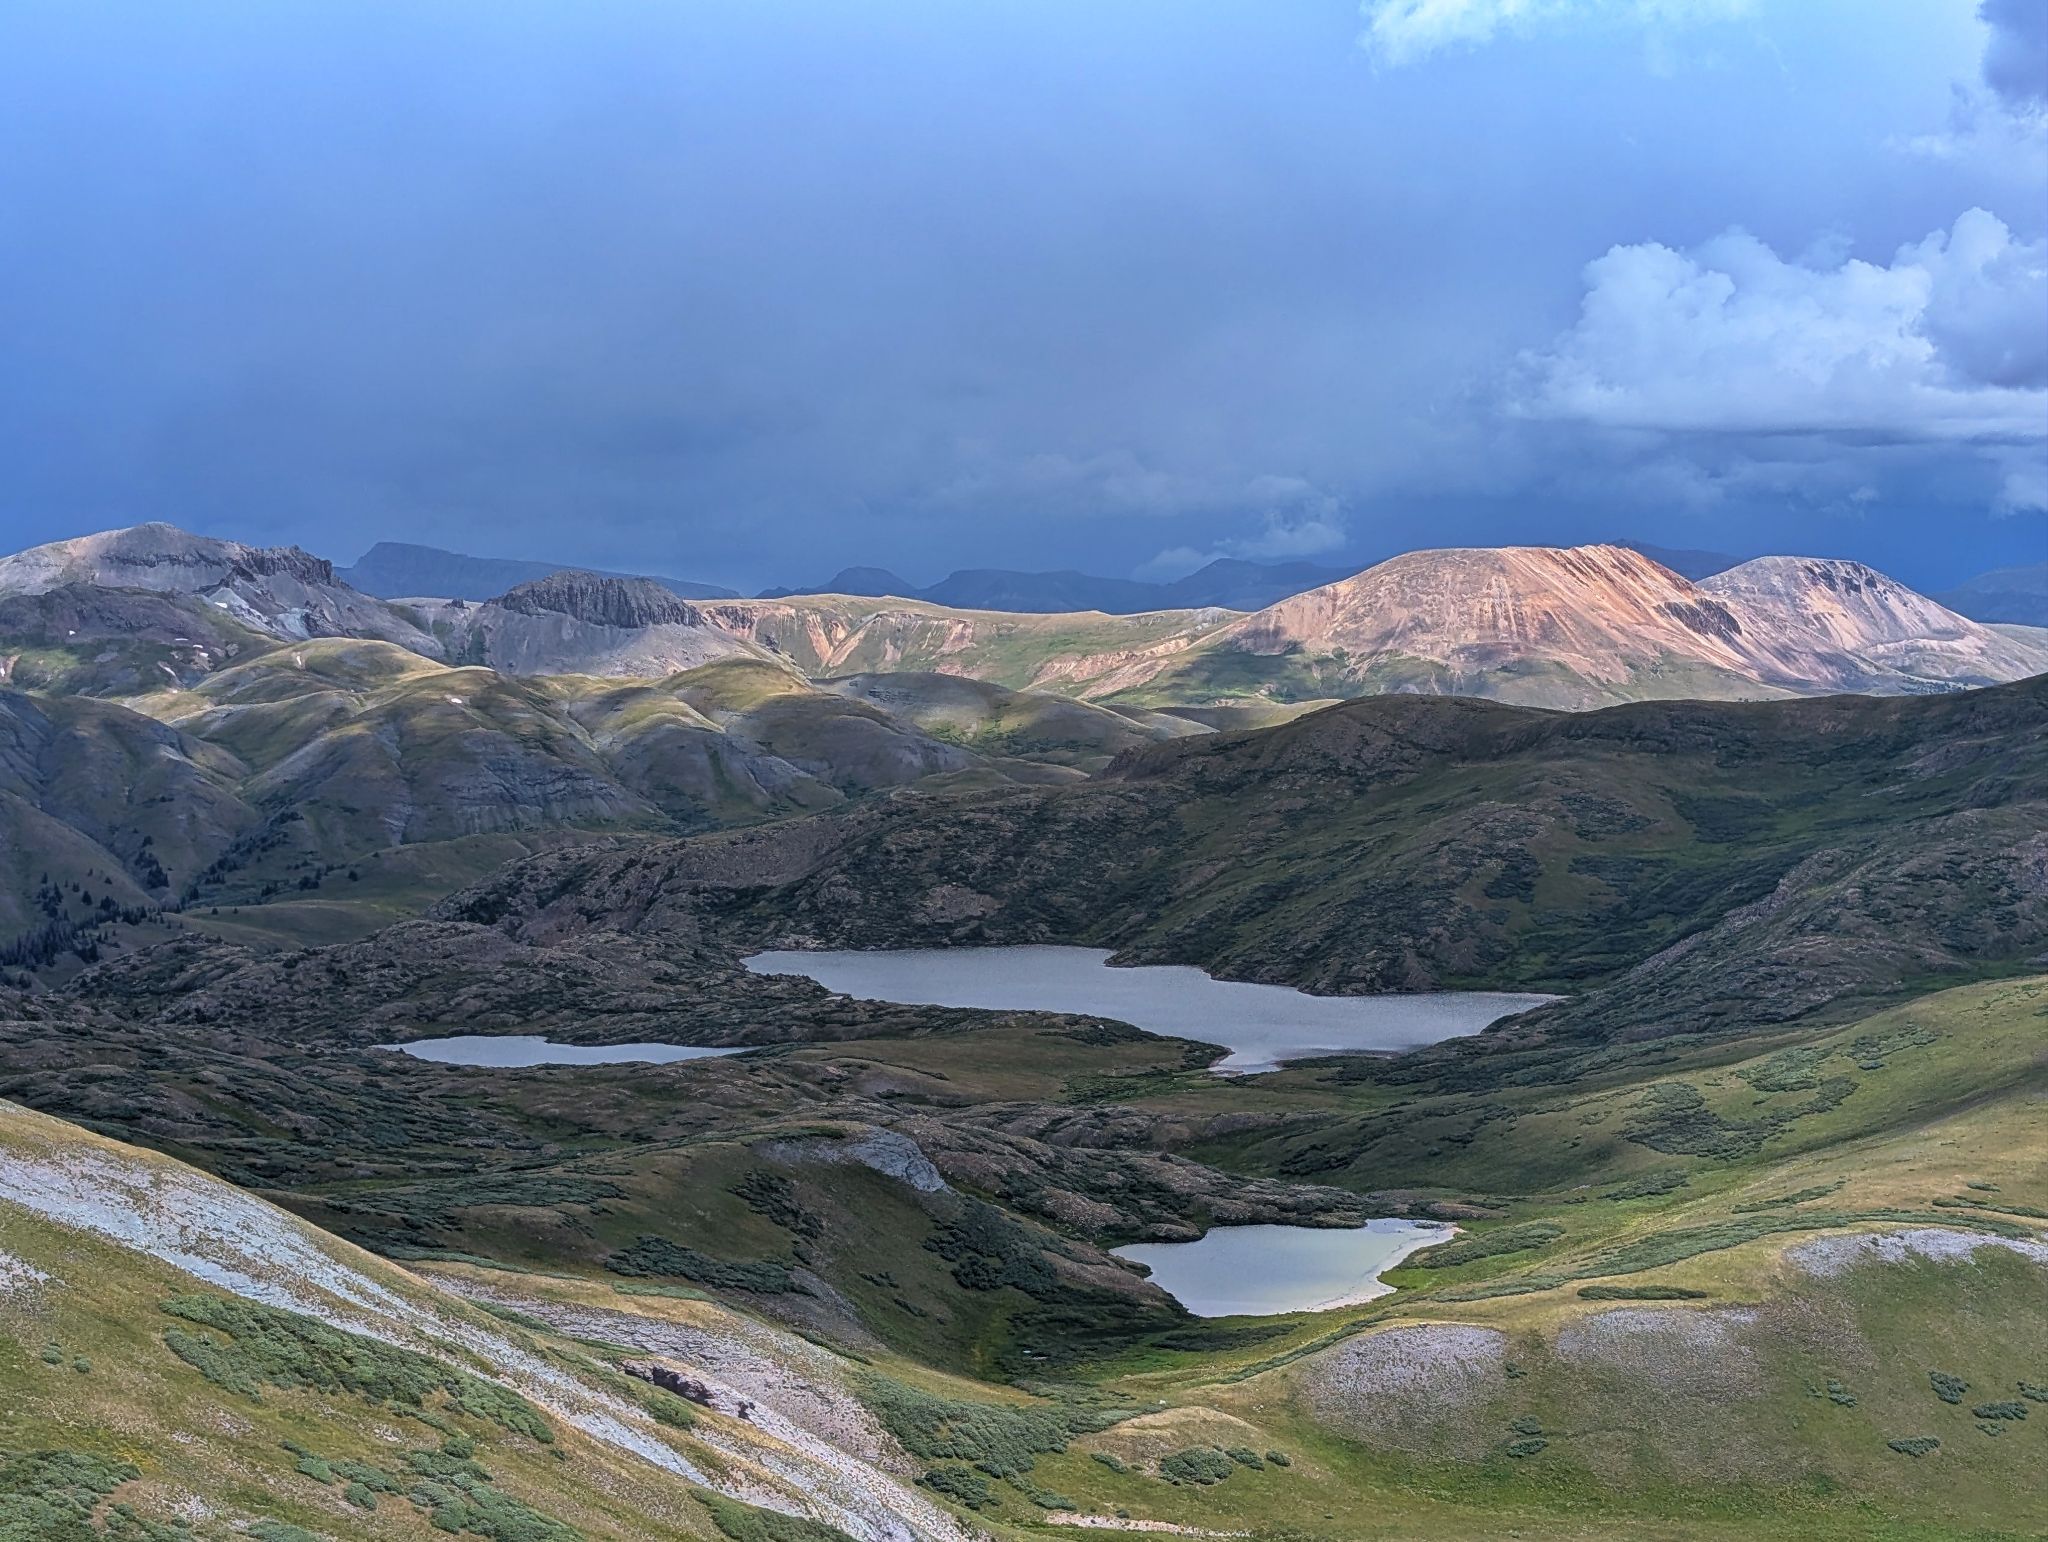
Highland Mary Lakes to the east. The weather continued to express displeasure with distant thunder
![Arrow bm loop 29]()
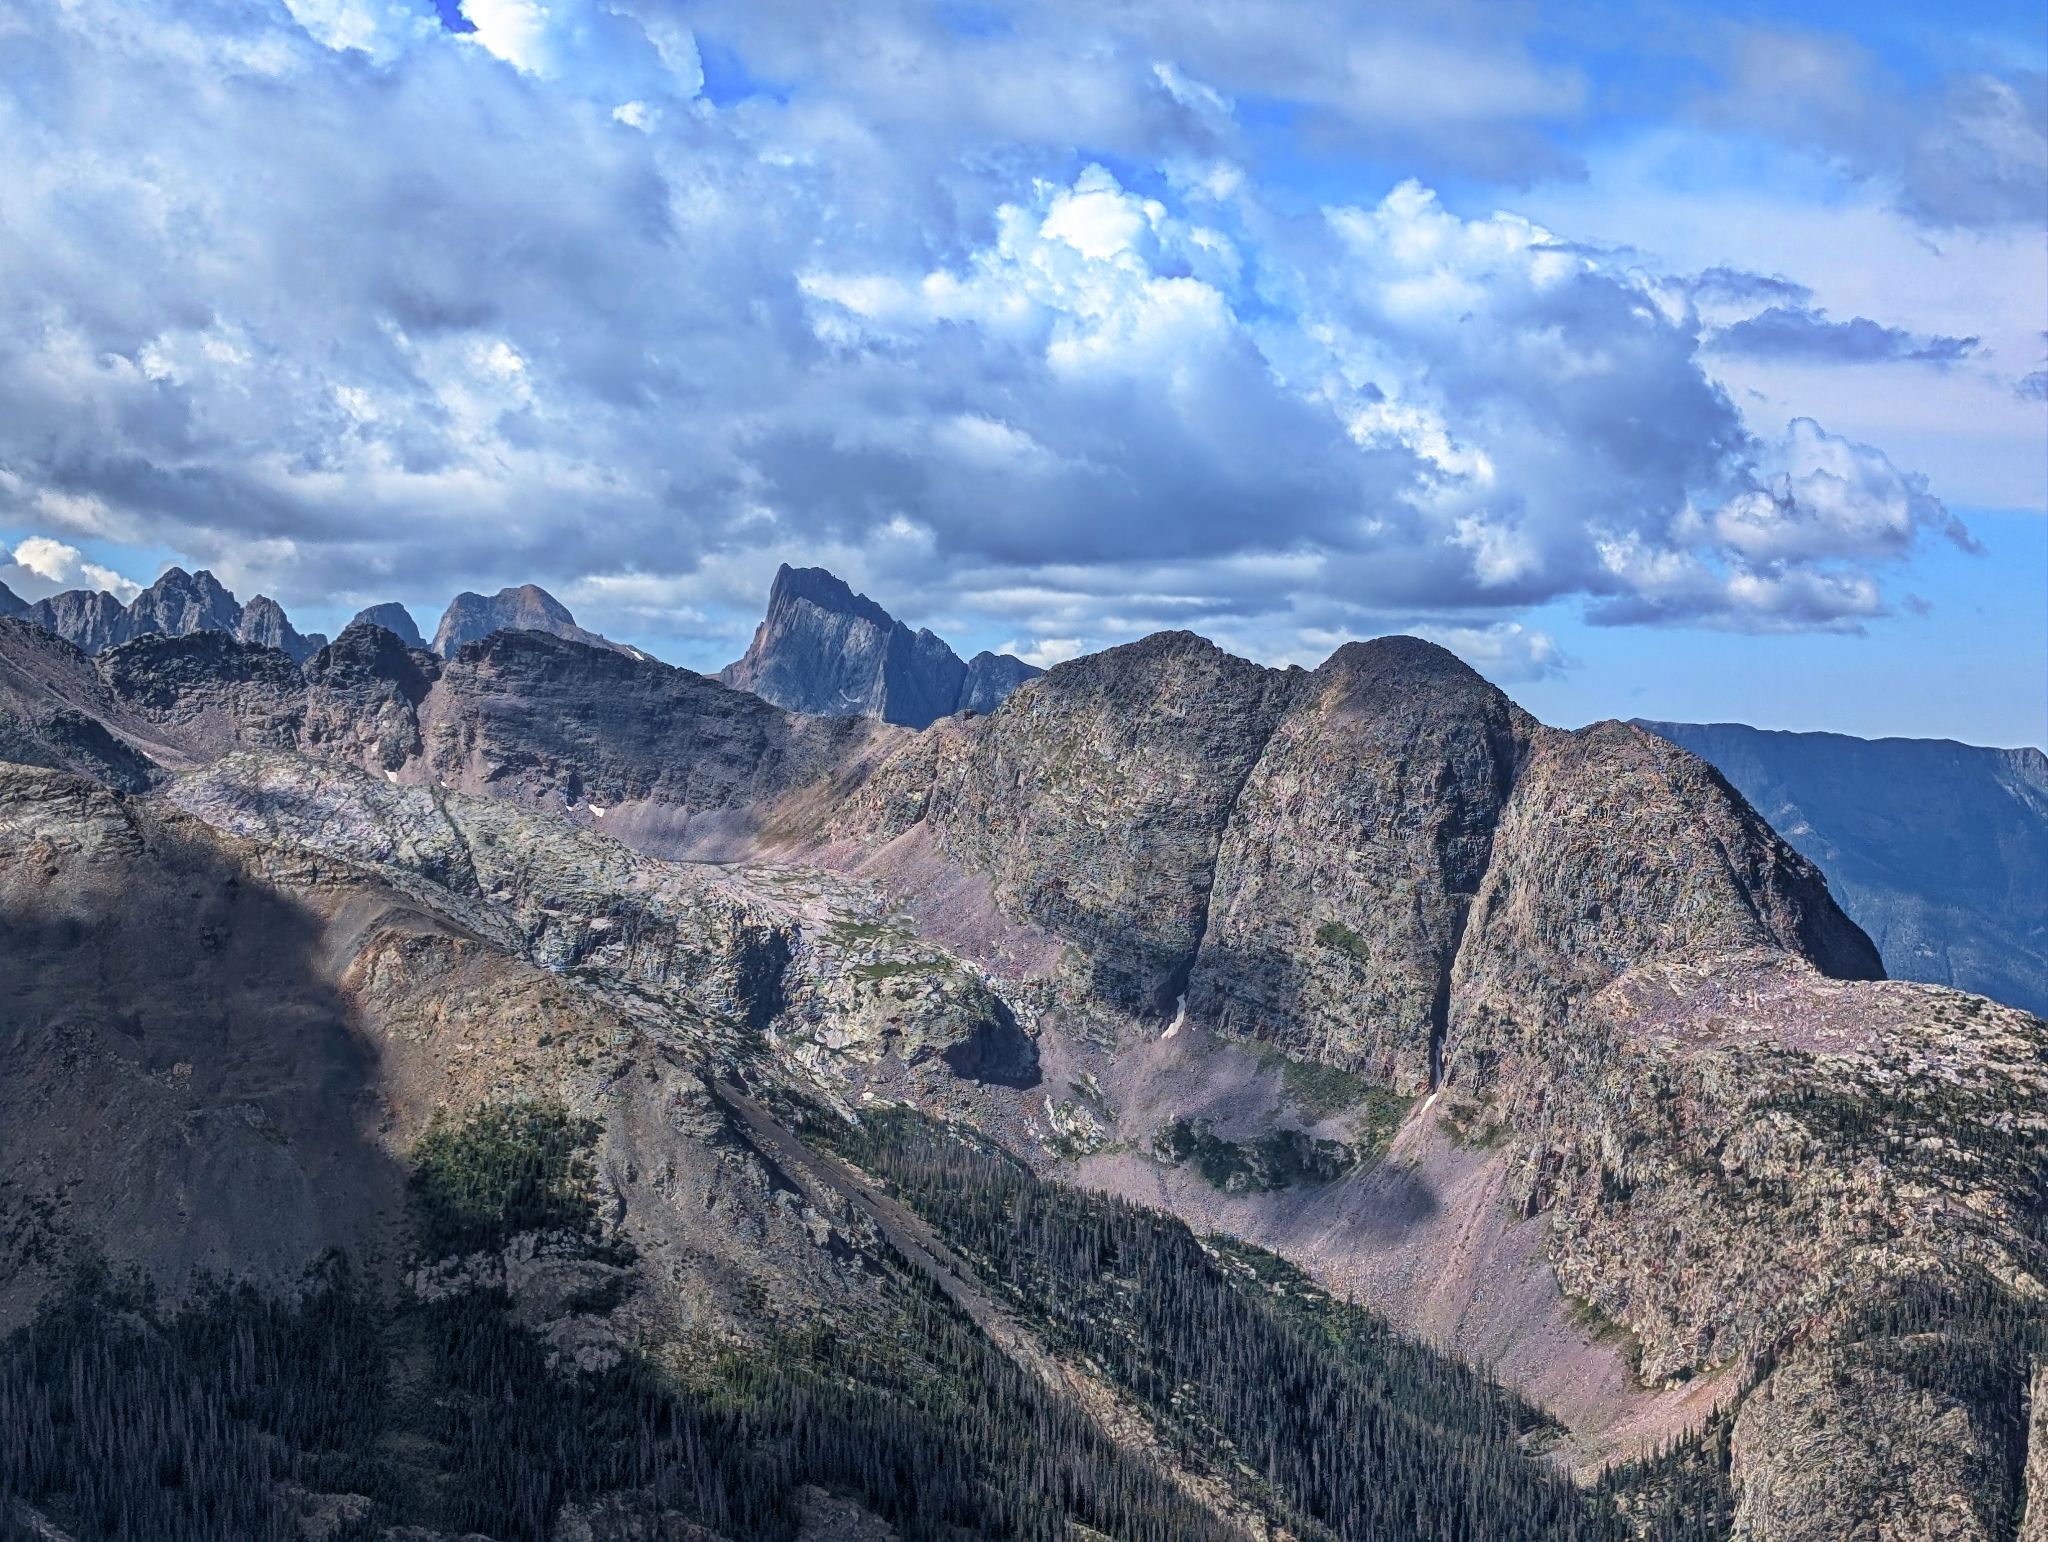
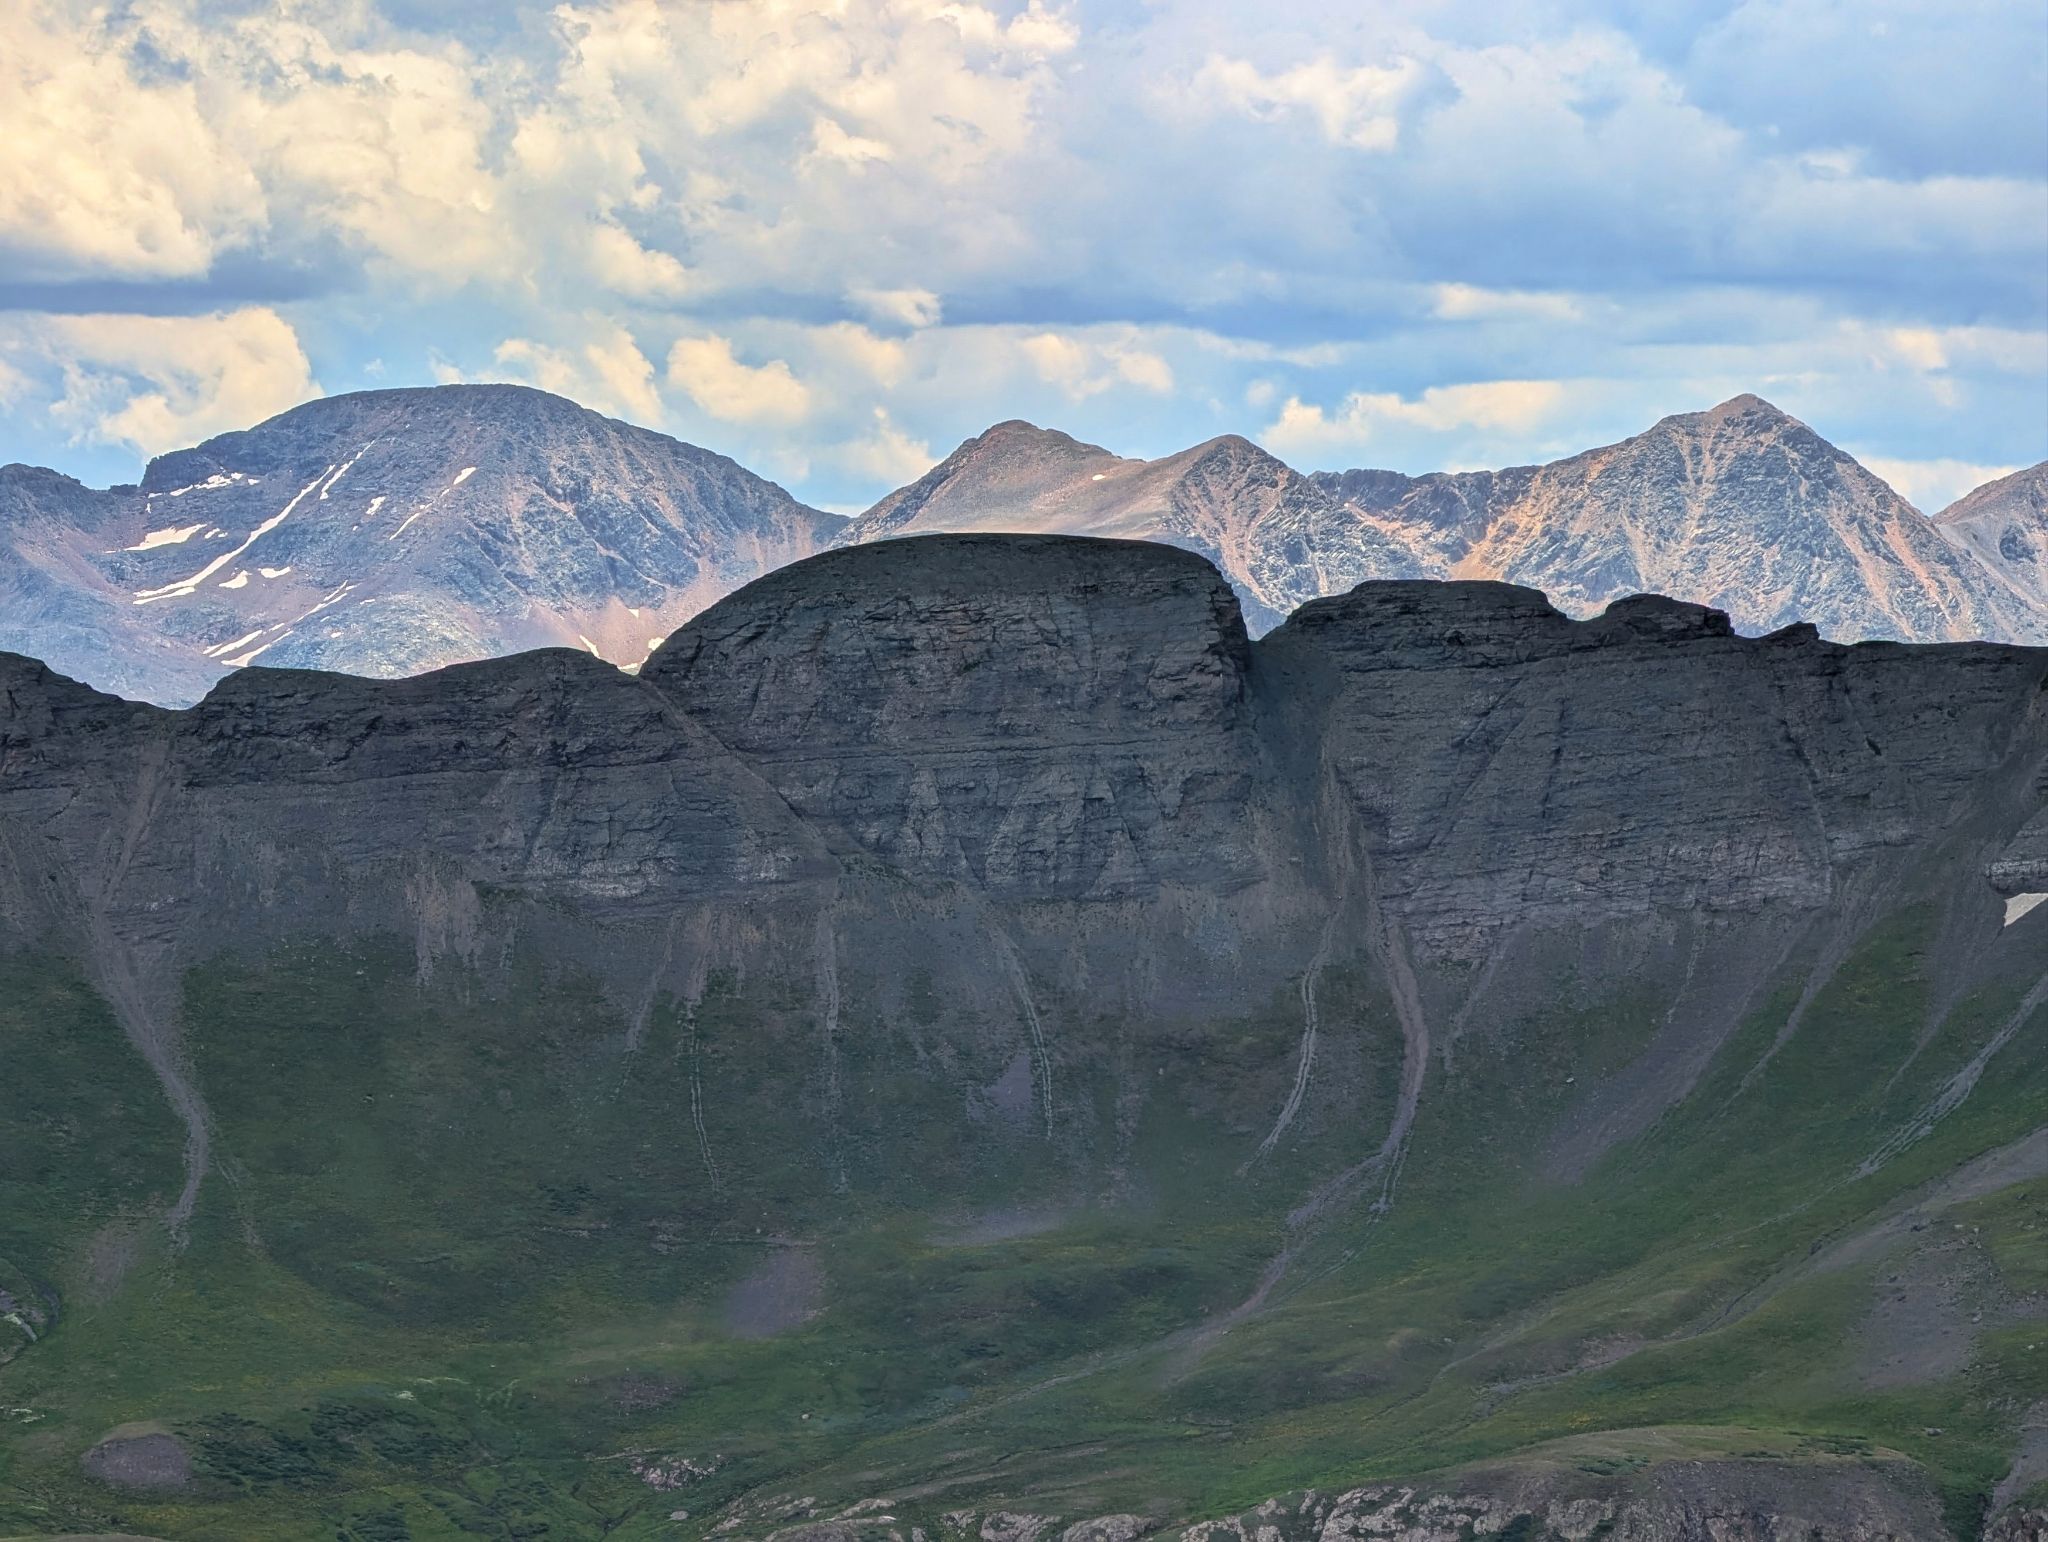
Rhoda front and center with the flat top
![Arrow bm loop 31]()
After summitting Rhoda we turned it around and headed west over Whitehead and PT13117 back to the Whitehead Trail.
![Arrow bm loop 32]()
Looking south to our ridge and the big middle bump
![Arrow bm loop 33]()
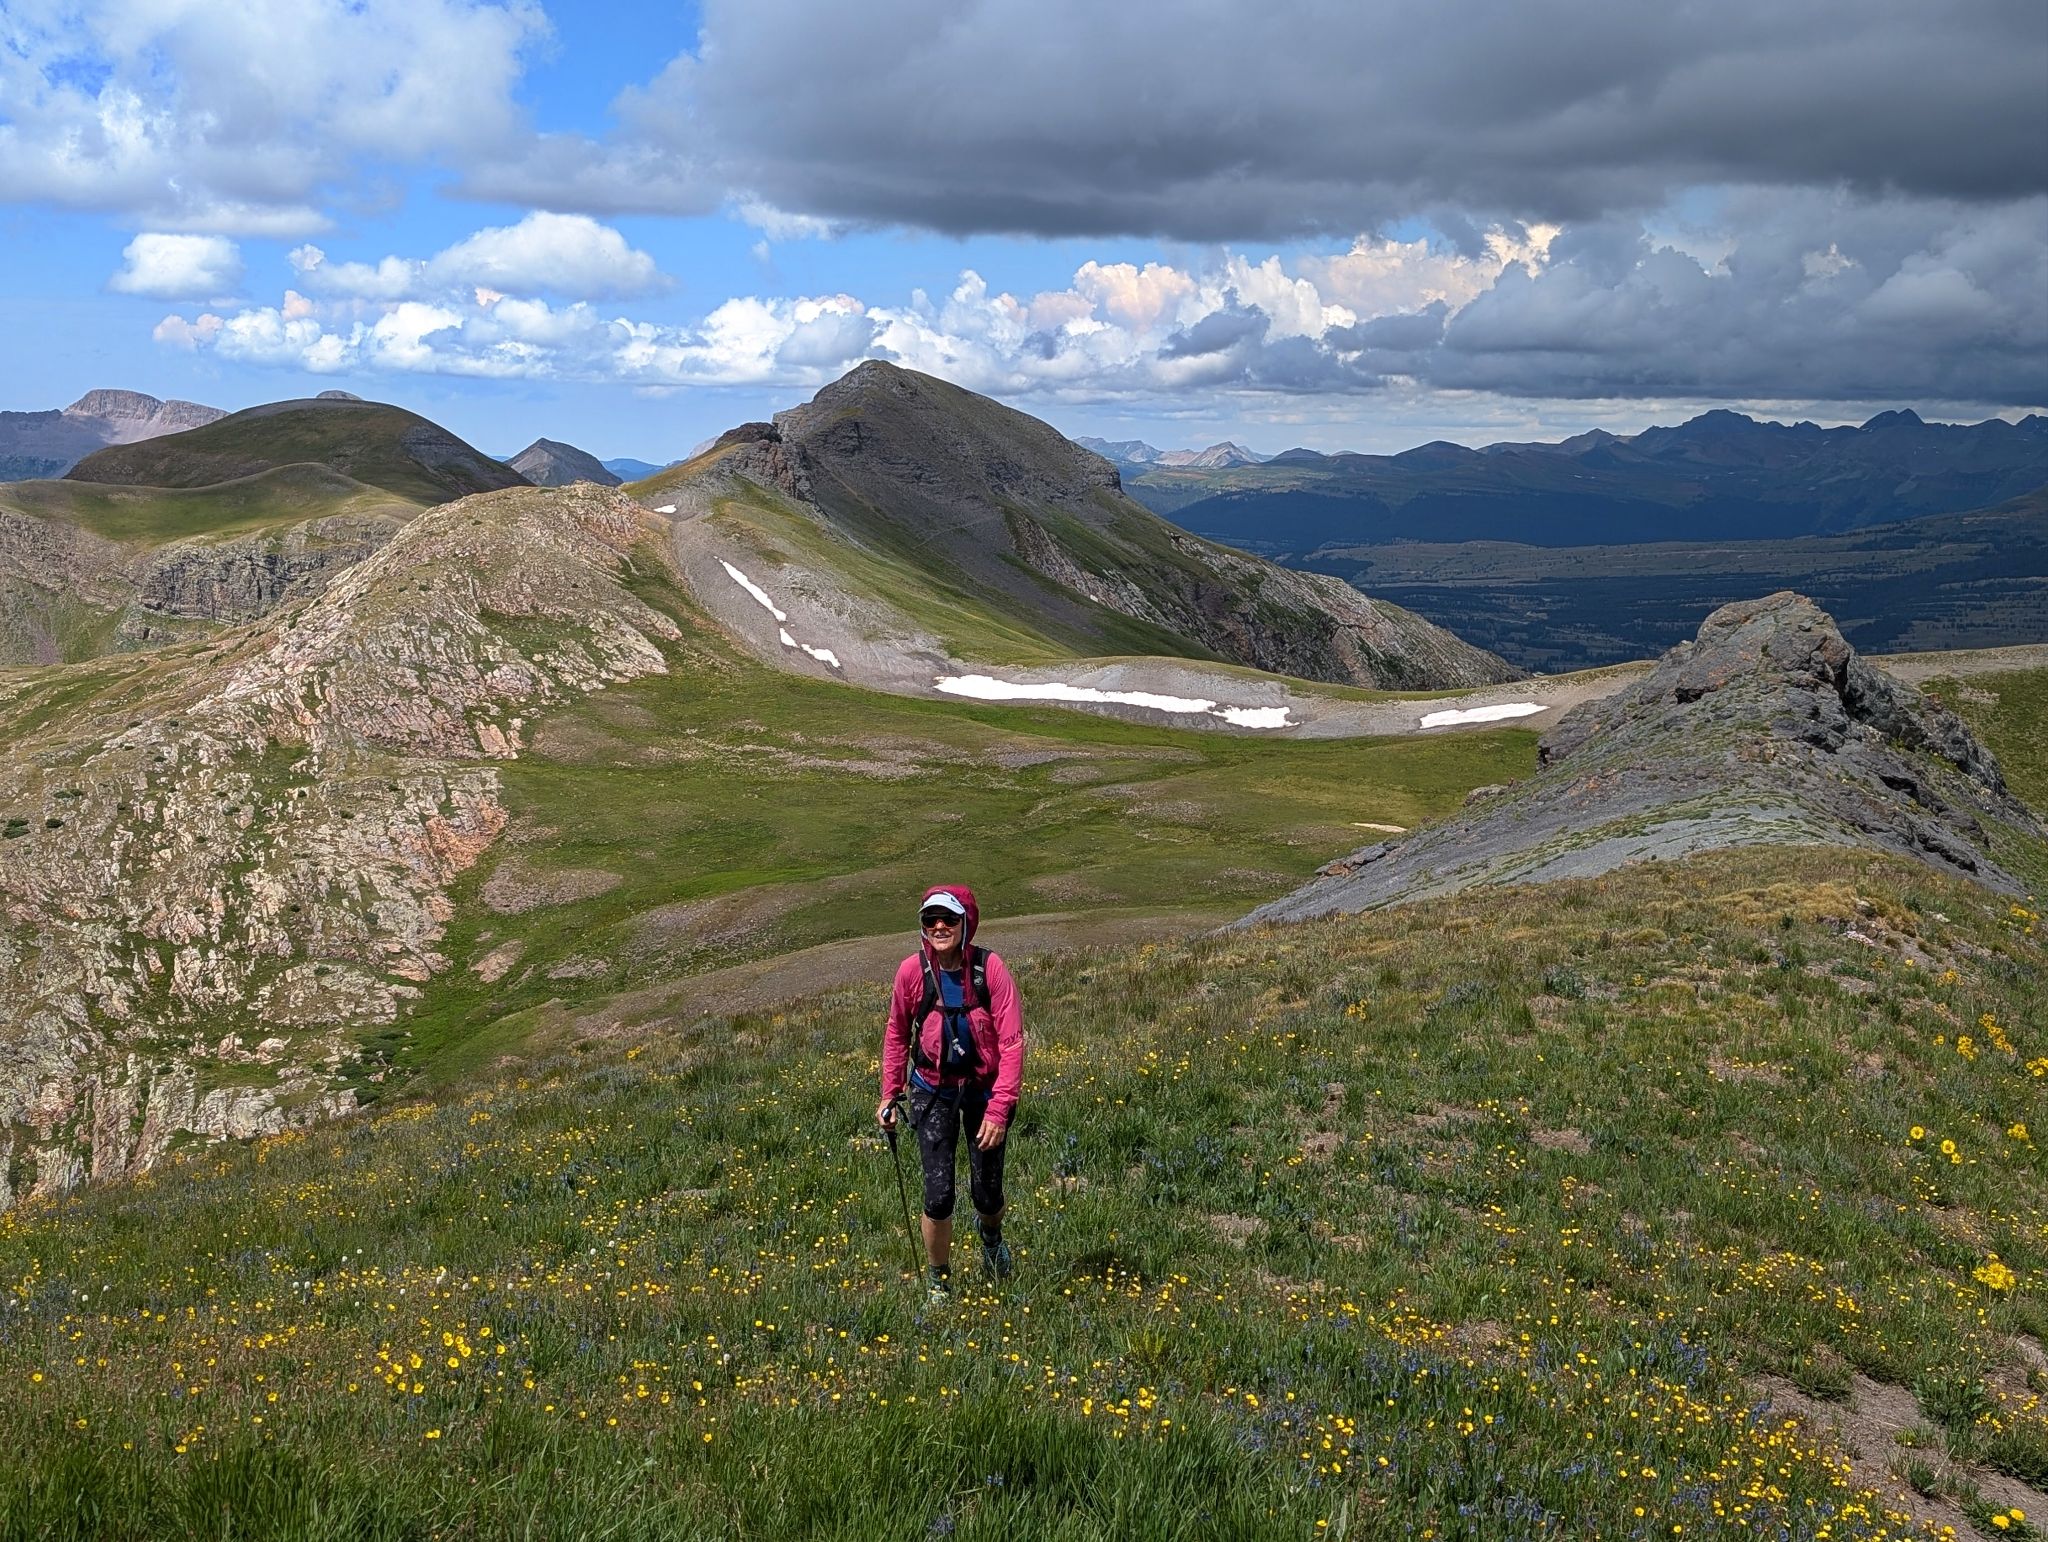
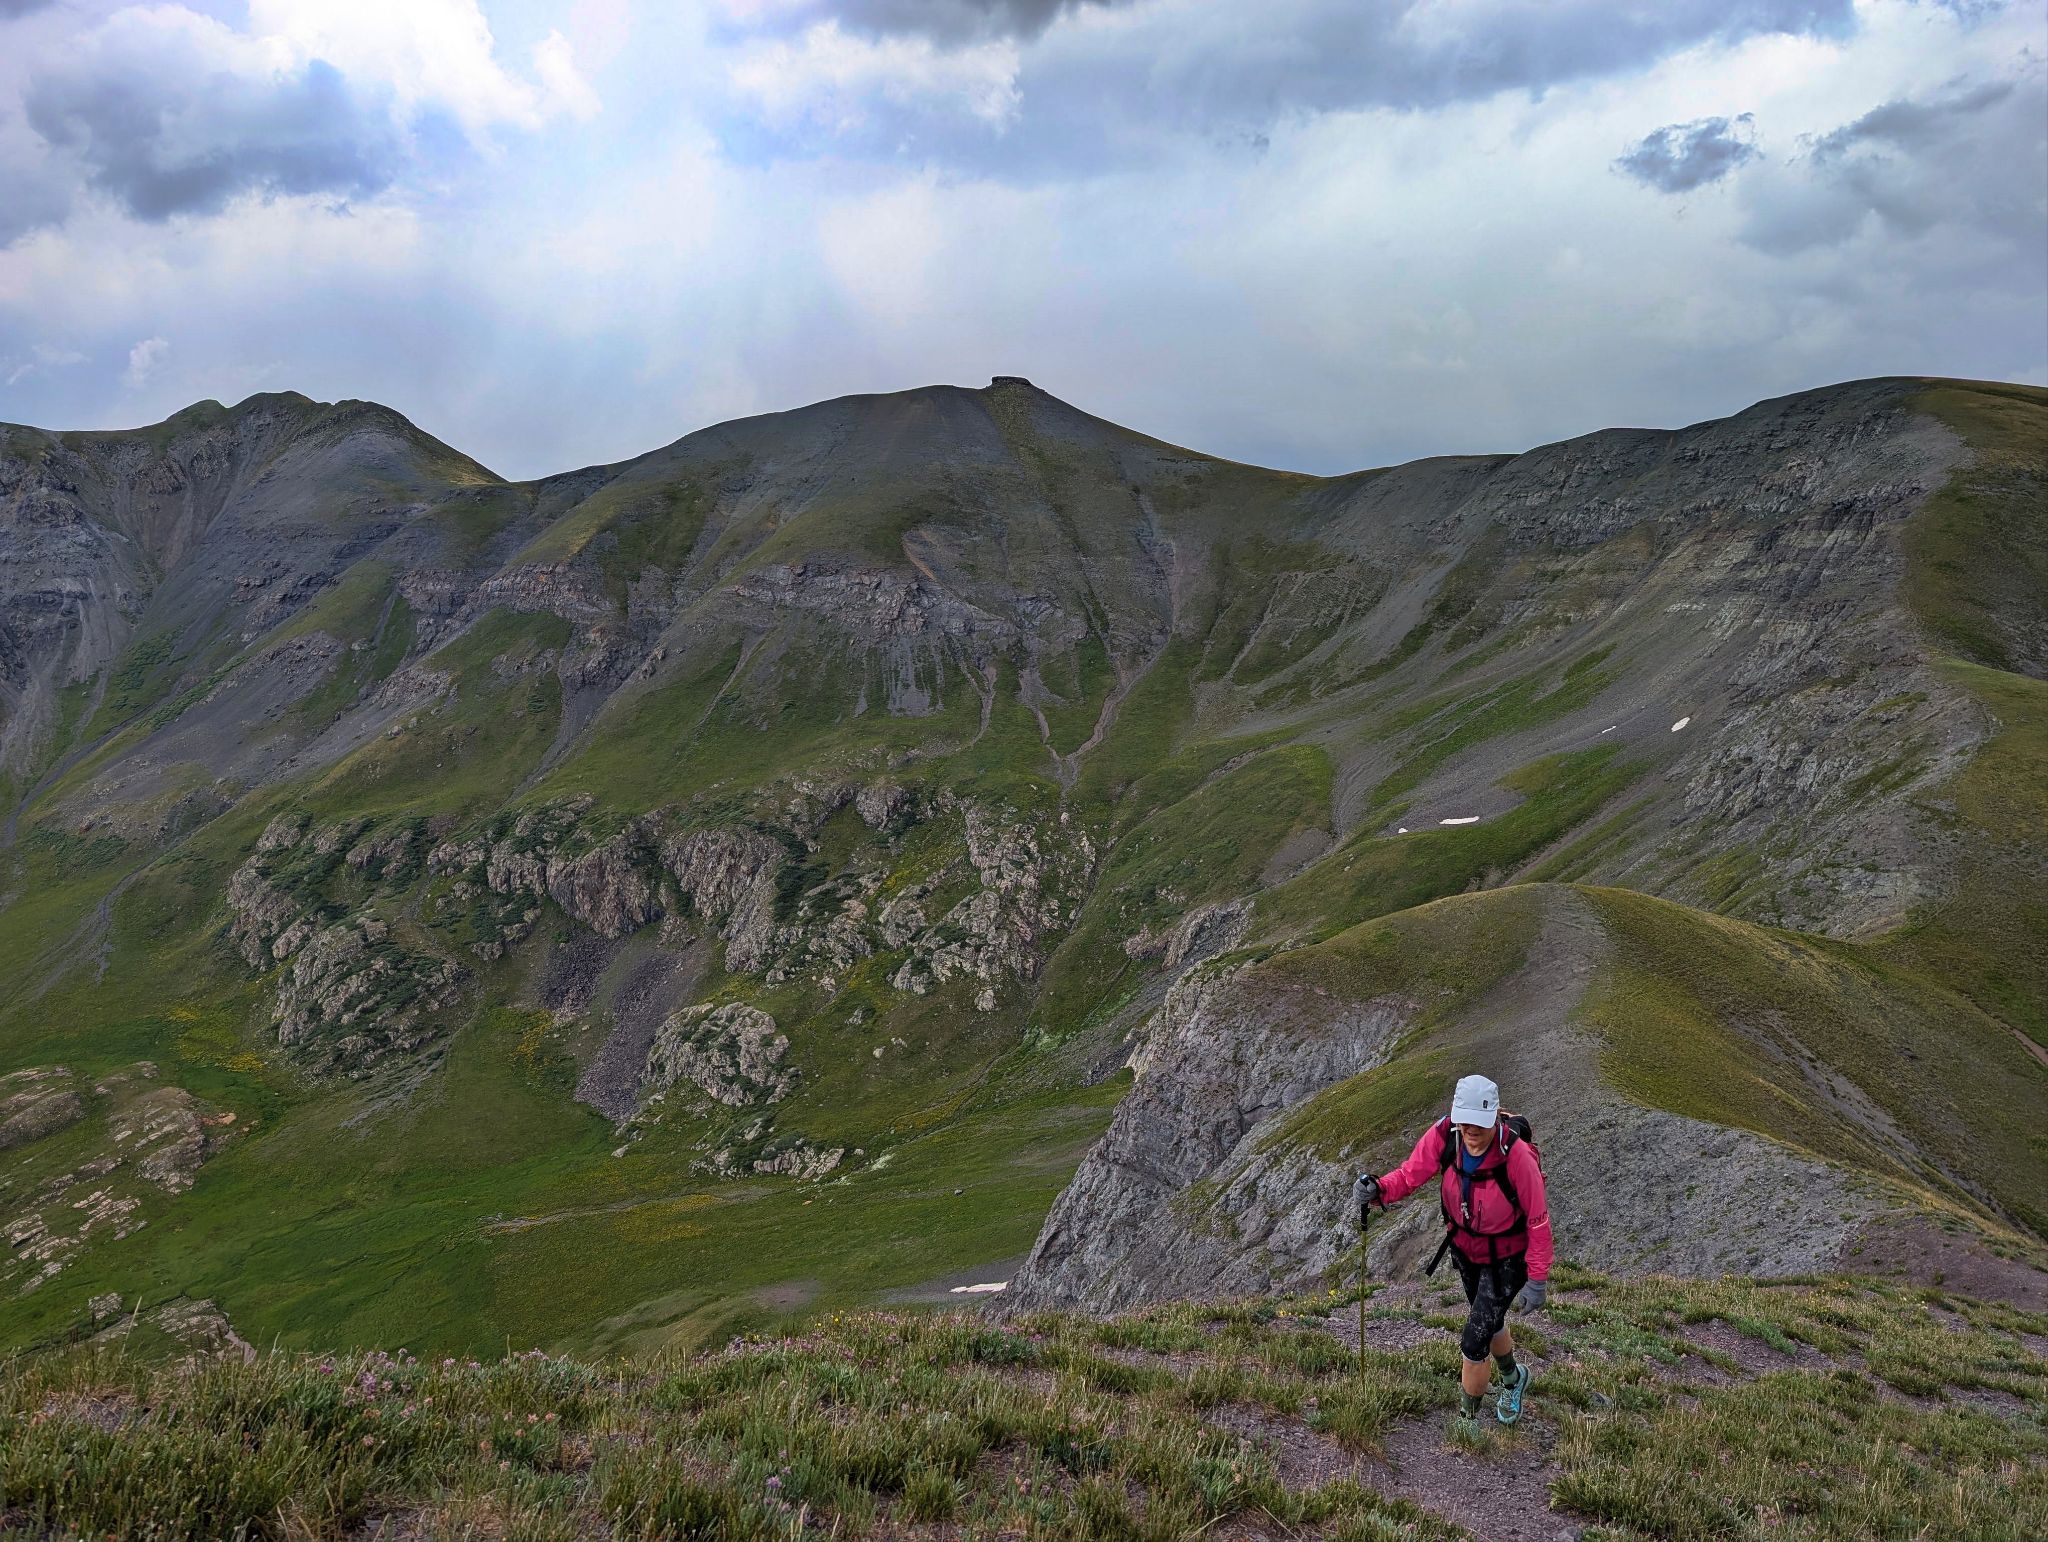
Kristi approaching PT13117's summit with Rhoda in the distance
![Arrow bm loop 34]()
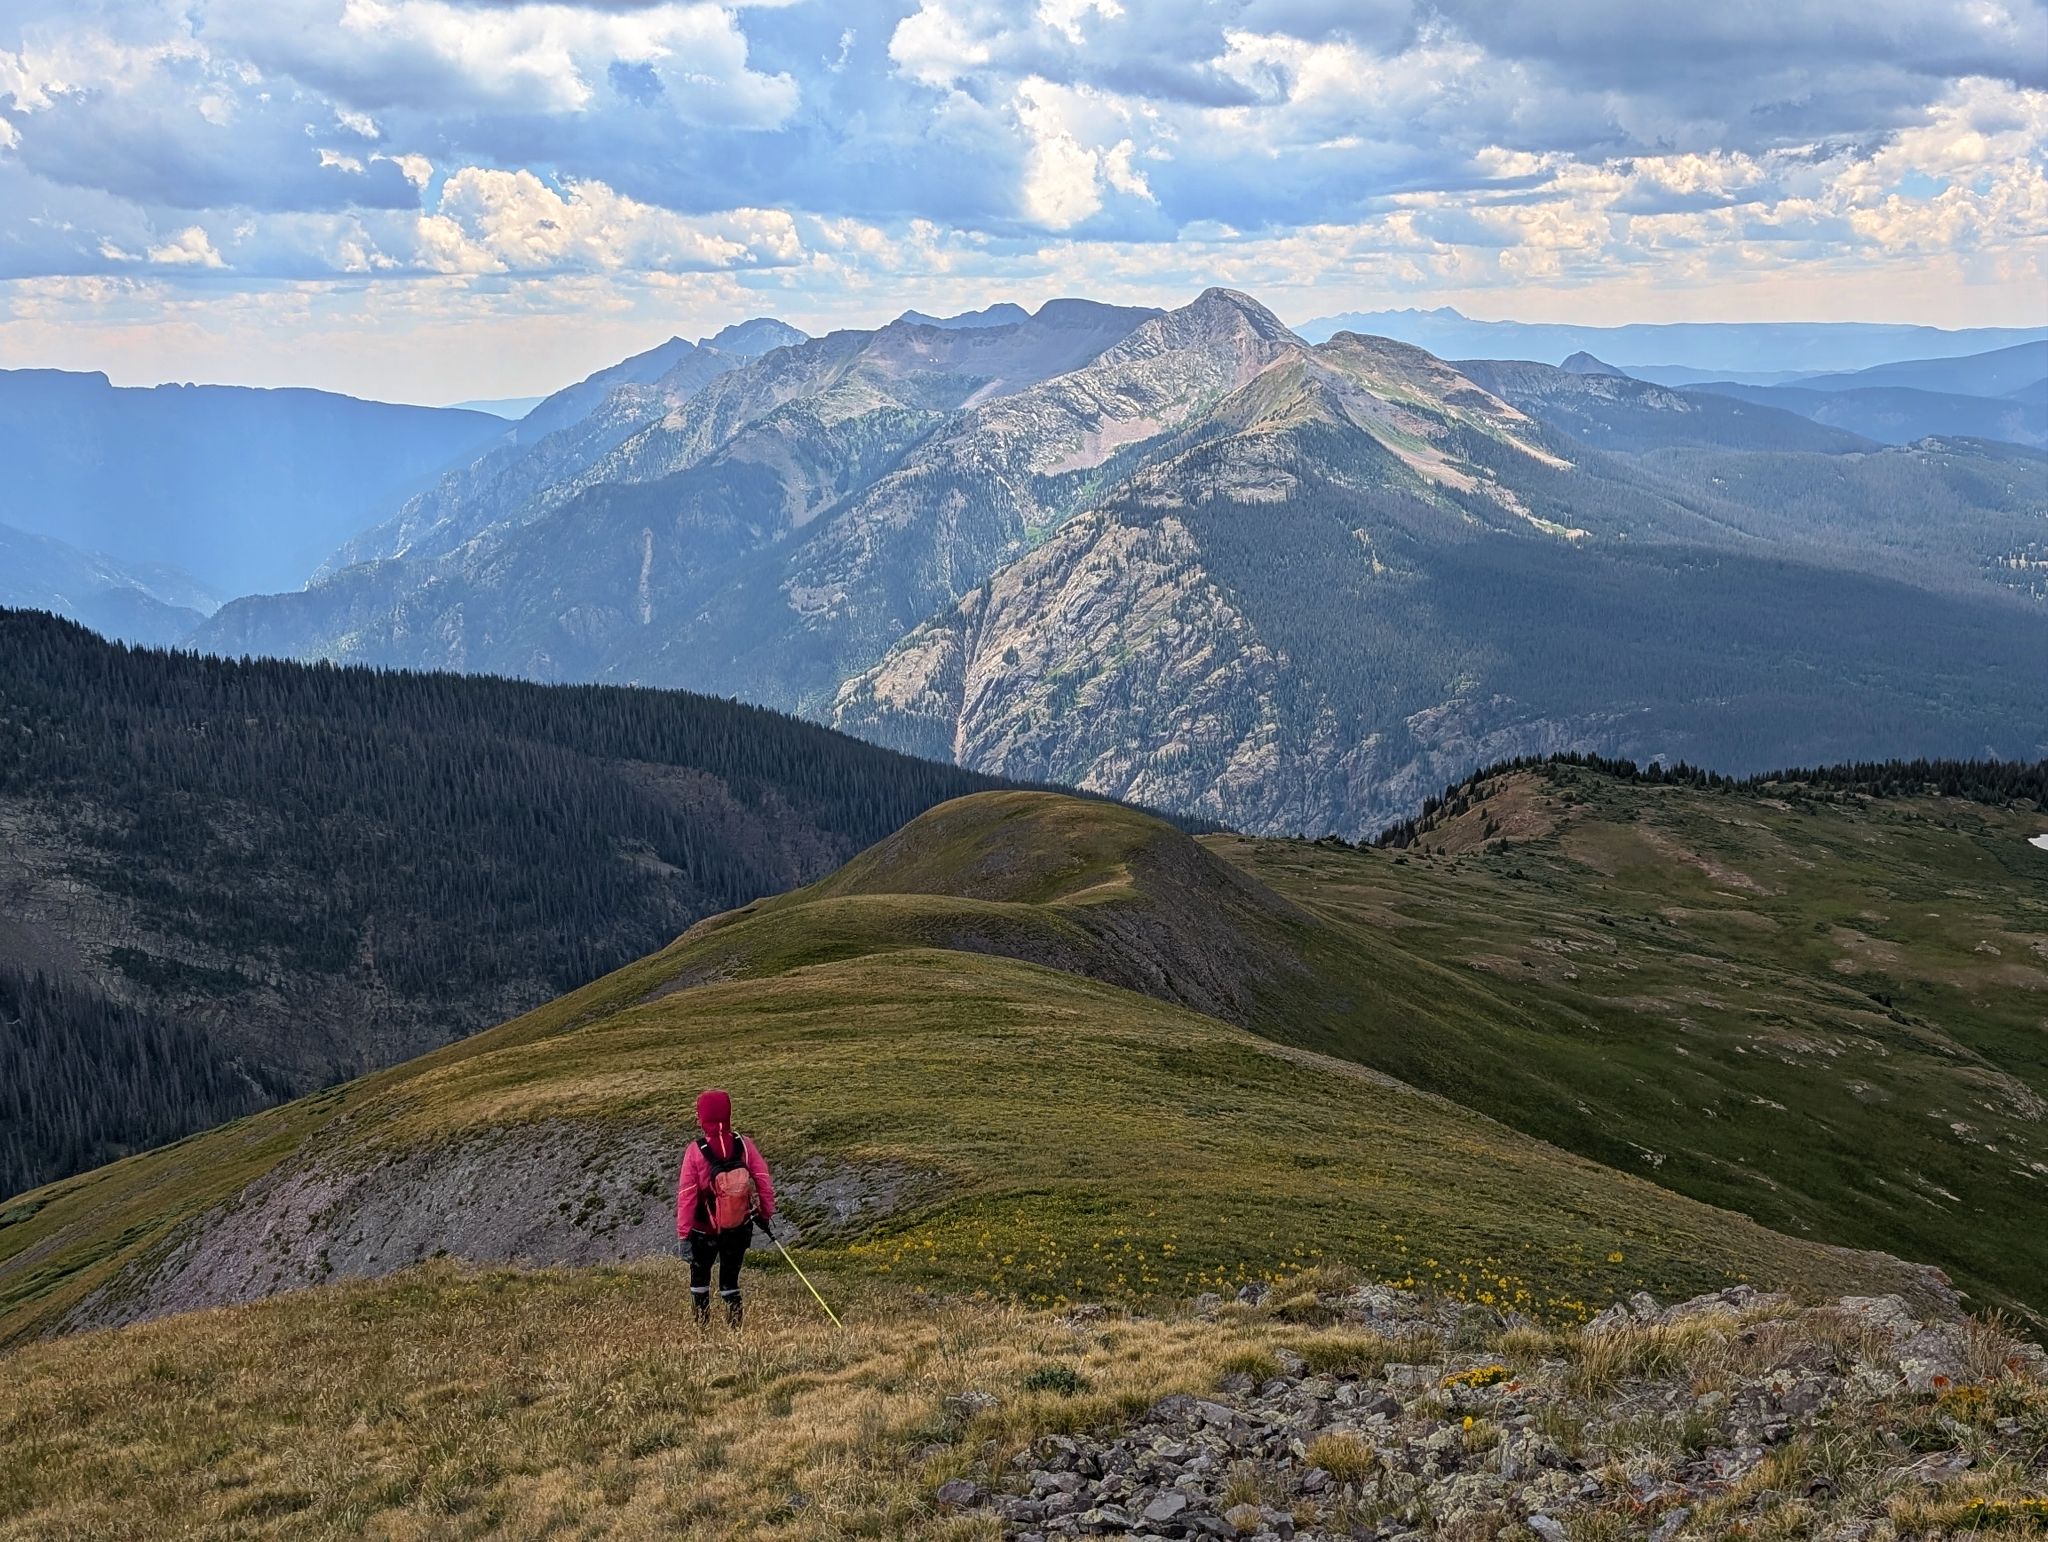
Descending PT13117 with just one more bump to climb before descending to the trail
![Arrow bm loop 35]()
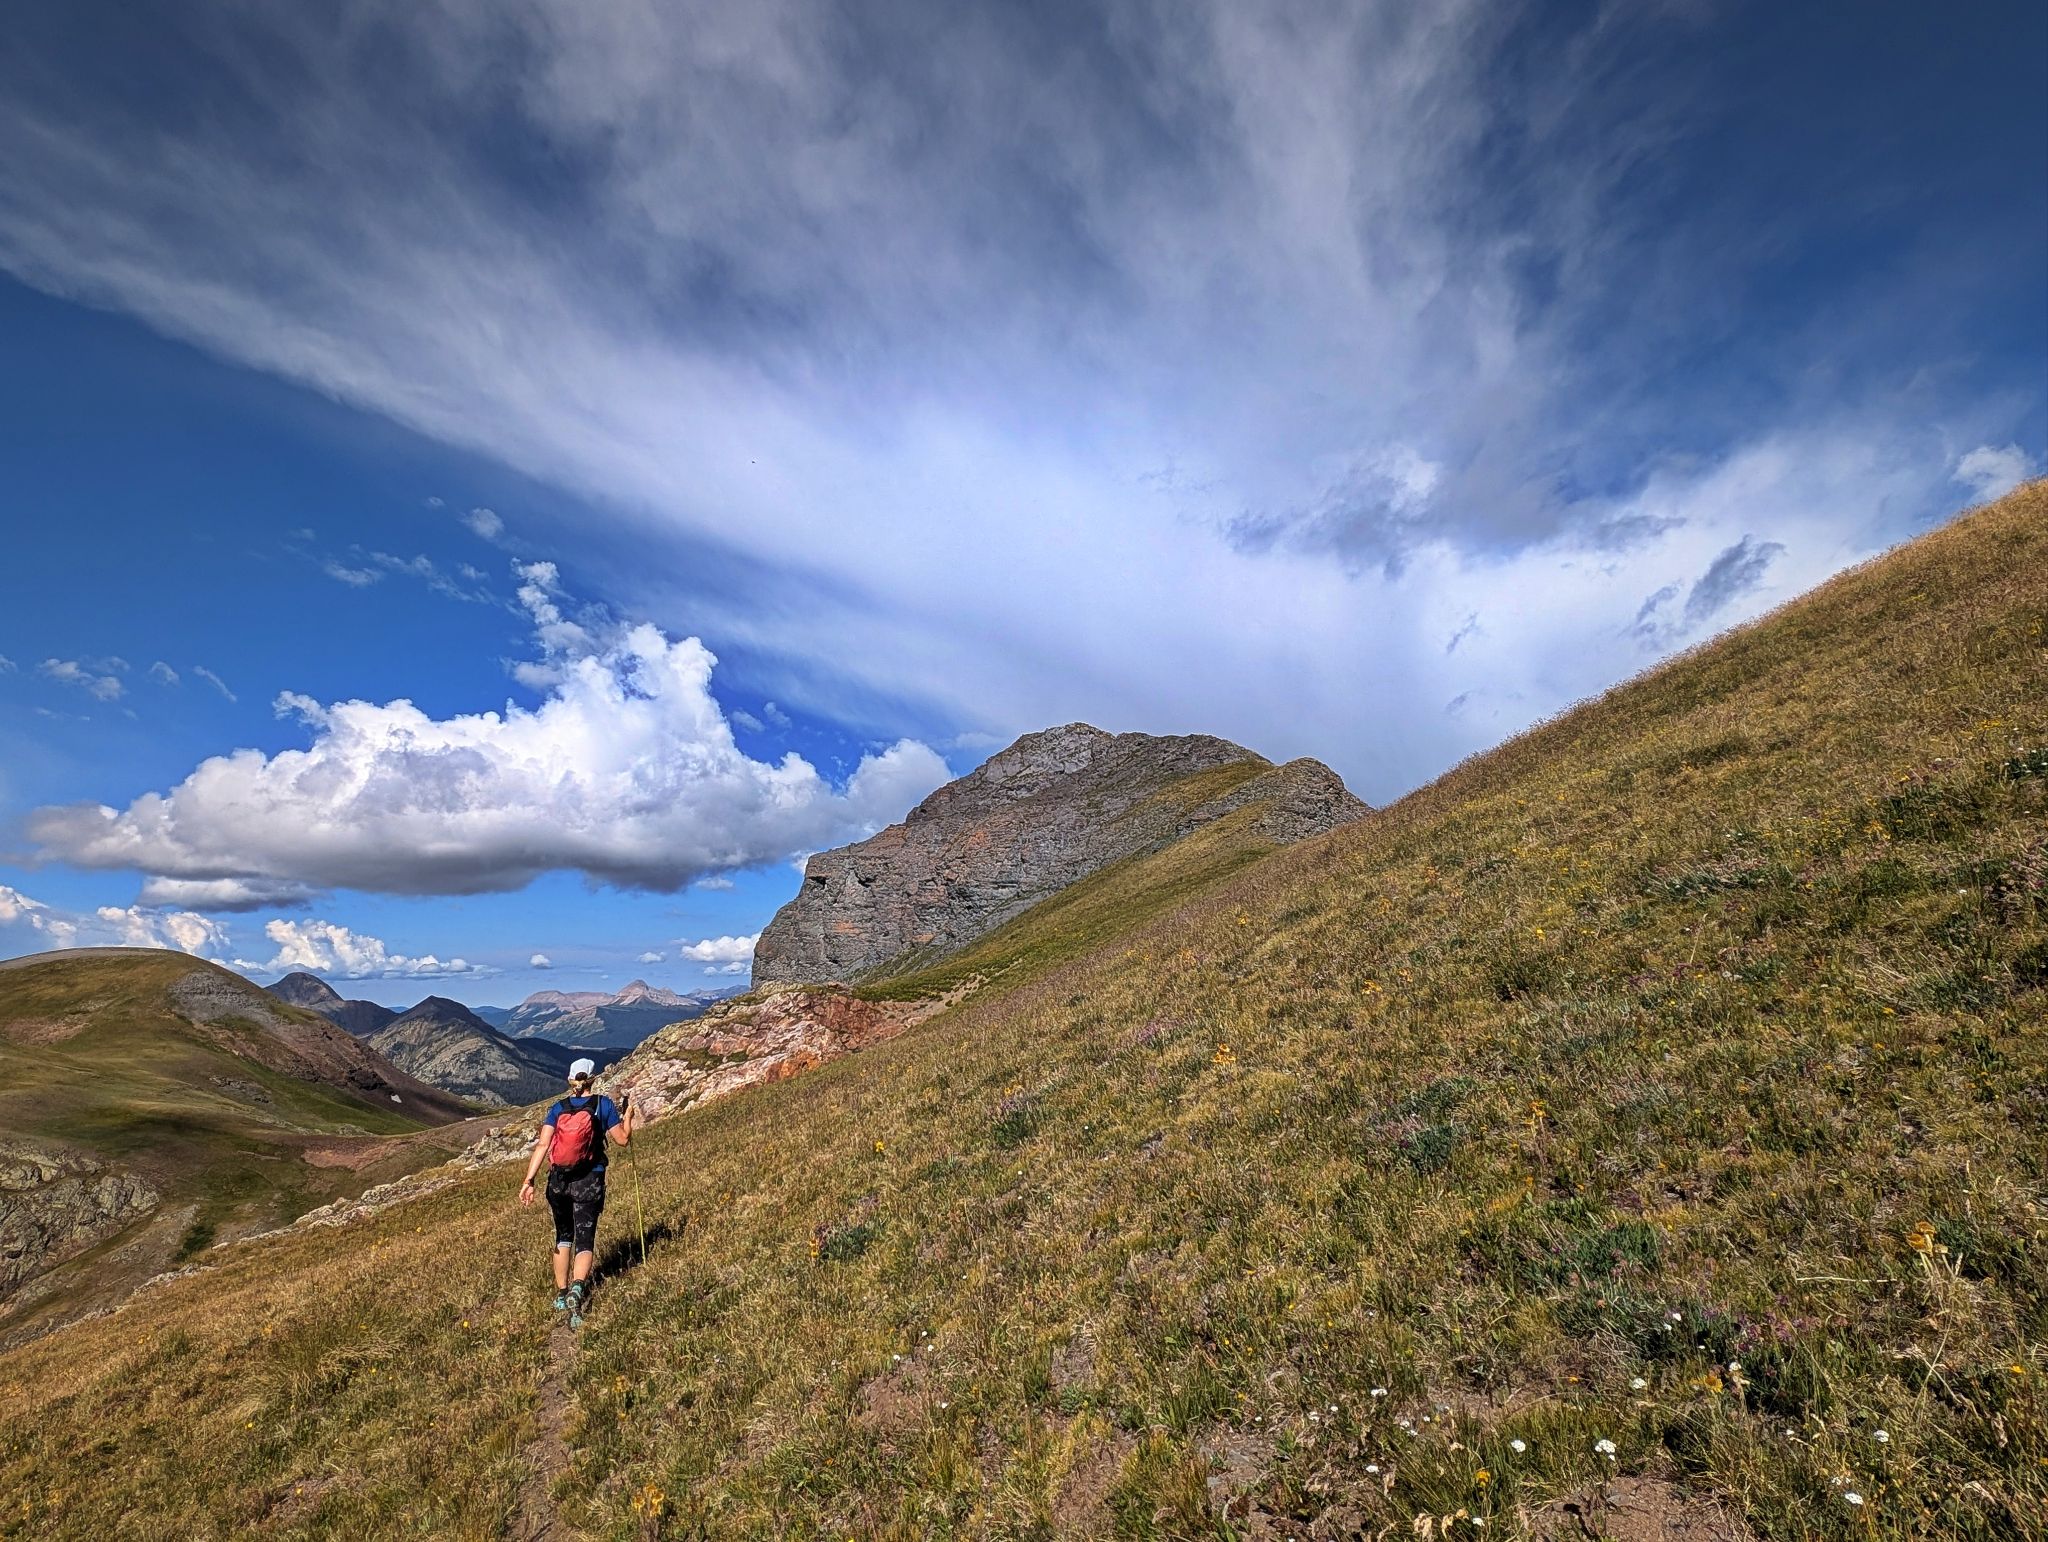
Descending back to the Whitehead Trail with stellar views of the Snowdon Group. The weather never became an issue